You know how one project leads to the next? Well, putting in the RV pad, led to landscaping around the RV pad, which led to installing a new arched trellis.
But first, I put down landscape fabric and spread out extra gravel I had from the RV driveway perimeter project. That set a nice, clean base rather than the sand and weeds that were there before.
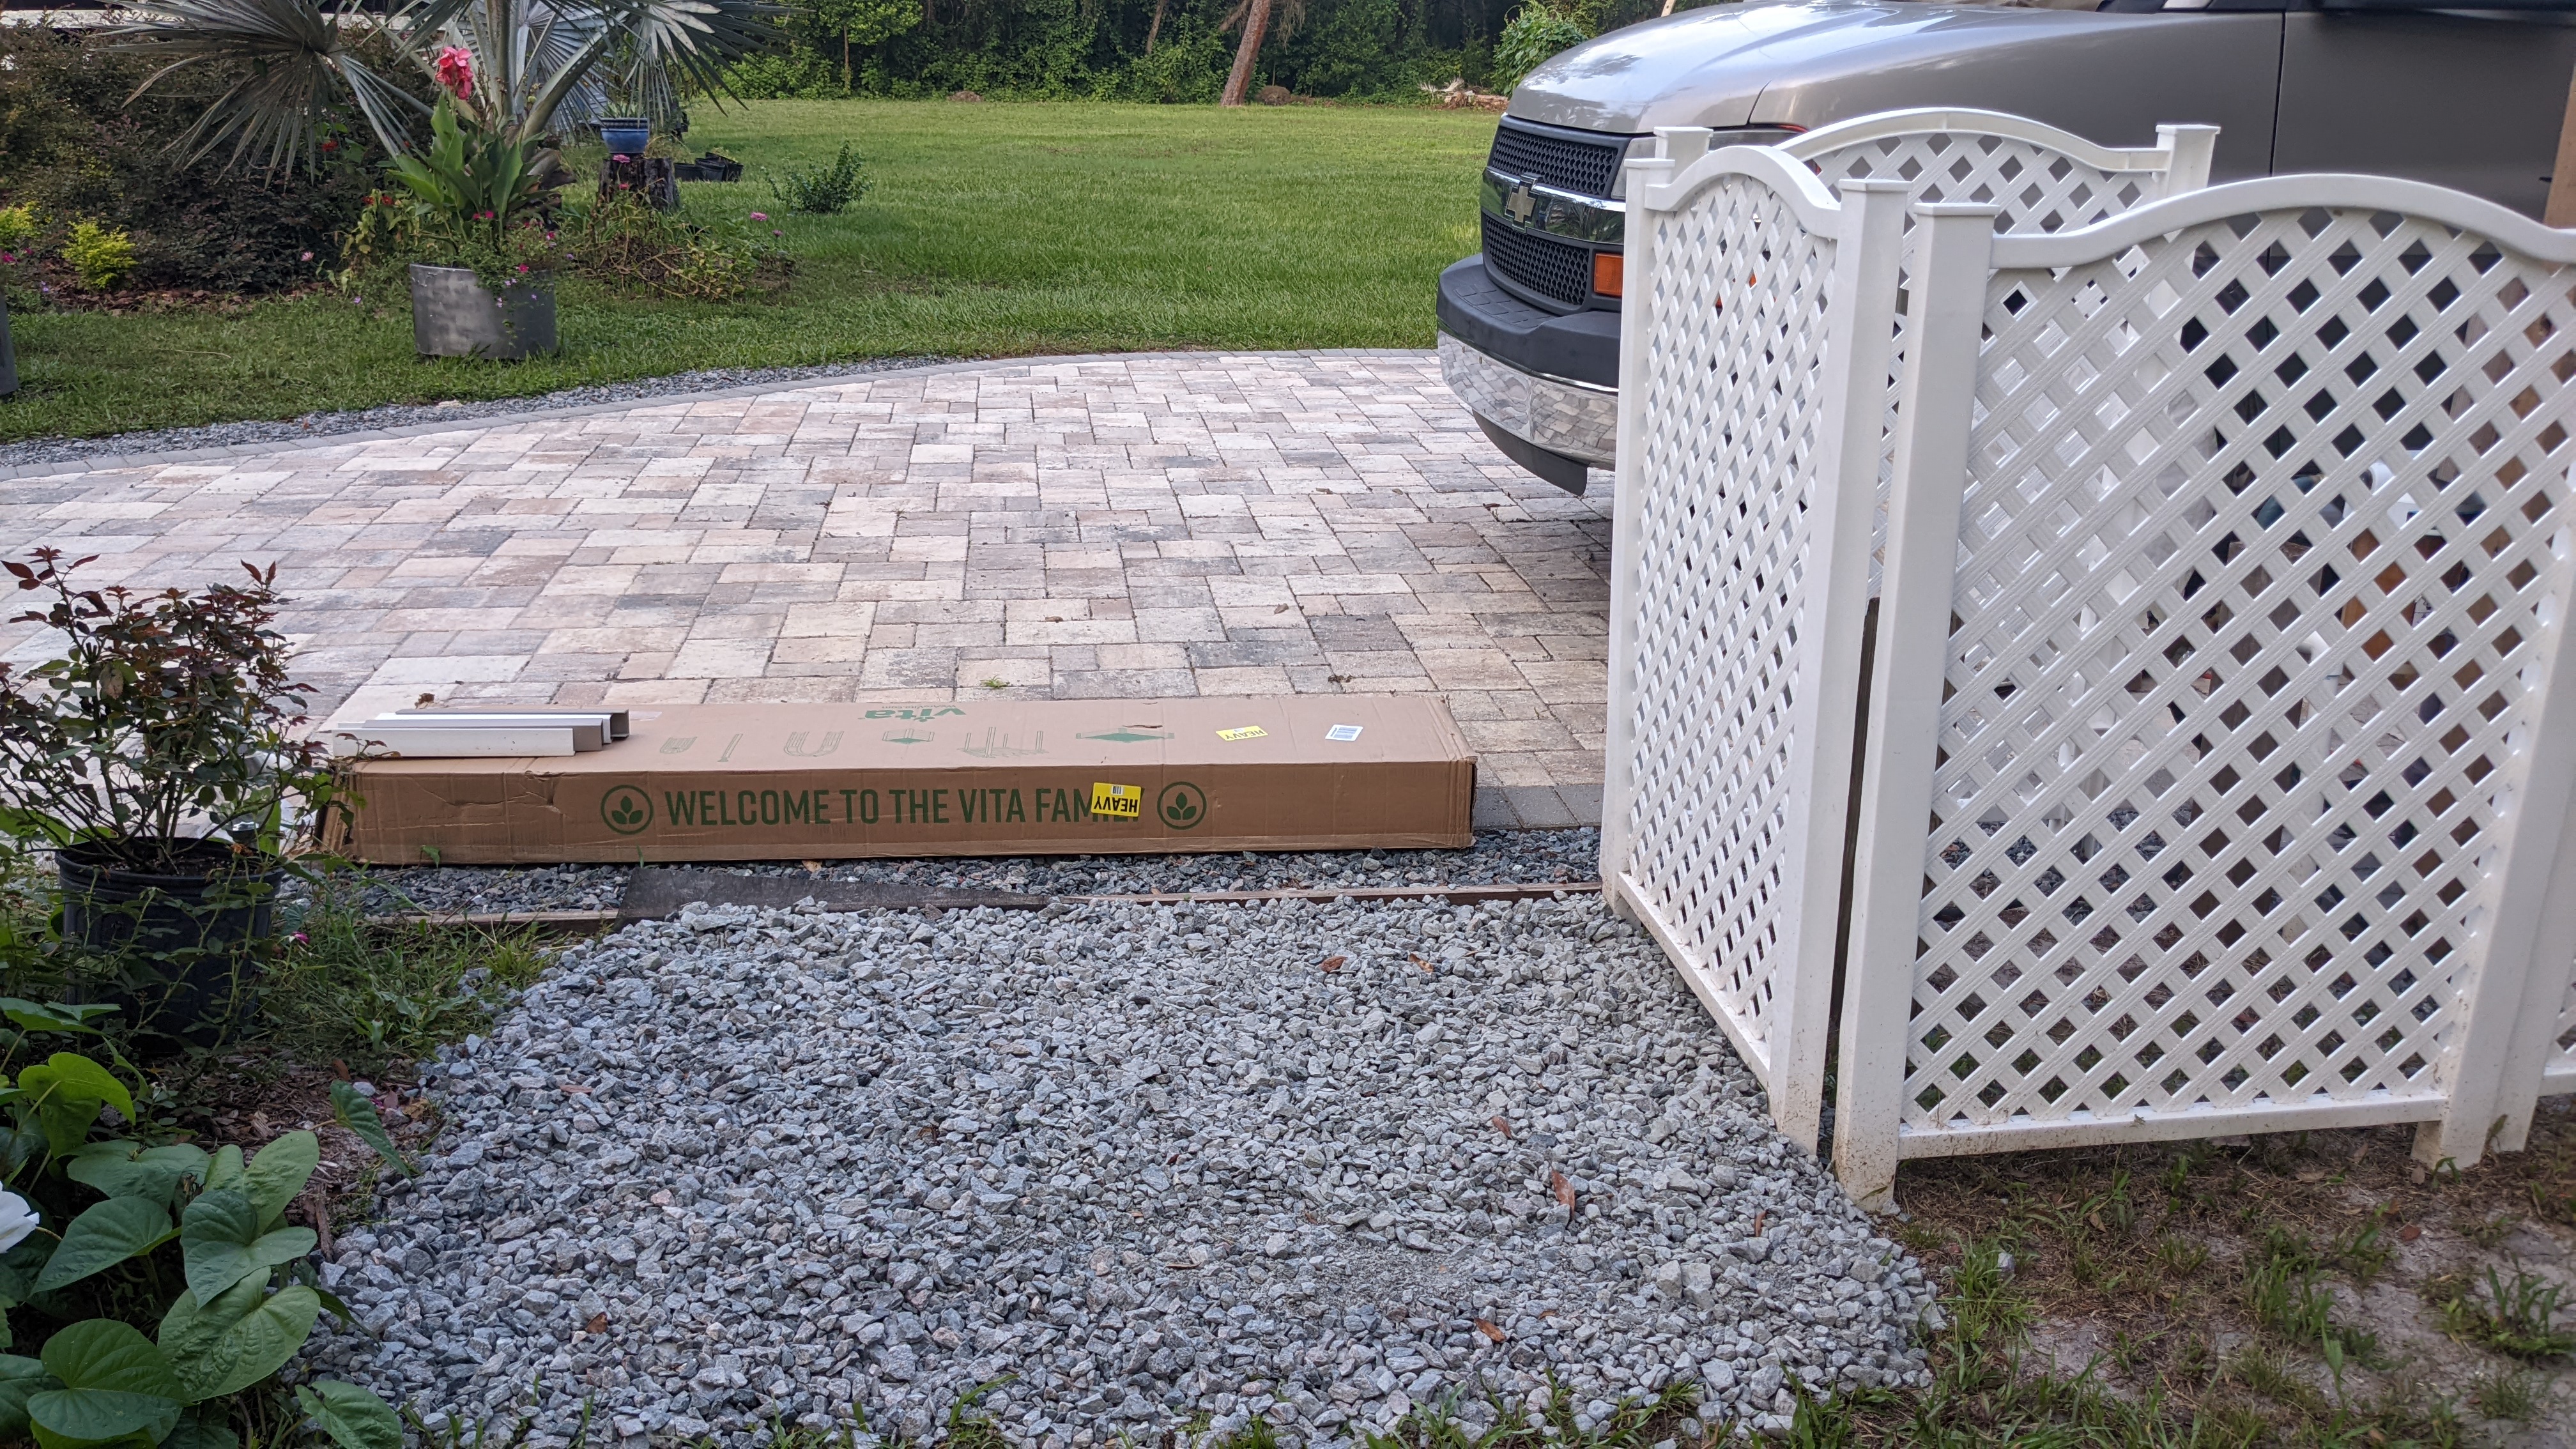
I ordered the white, vinyl arch online and hit refresh on my computer every 10 minutes until it arrived. When I set my mind to a project, I just want to see it through to completion ASAP.
The first step was unboxing. The width of the carton looked pretty small, but that’s because the pieces were so precisely packed inside each other.
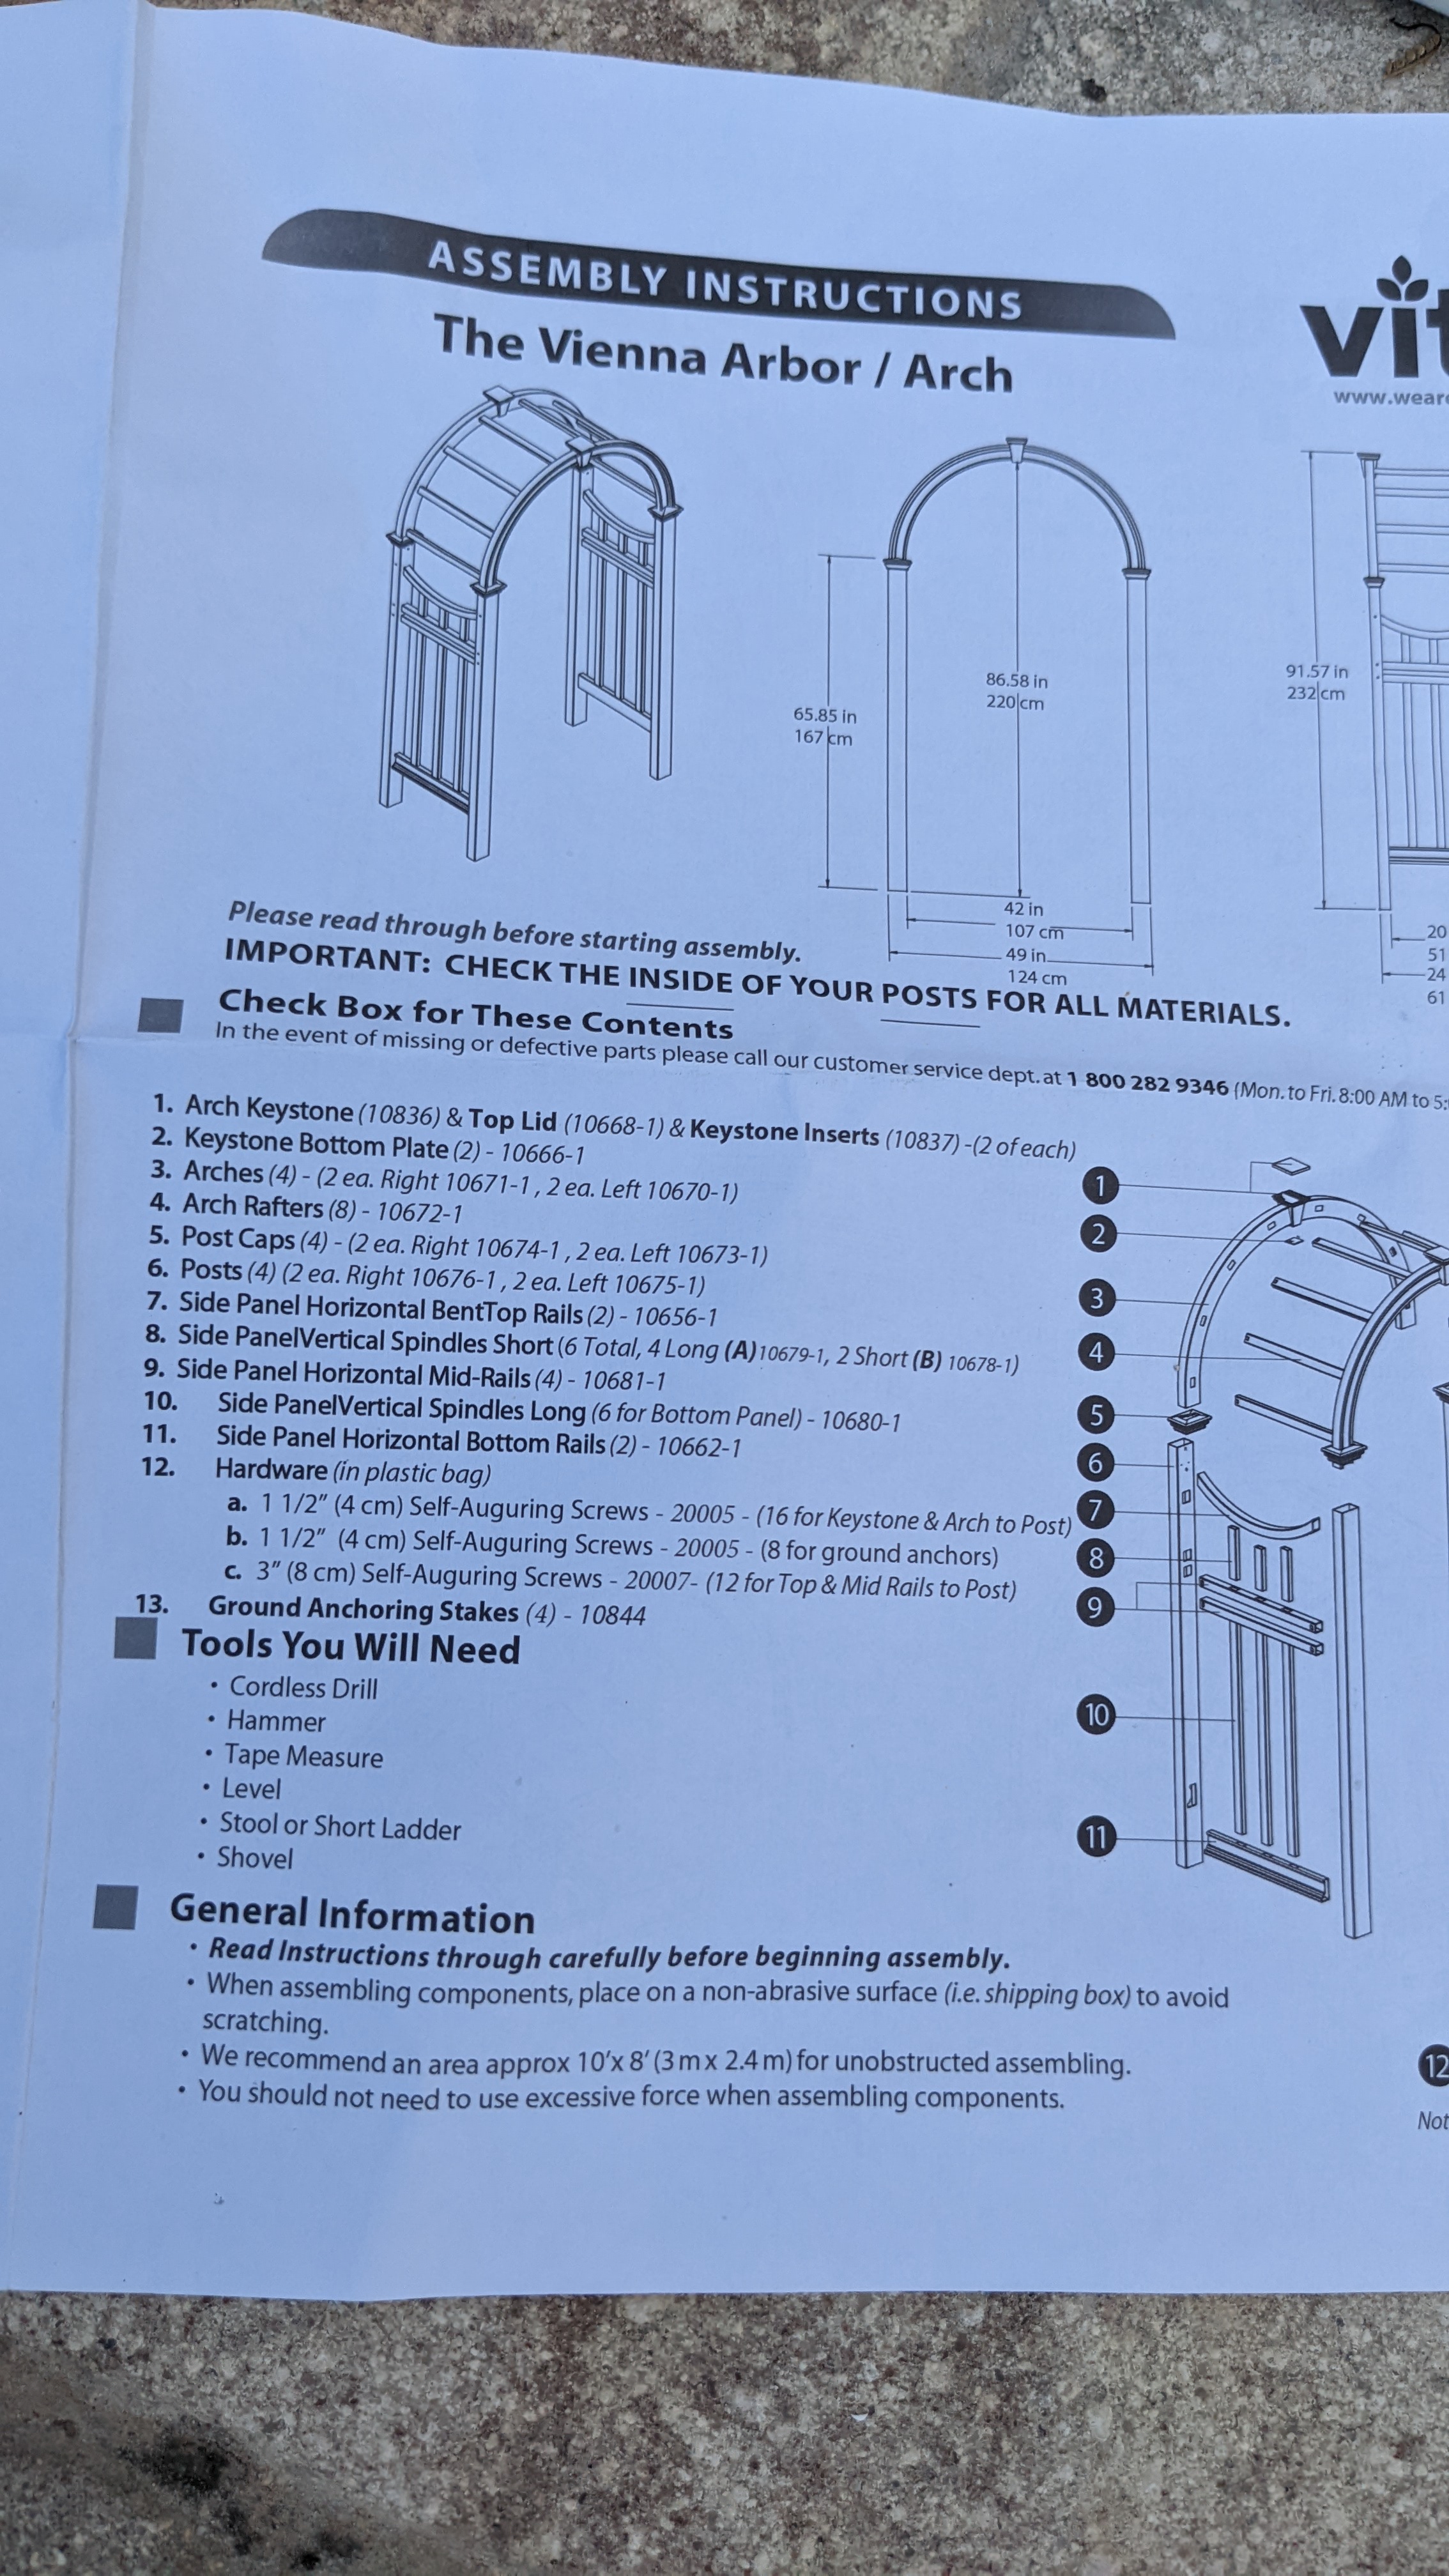
The instructions were pretty good and used words not just pictures… but the project was pretty self-explanatory if you just looked at the components.
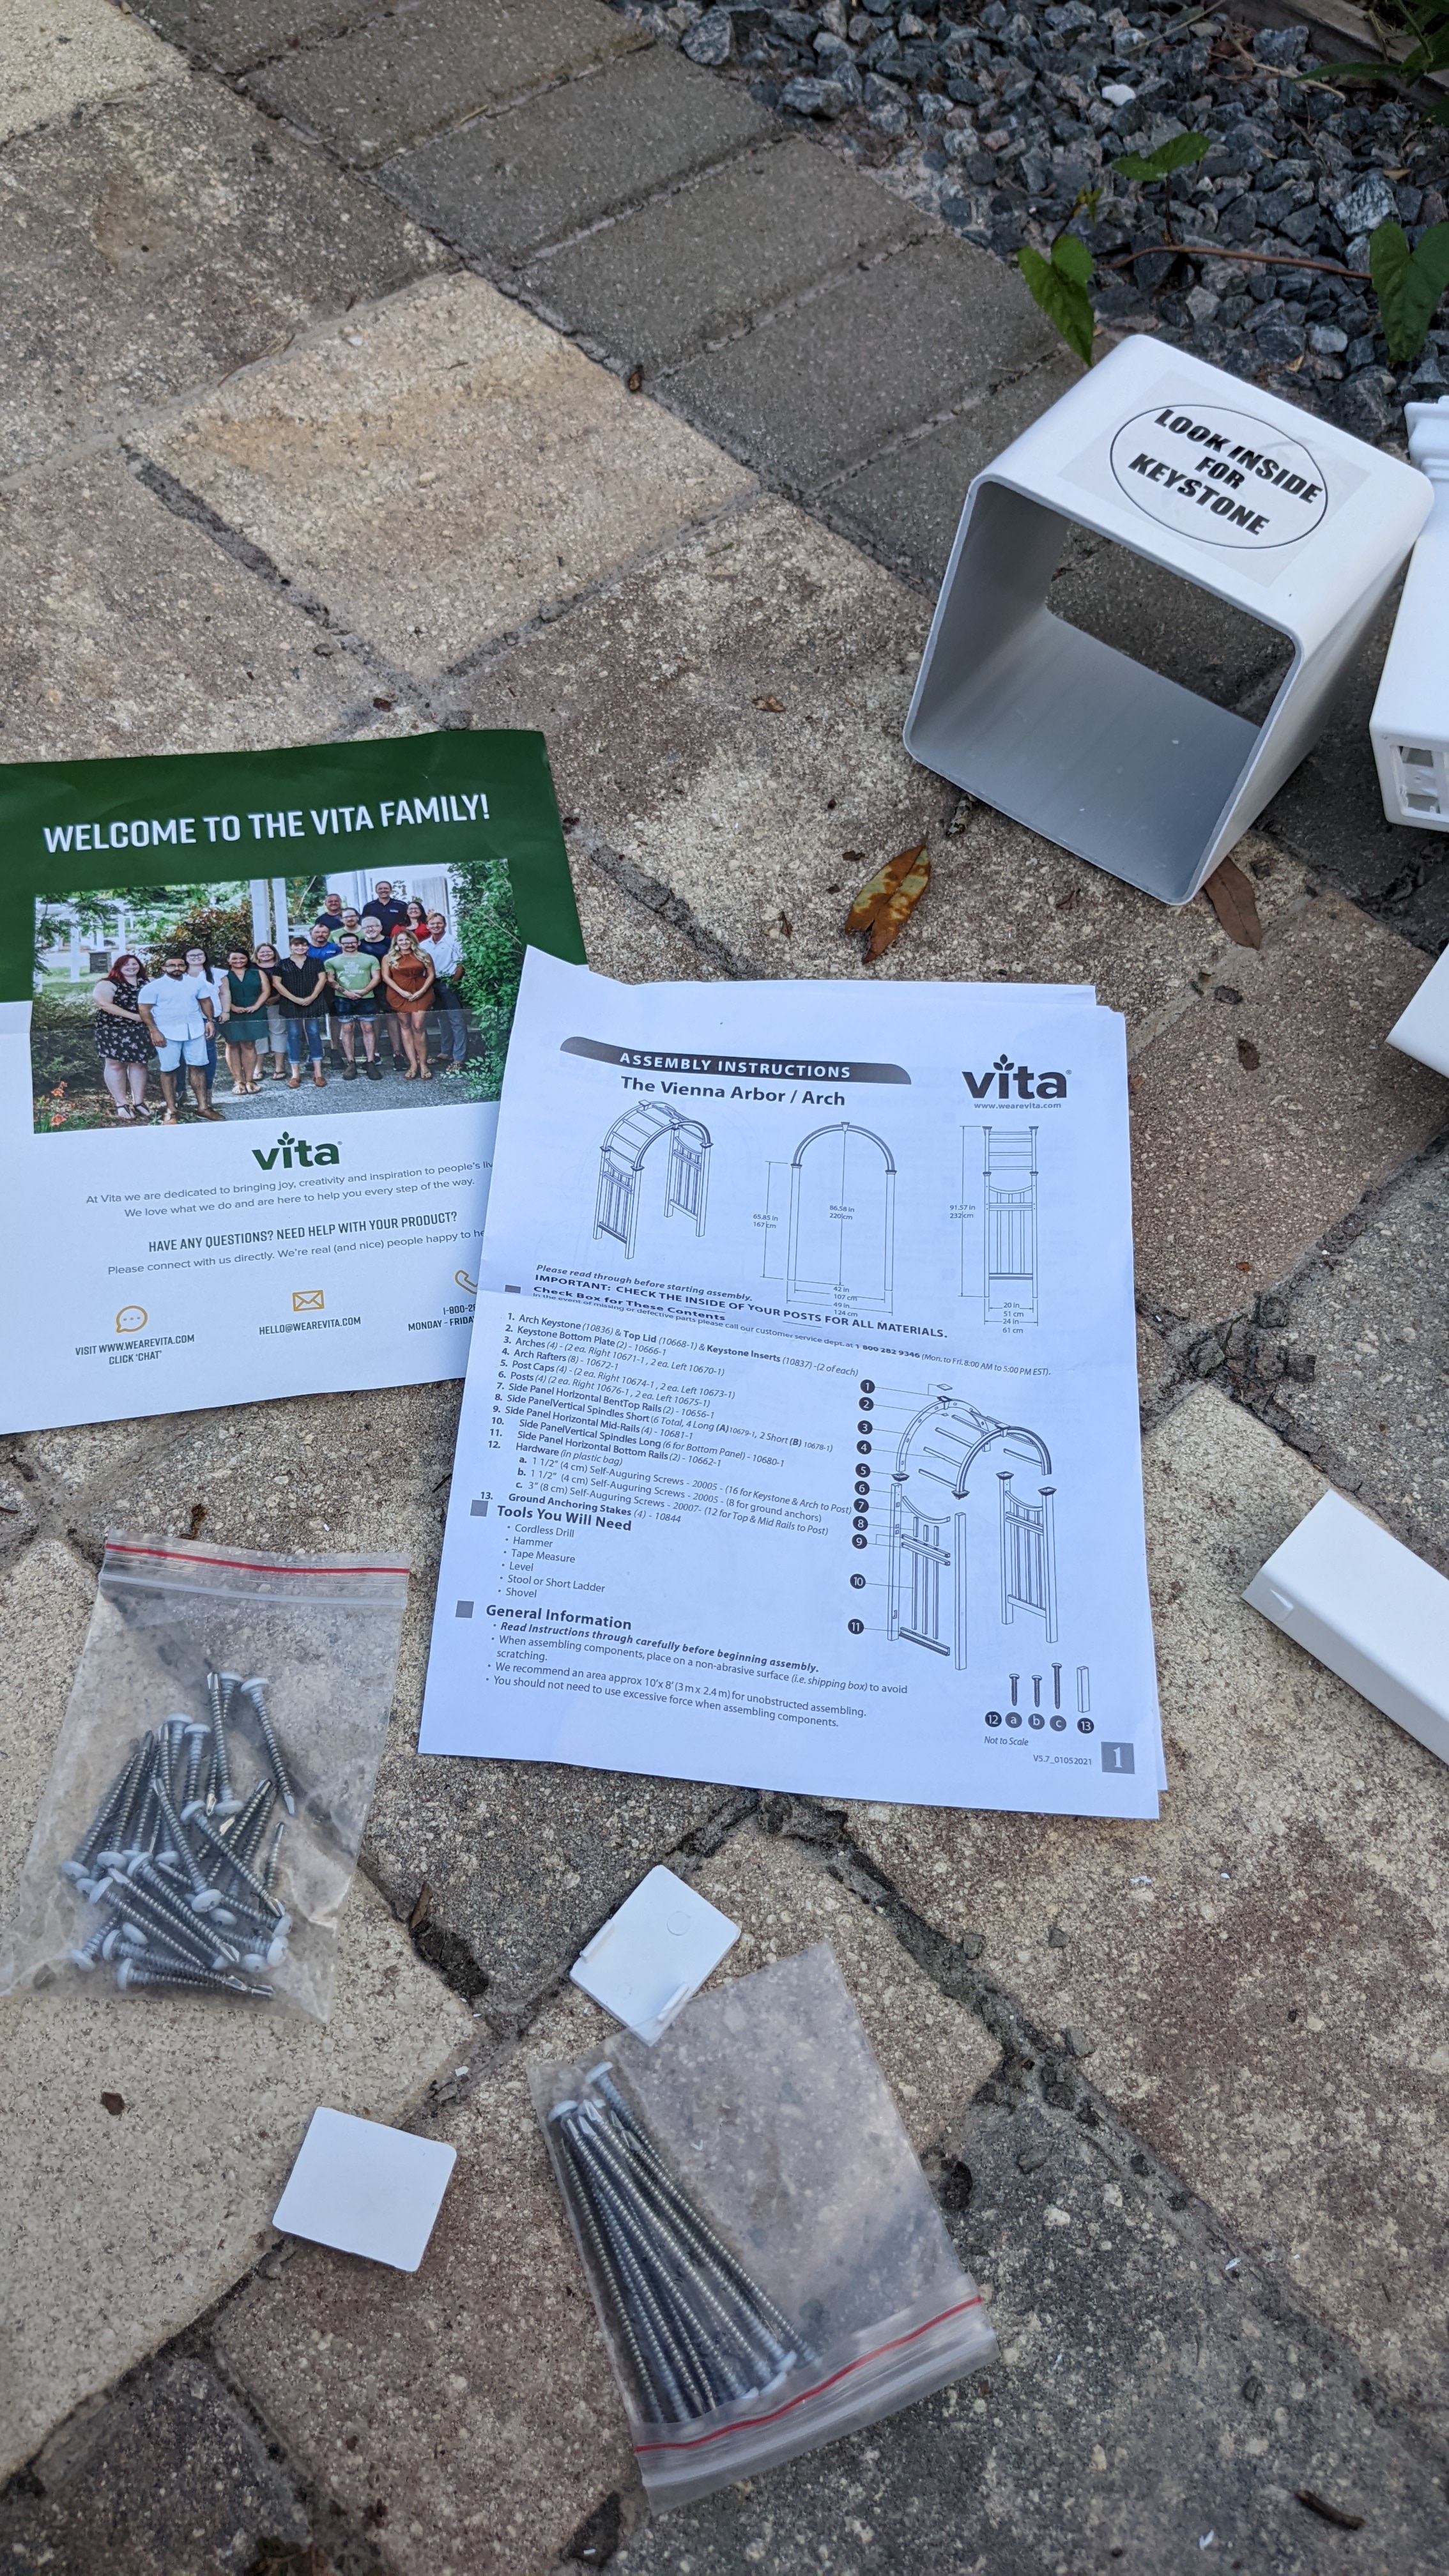
The first thing I started on was the arch with the keystone. There are two. The first one I picked up, didn’t have the center piece in it but the second one did so I used that as a guide.
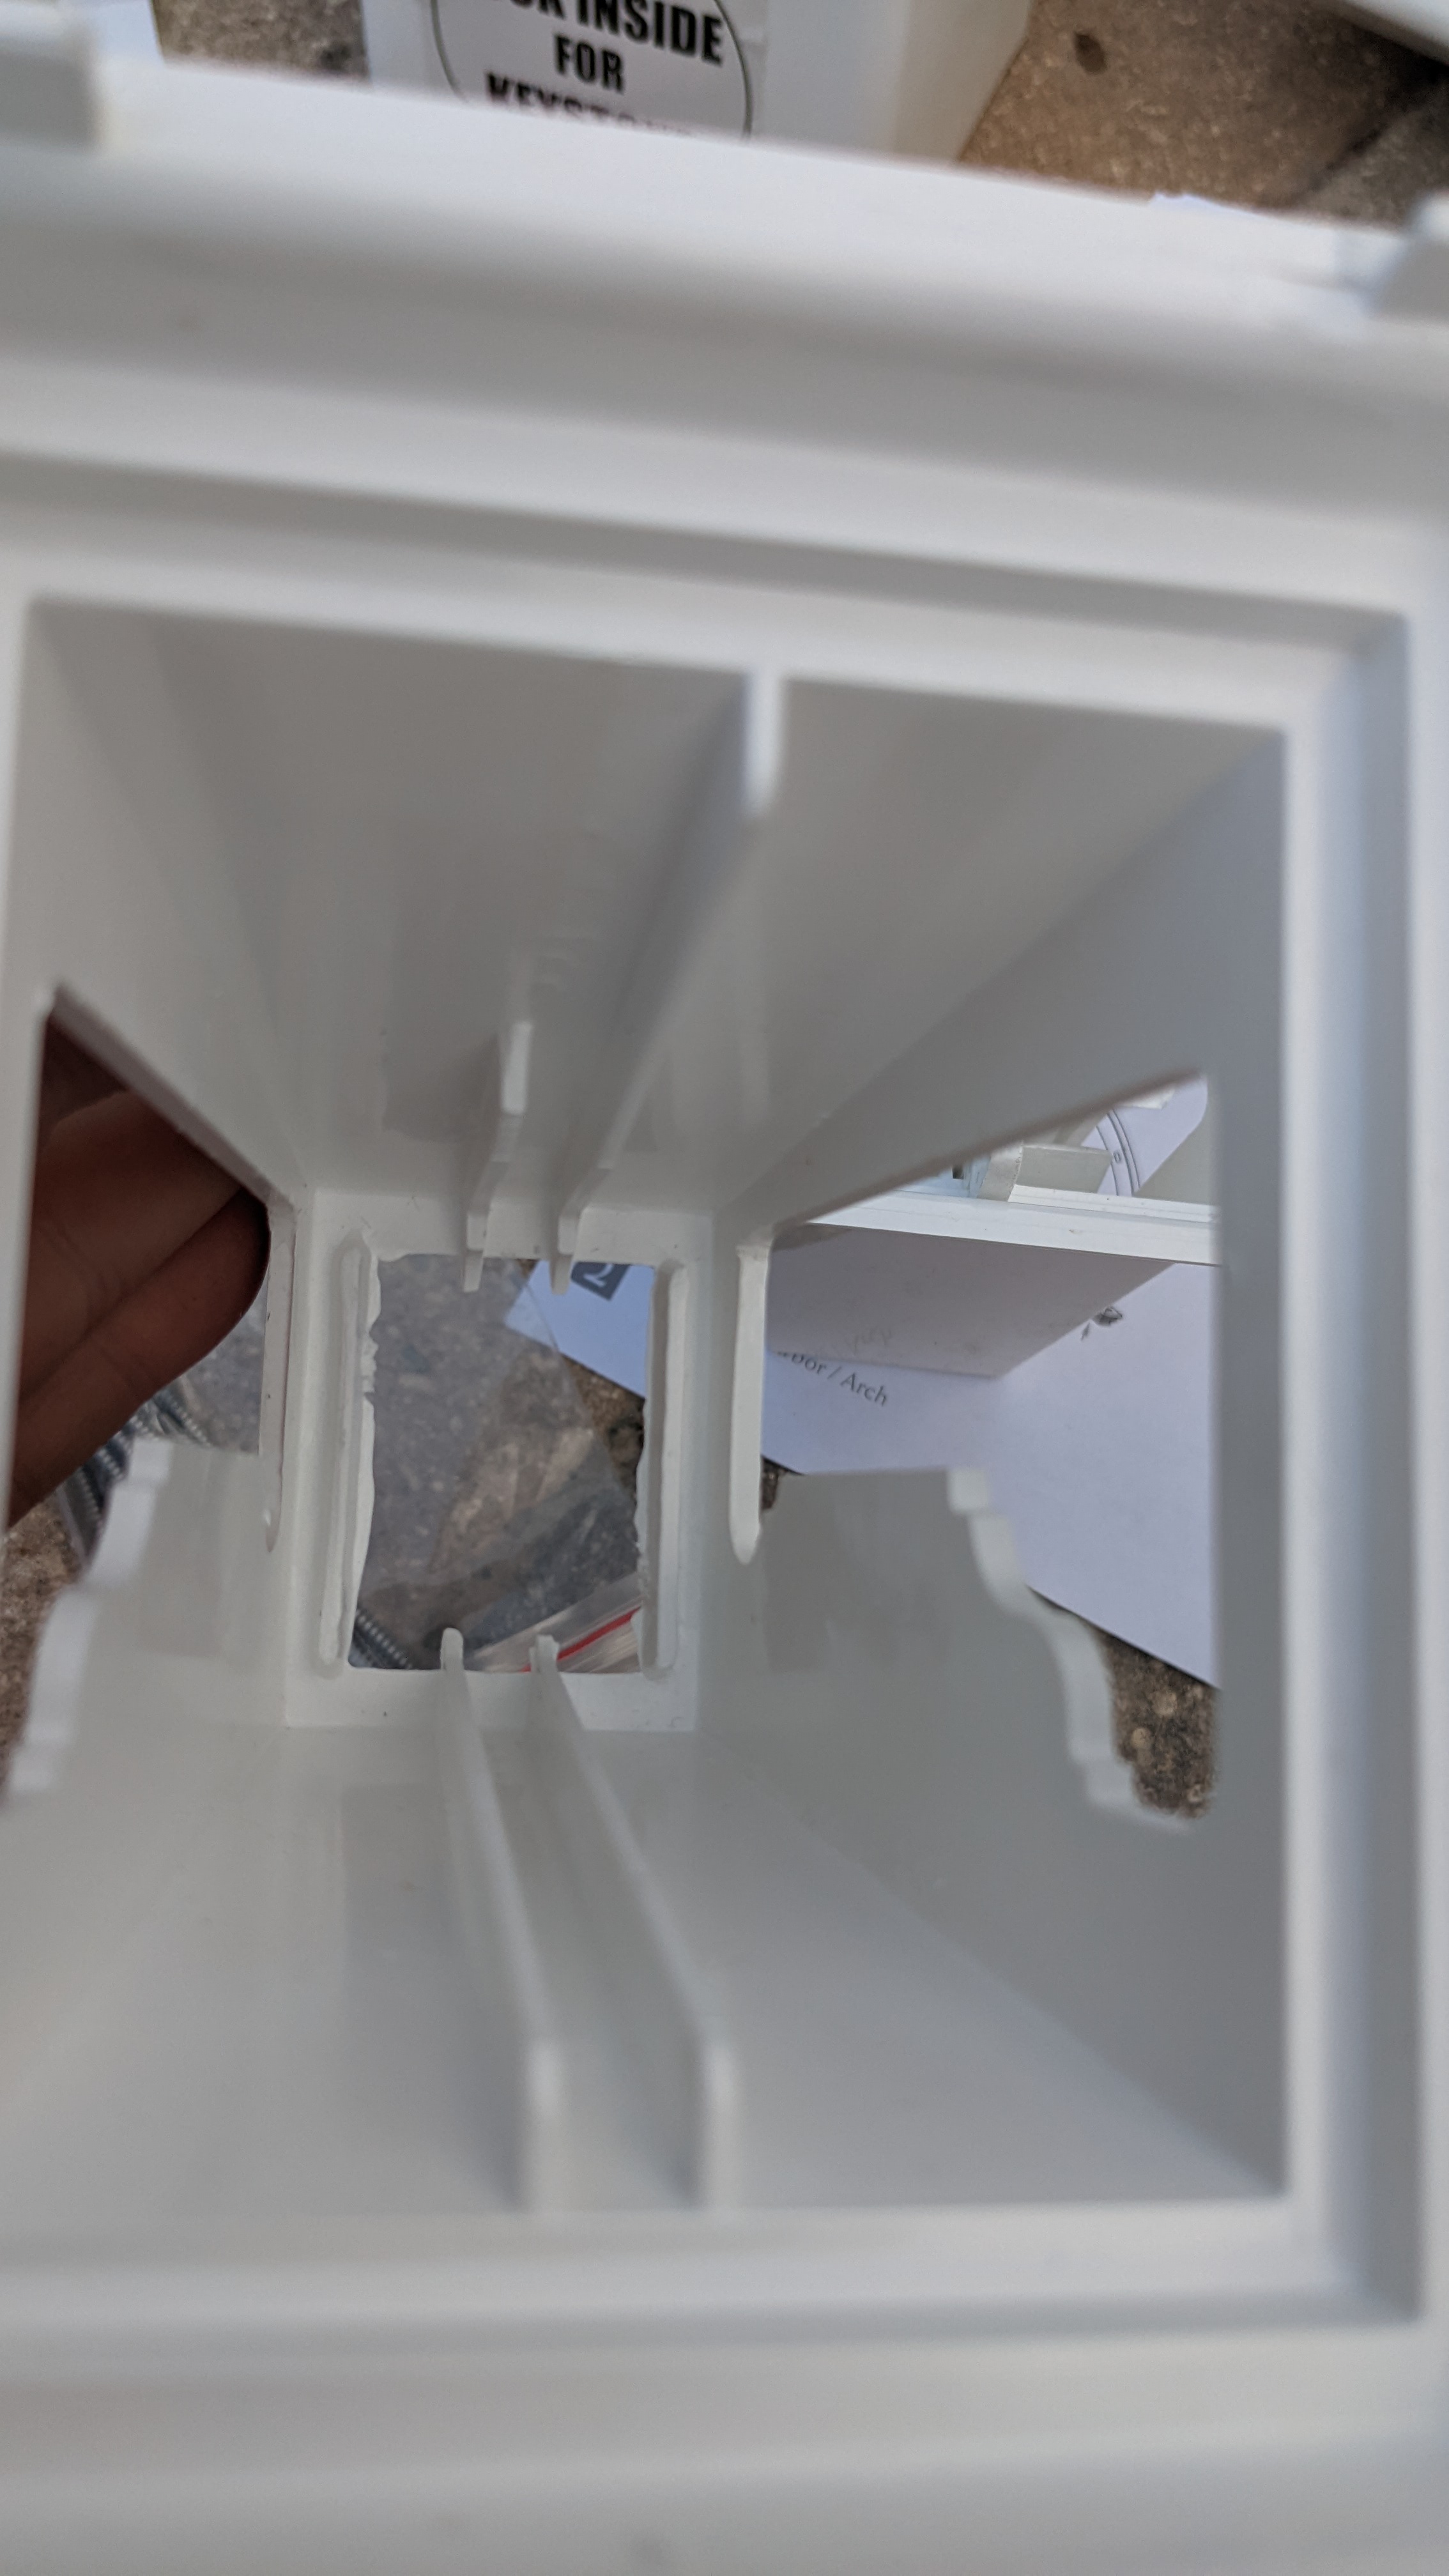
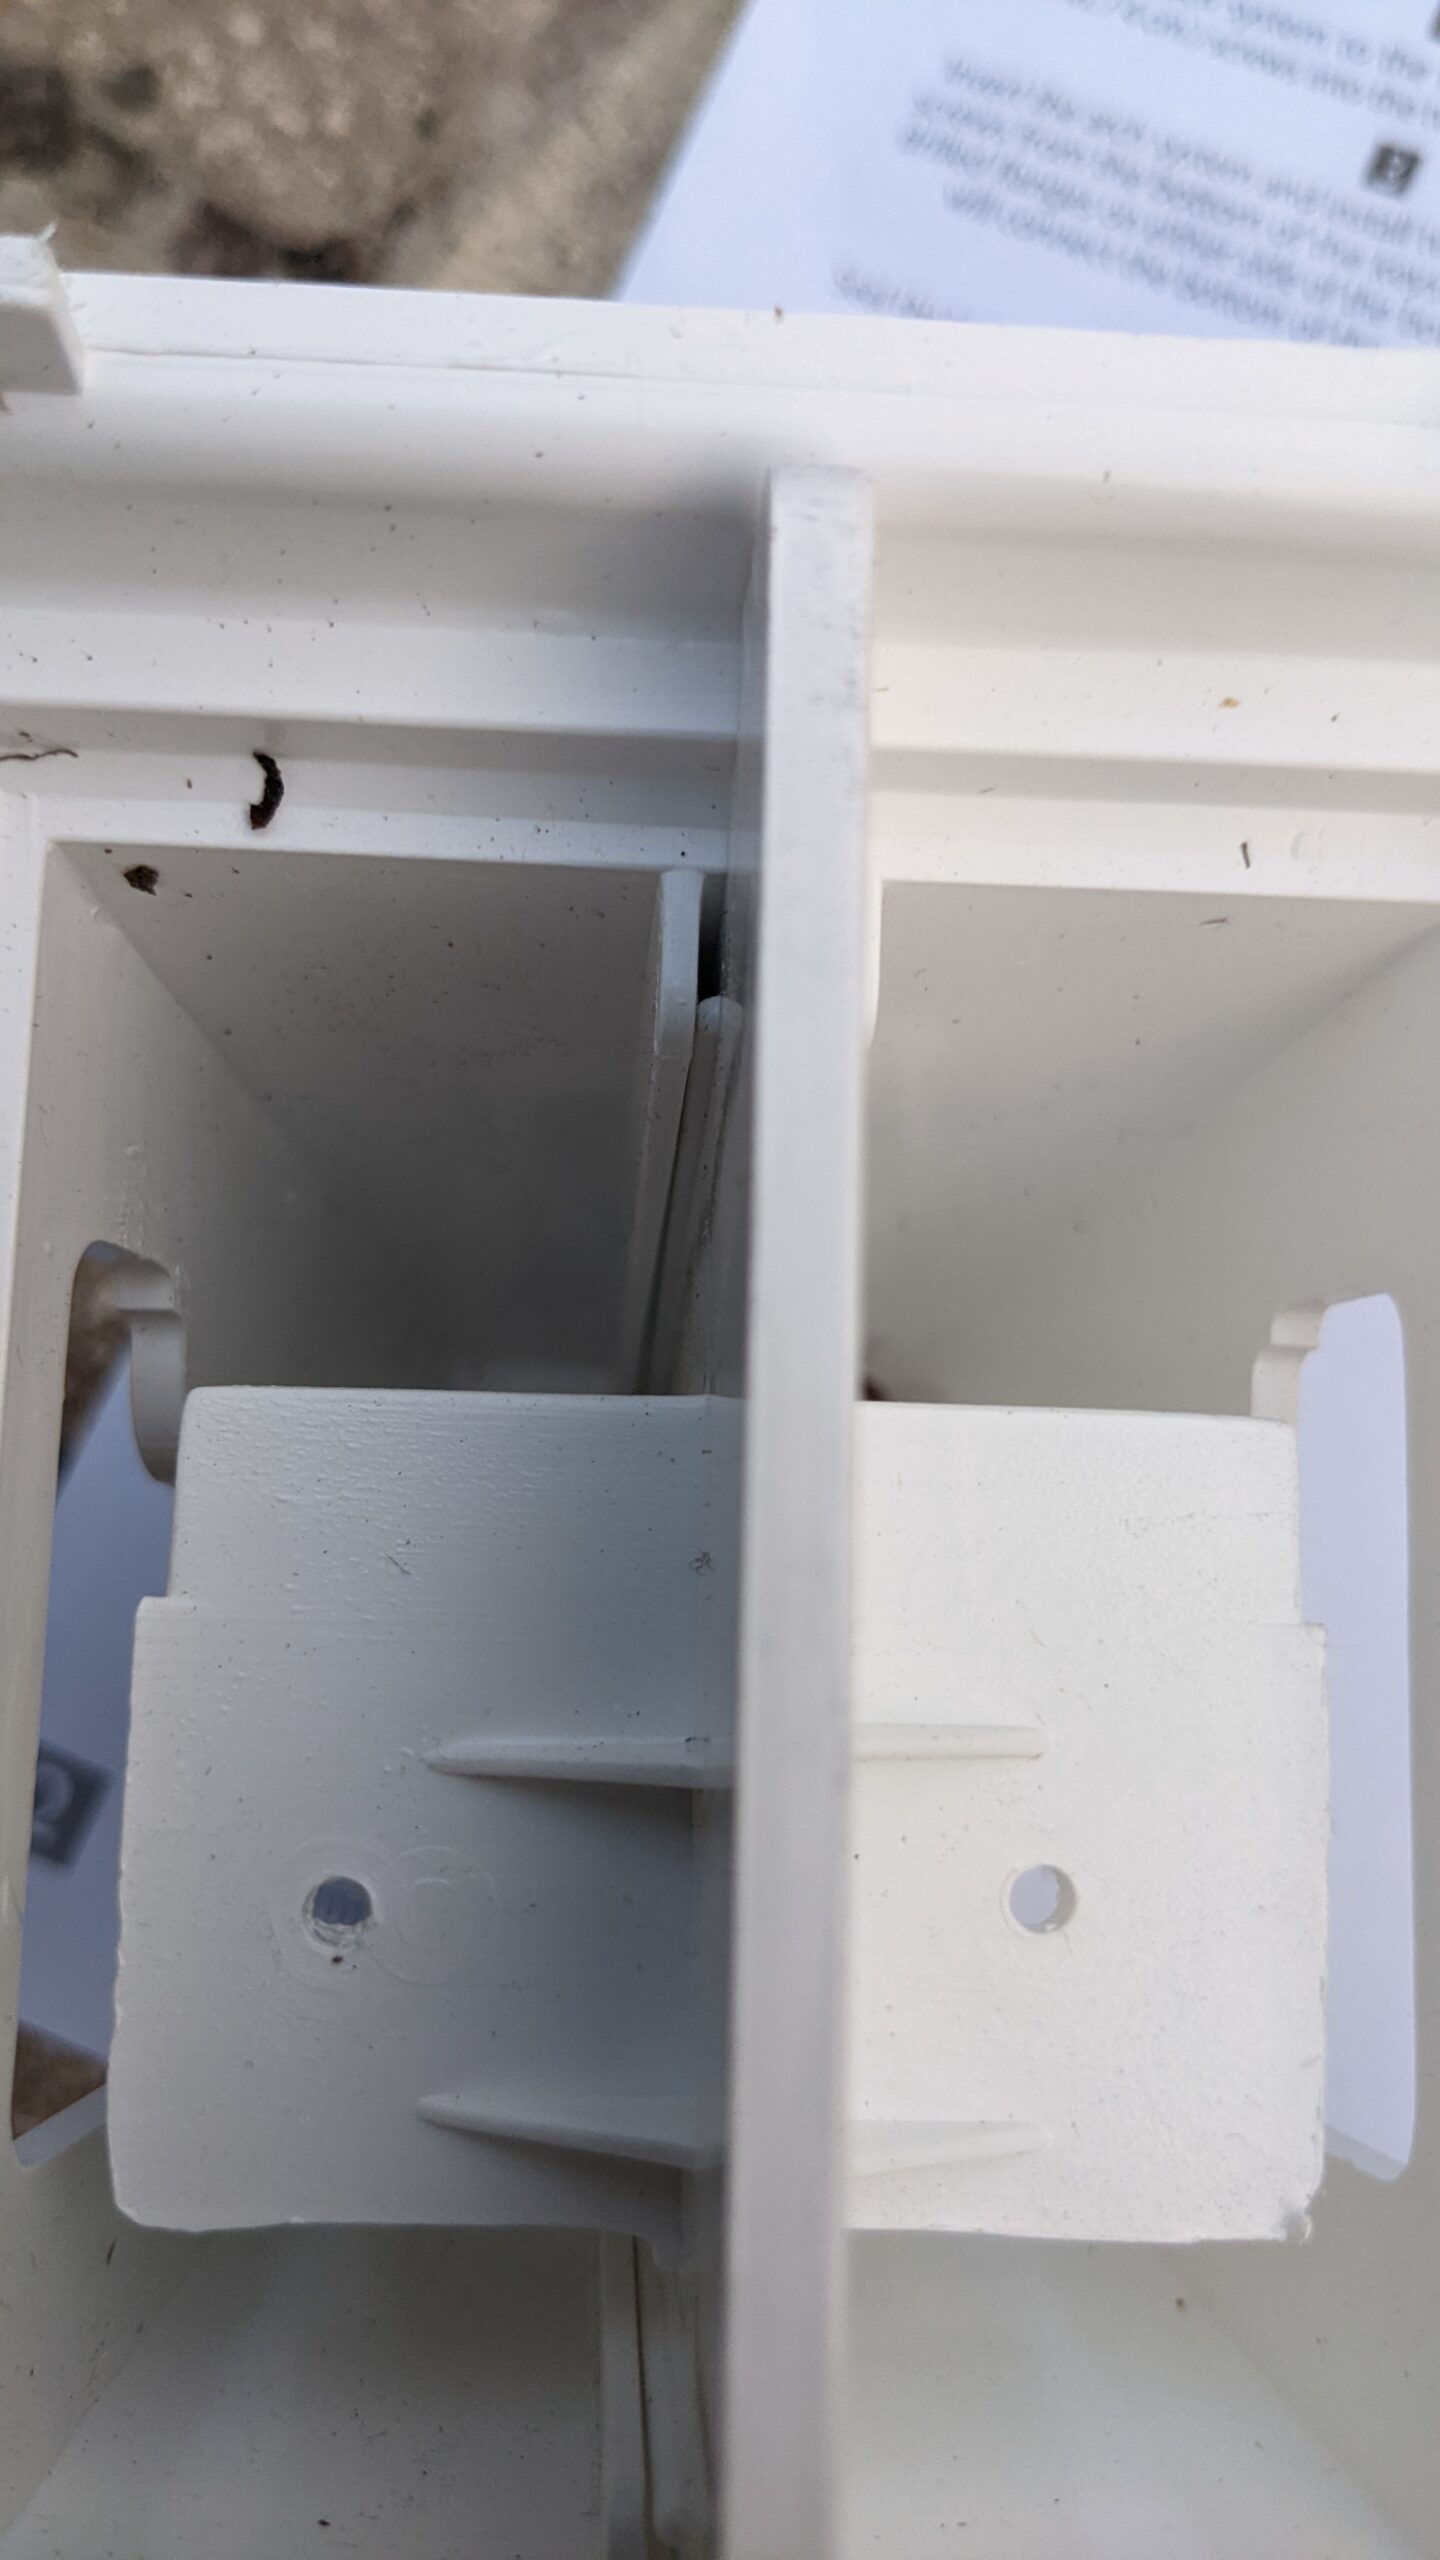
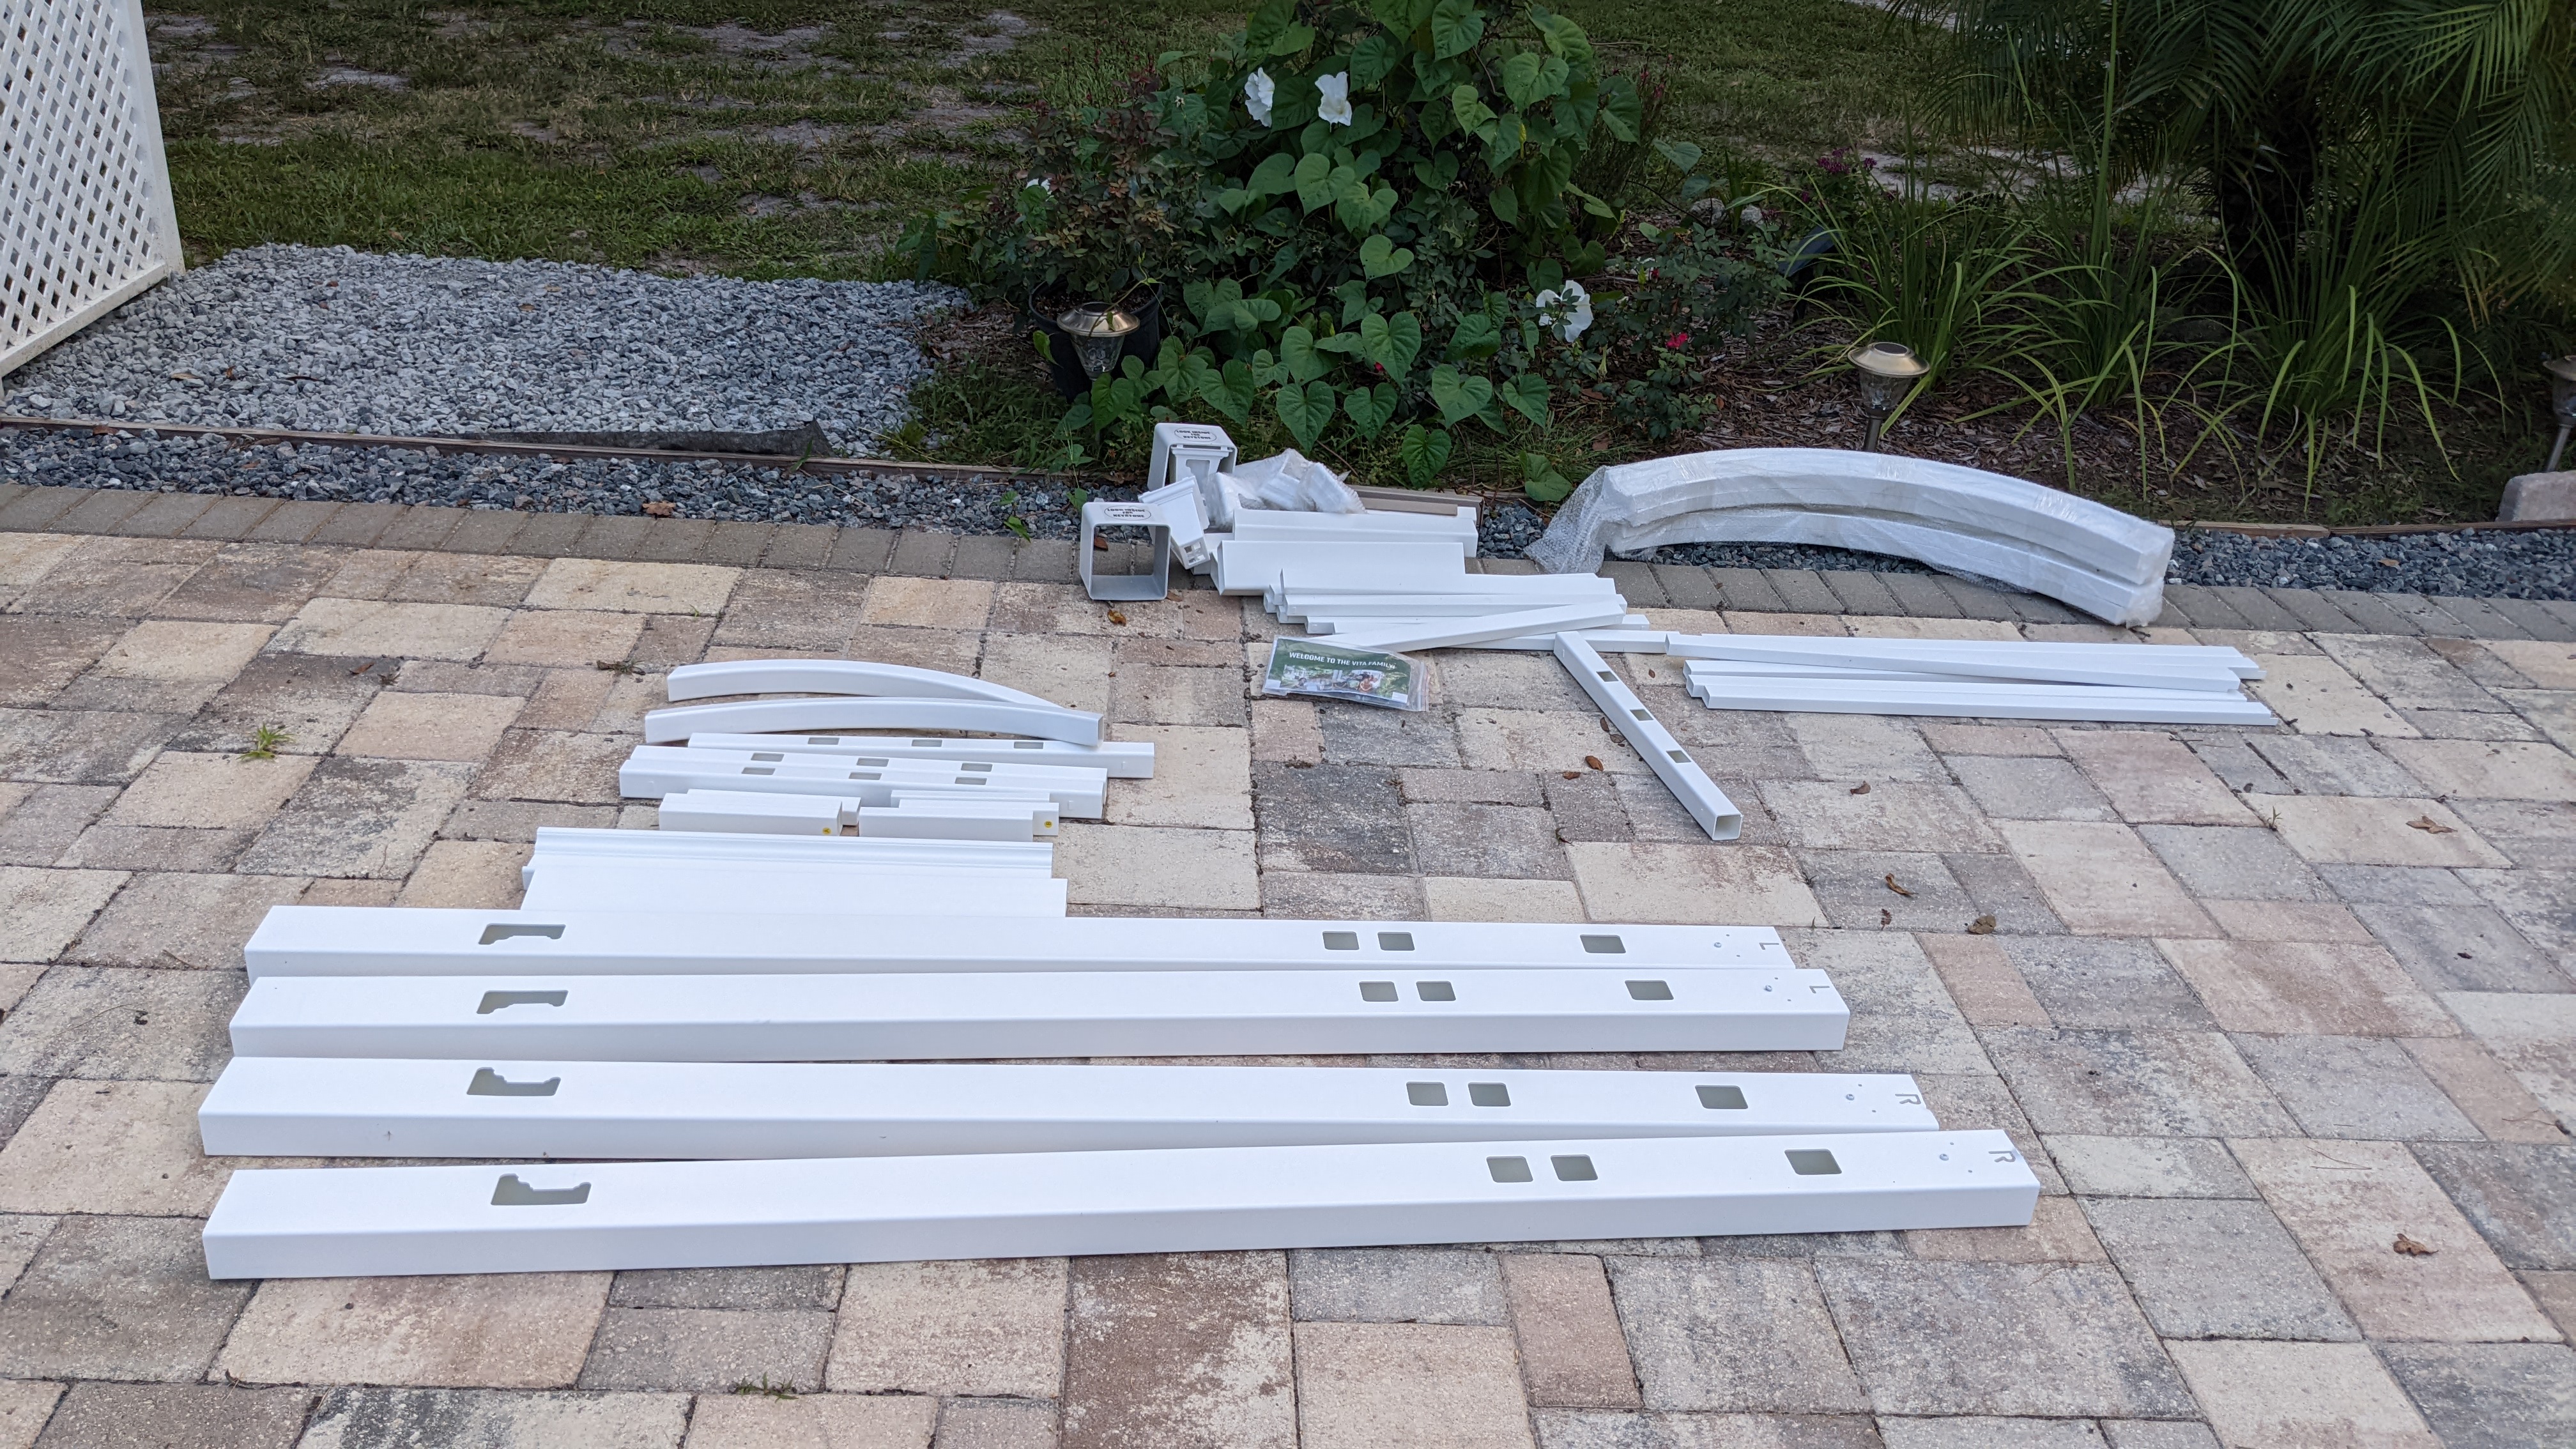
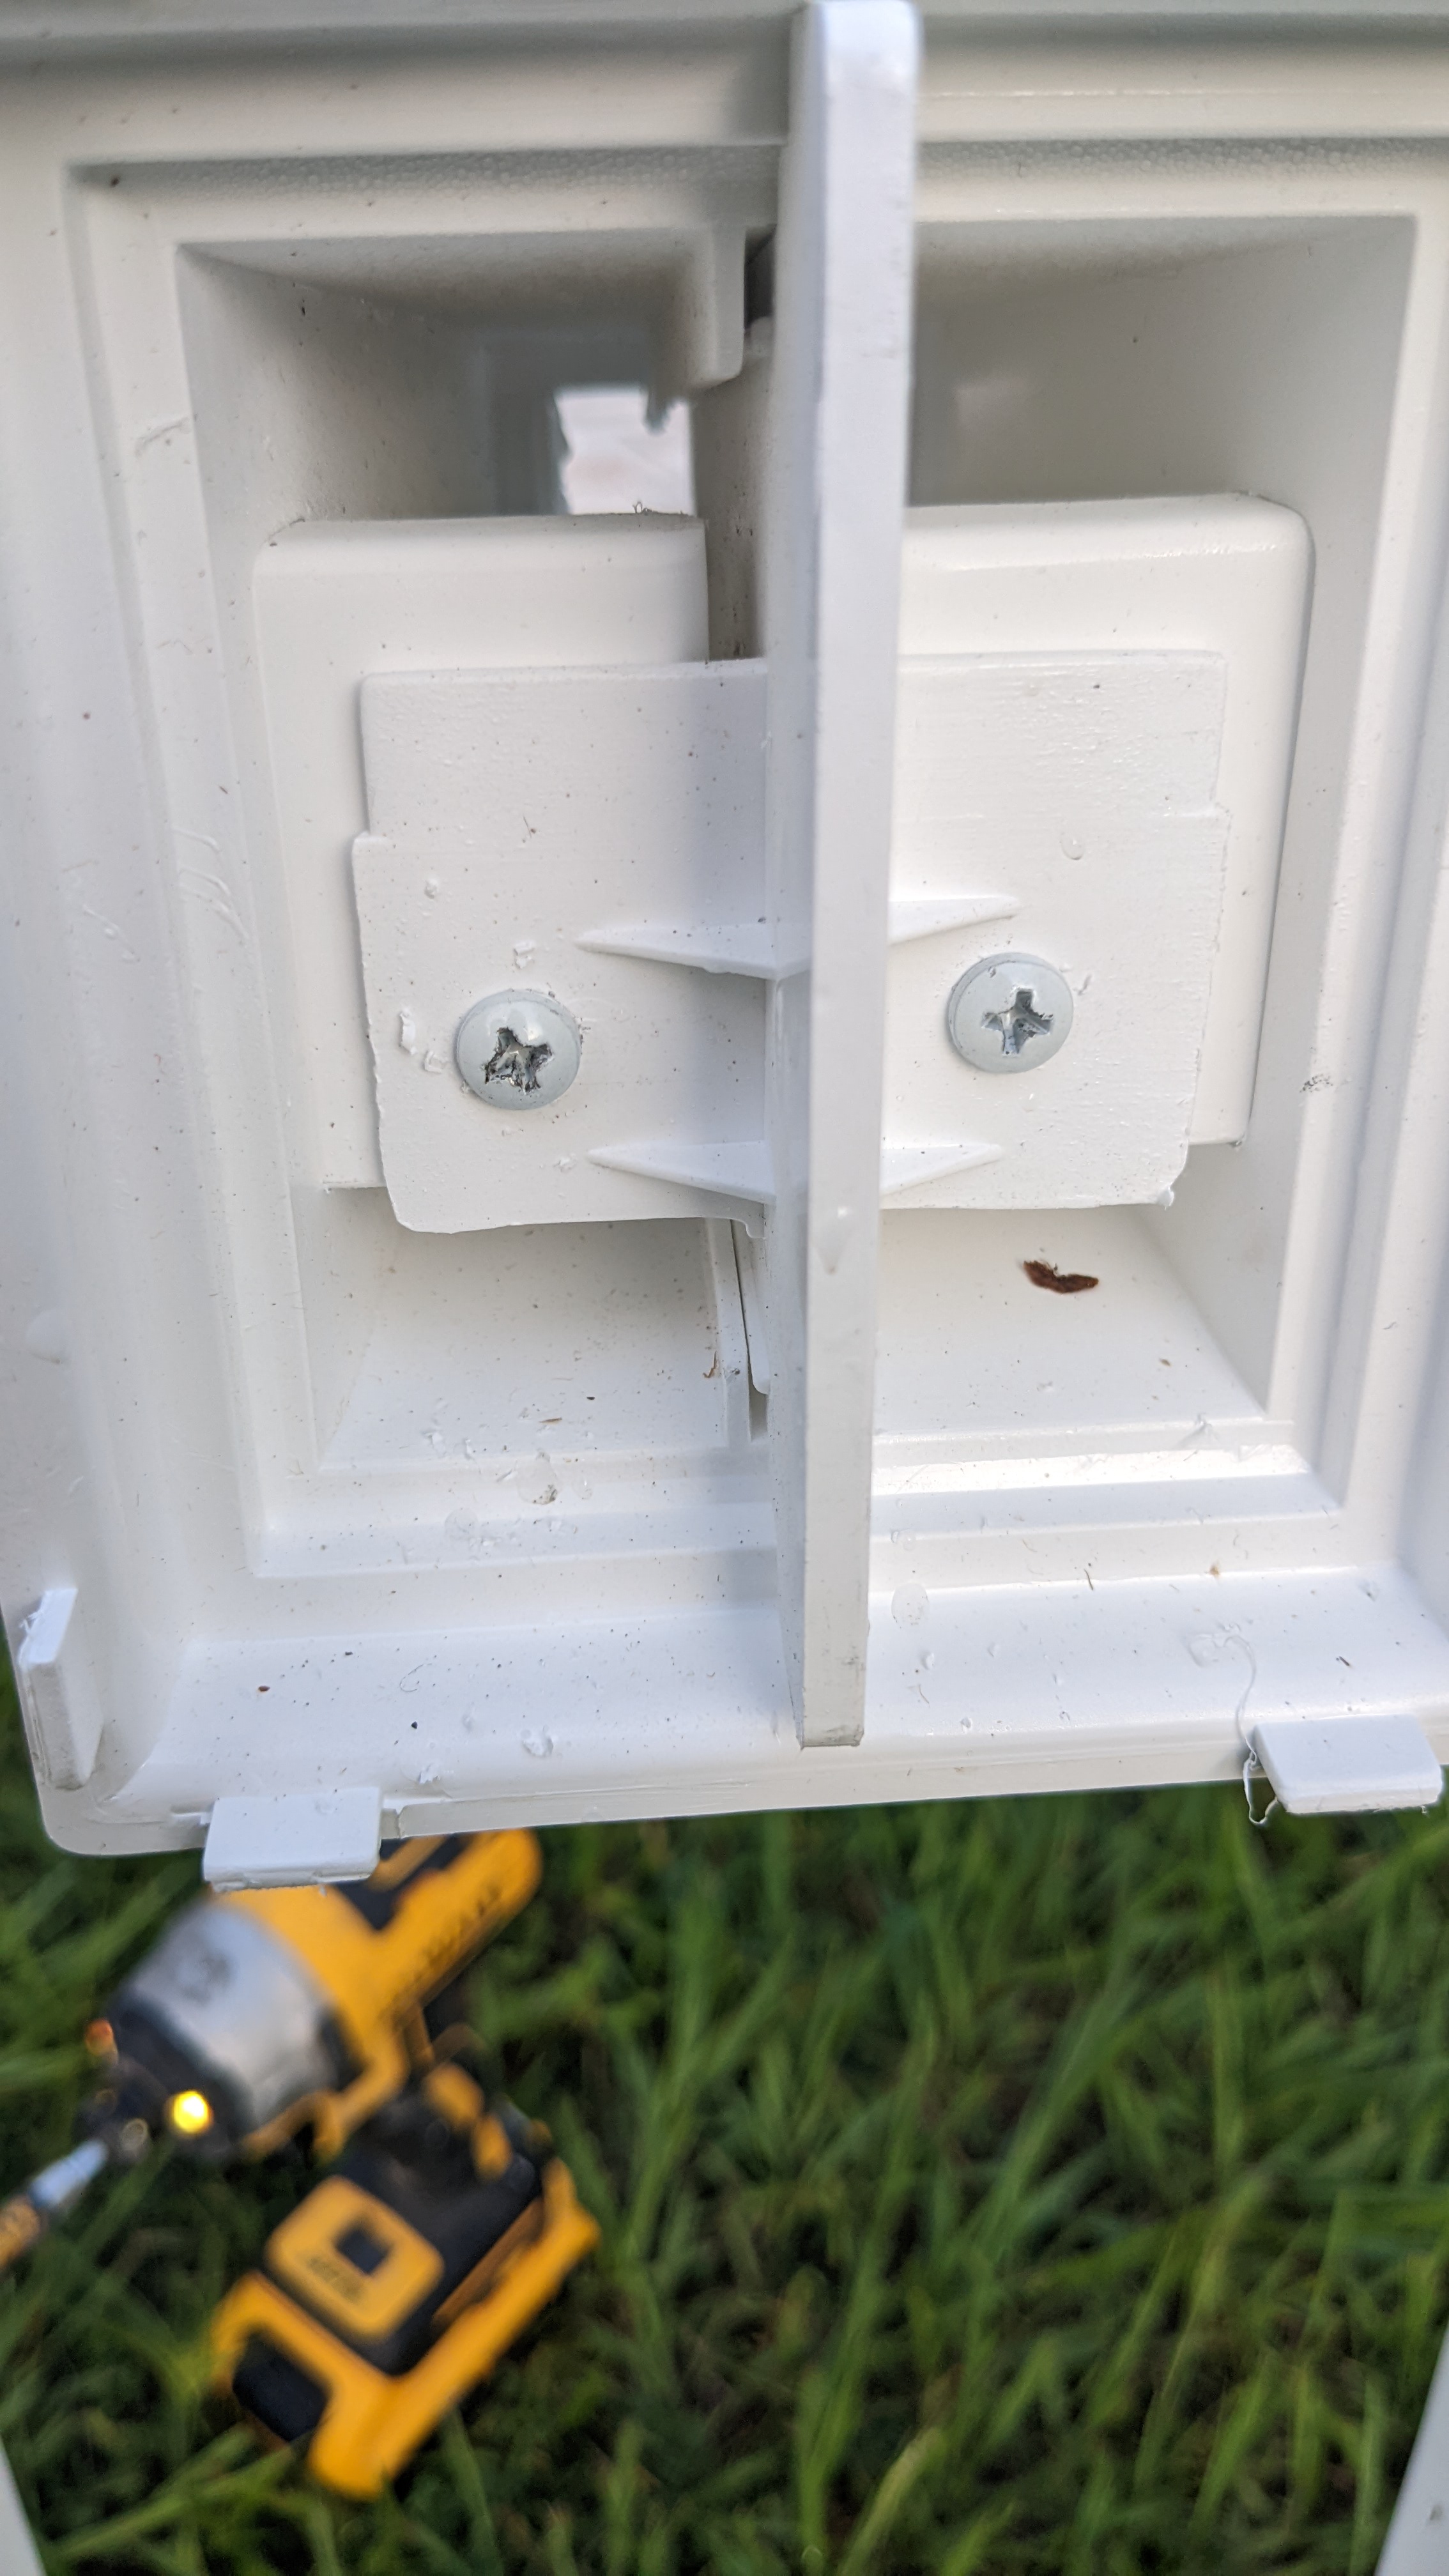
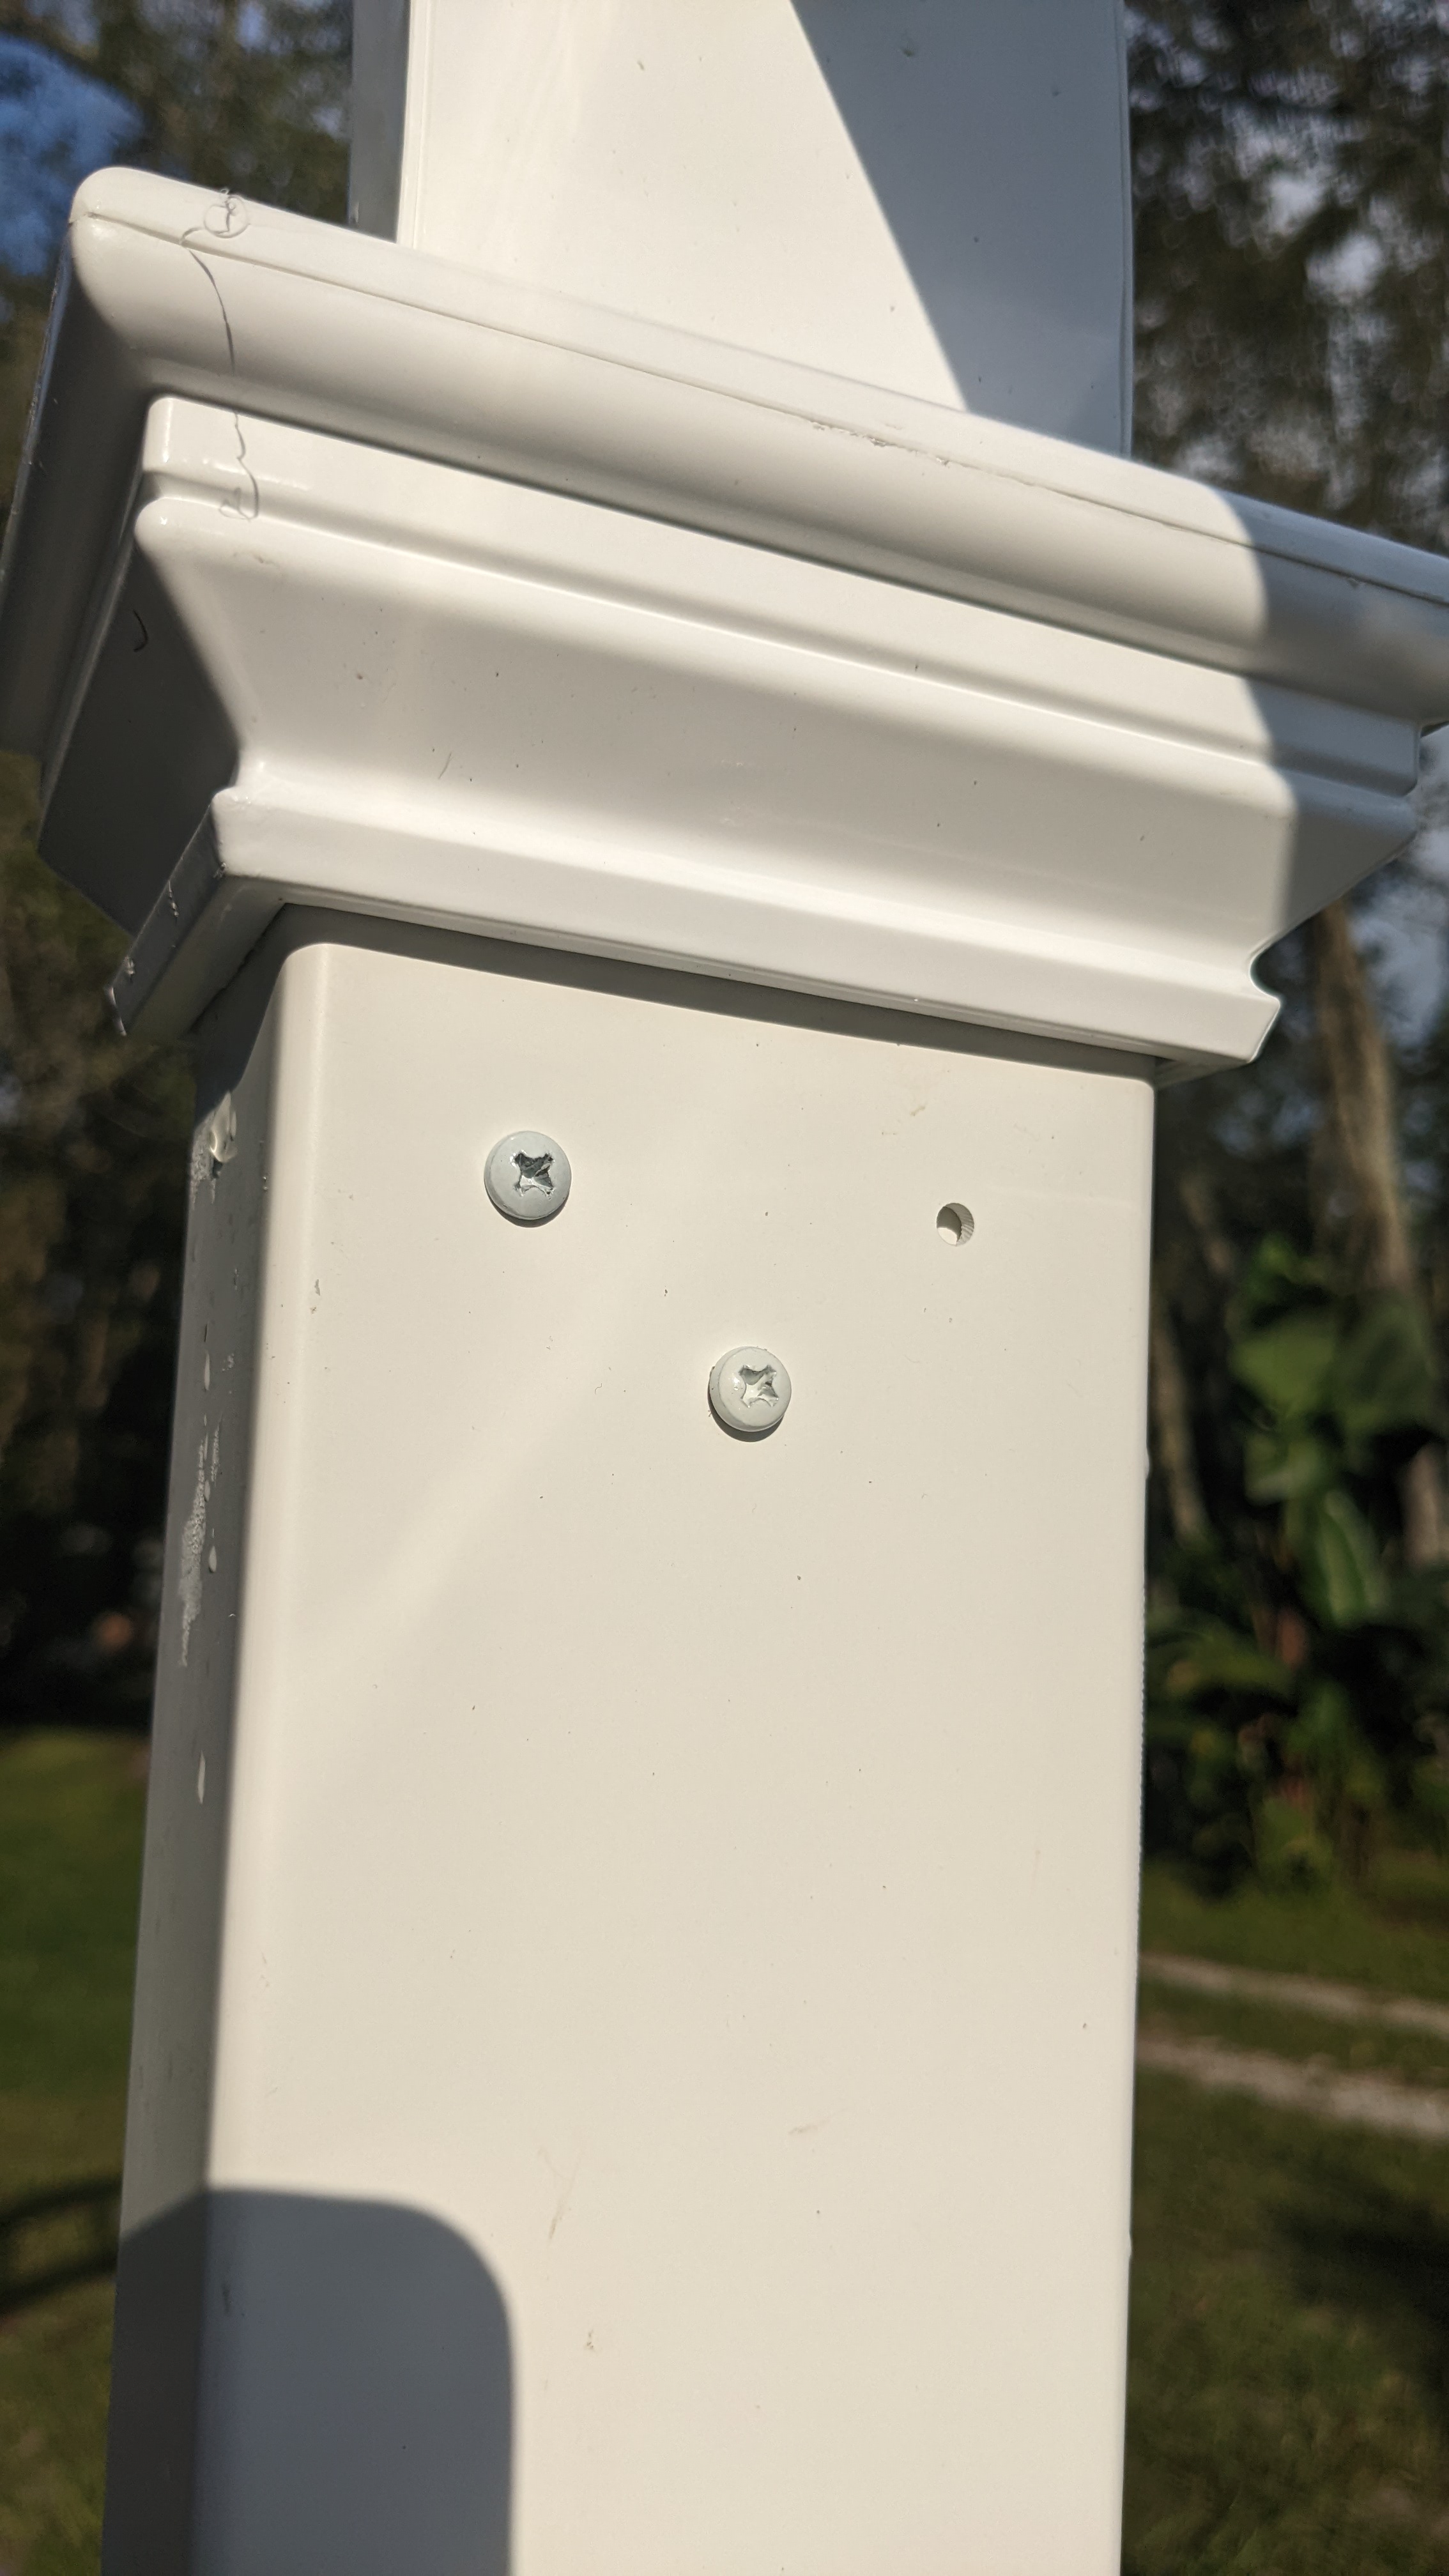
I moved everything over to the grass because I didn’t want to scratch up the vinyl. The important components were marked R for right and L for left. These pieces pictured here needed to be screwed in on the top and the bottom. Then, top and bottom covered cap the keystone. Since I started without a Phillips head drill, I left the screws until the next day.
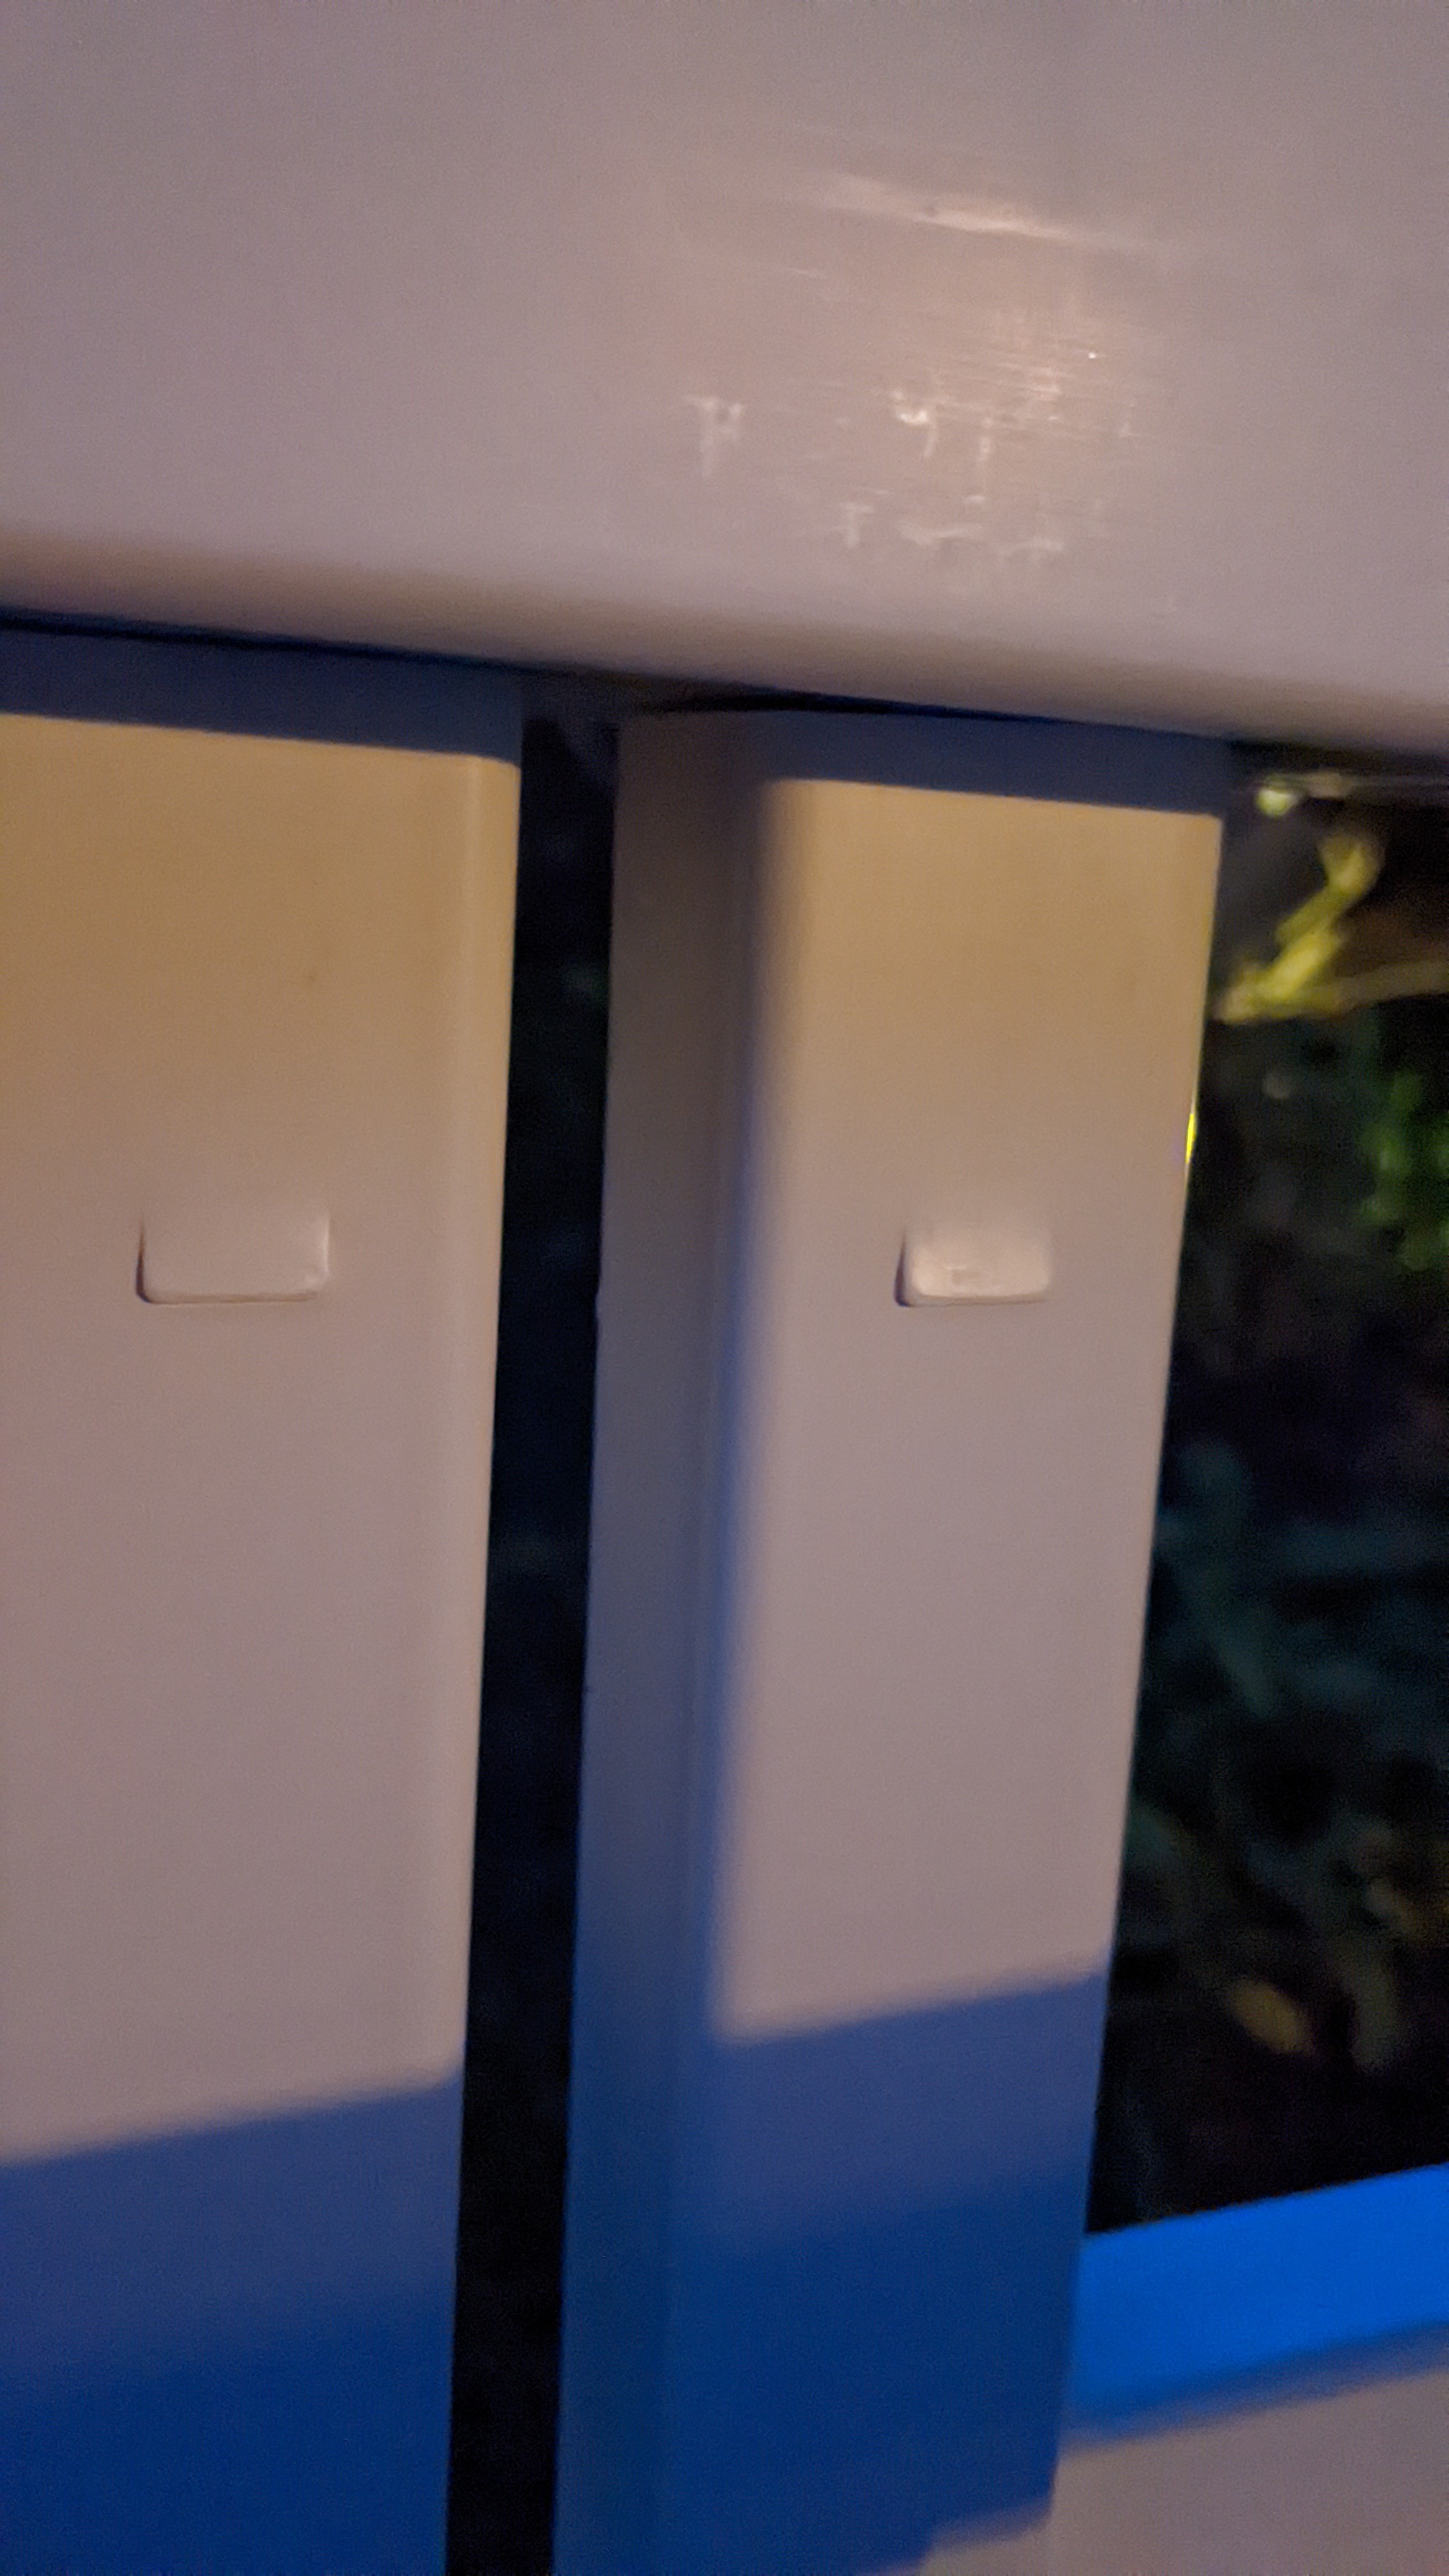
The next step was to fit in the rails that would connect both arches.

Then, the second arch snapped into the first arch.
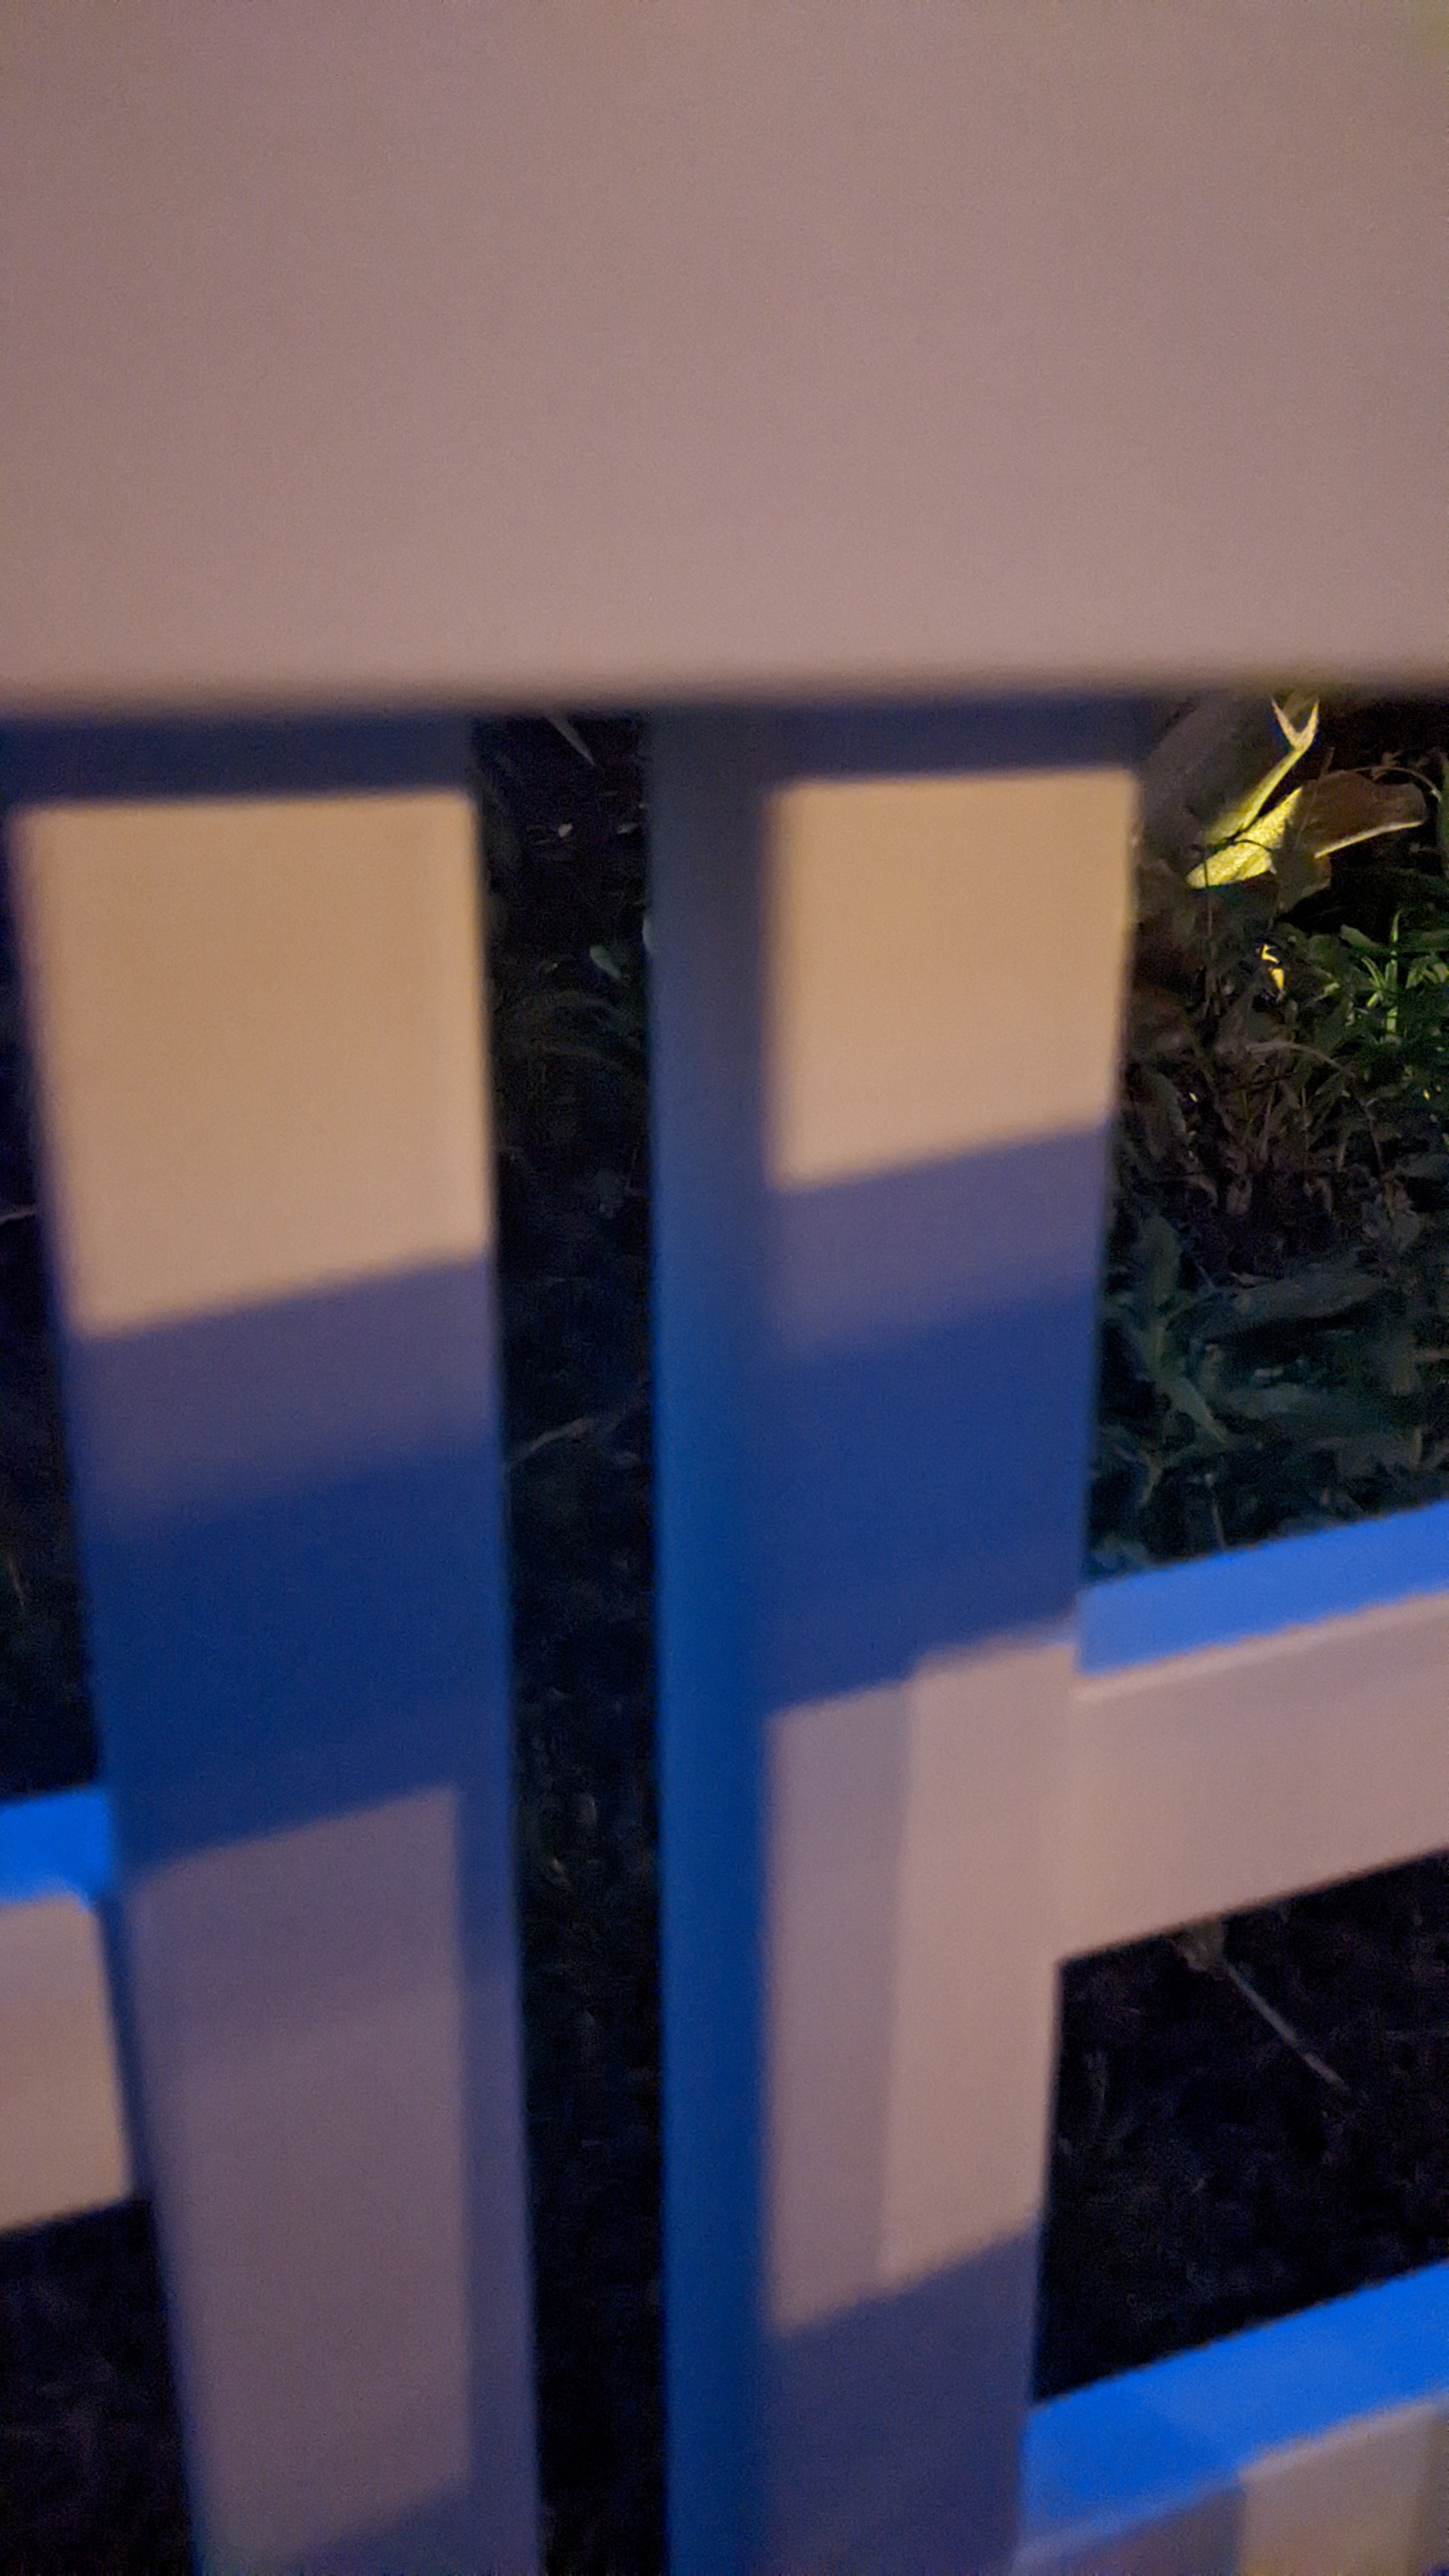
Next, I tackled the sides. All-in-all, it has been pretty easy to manage by myself… so far.
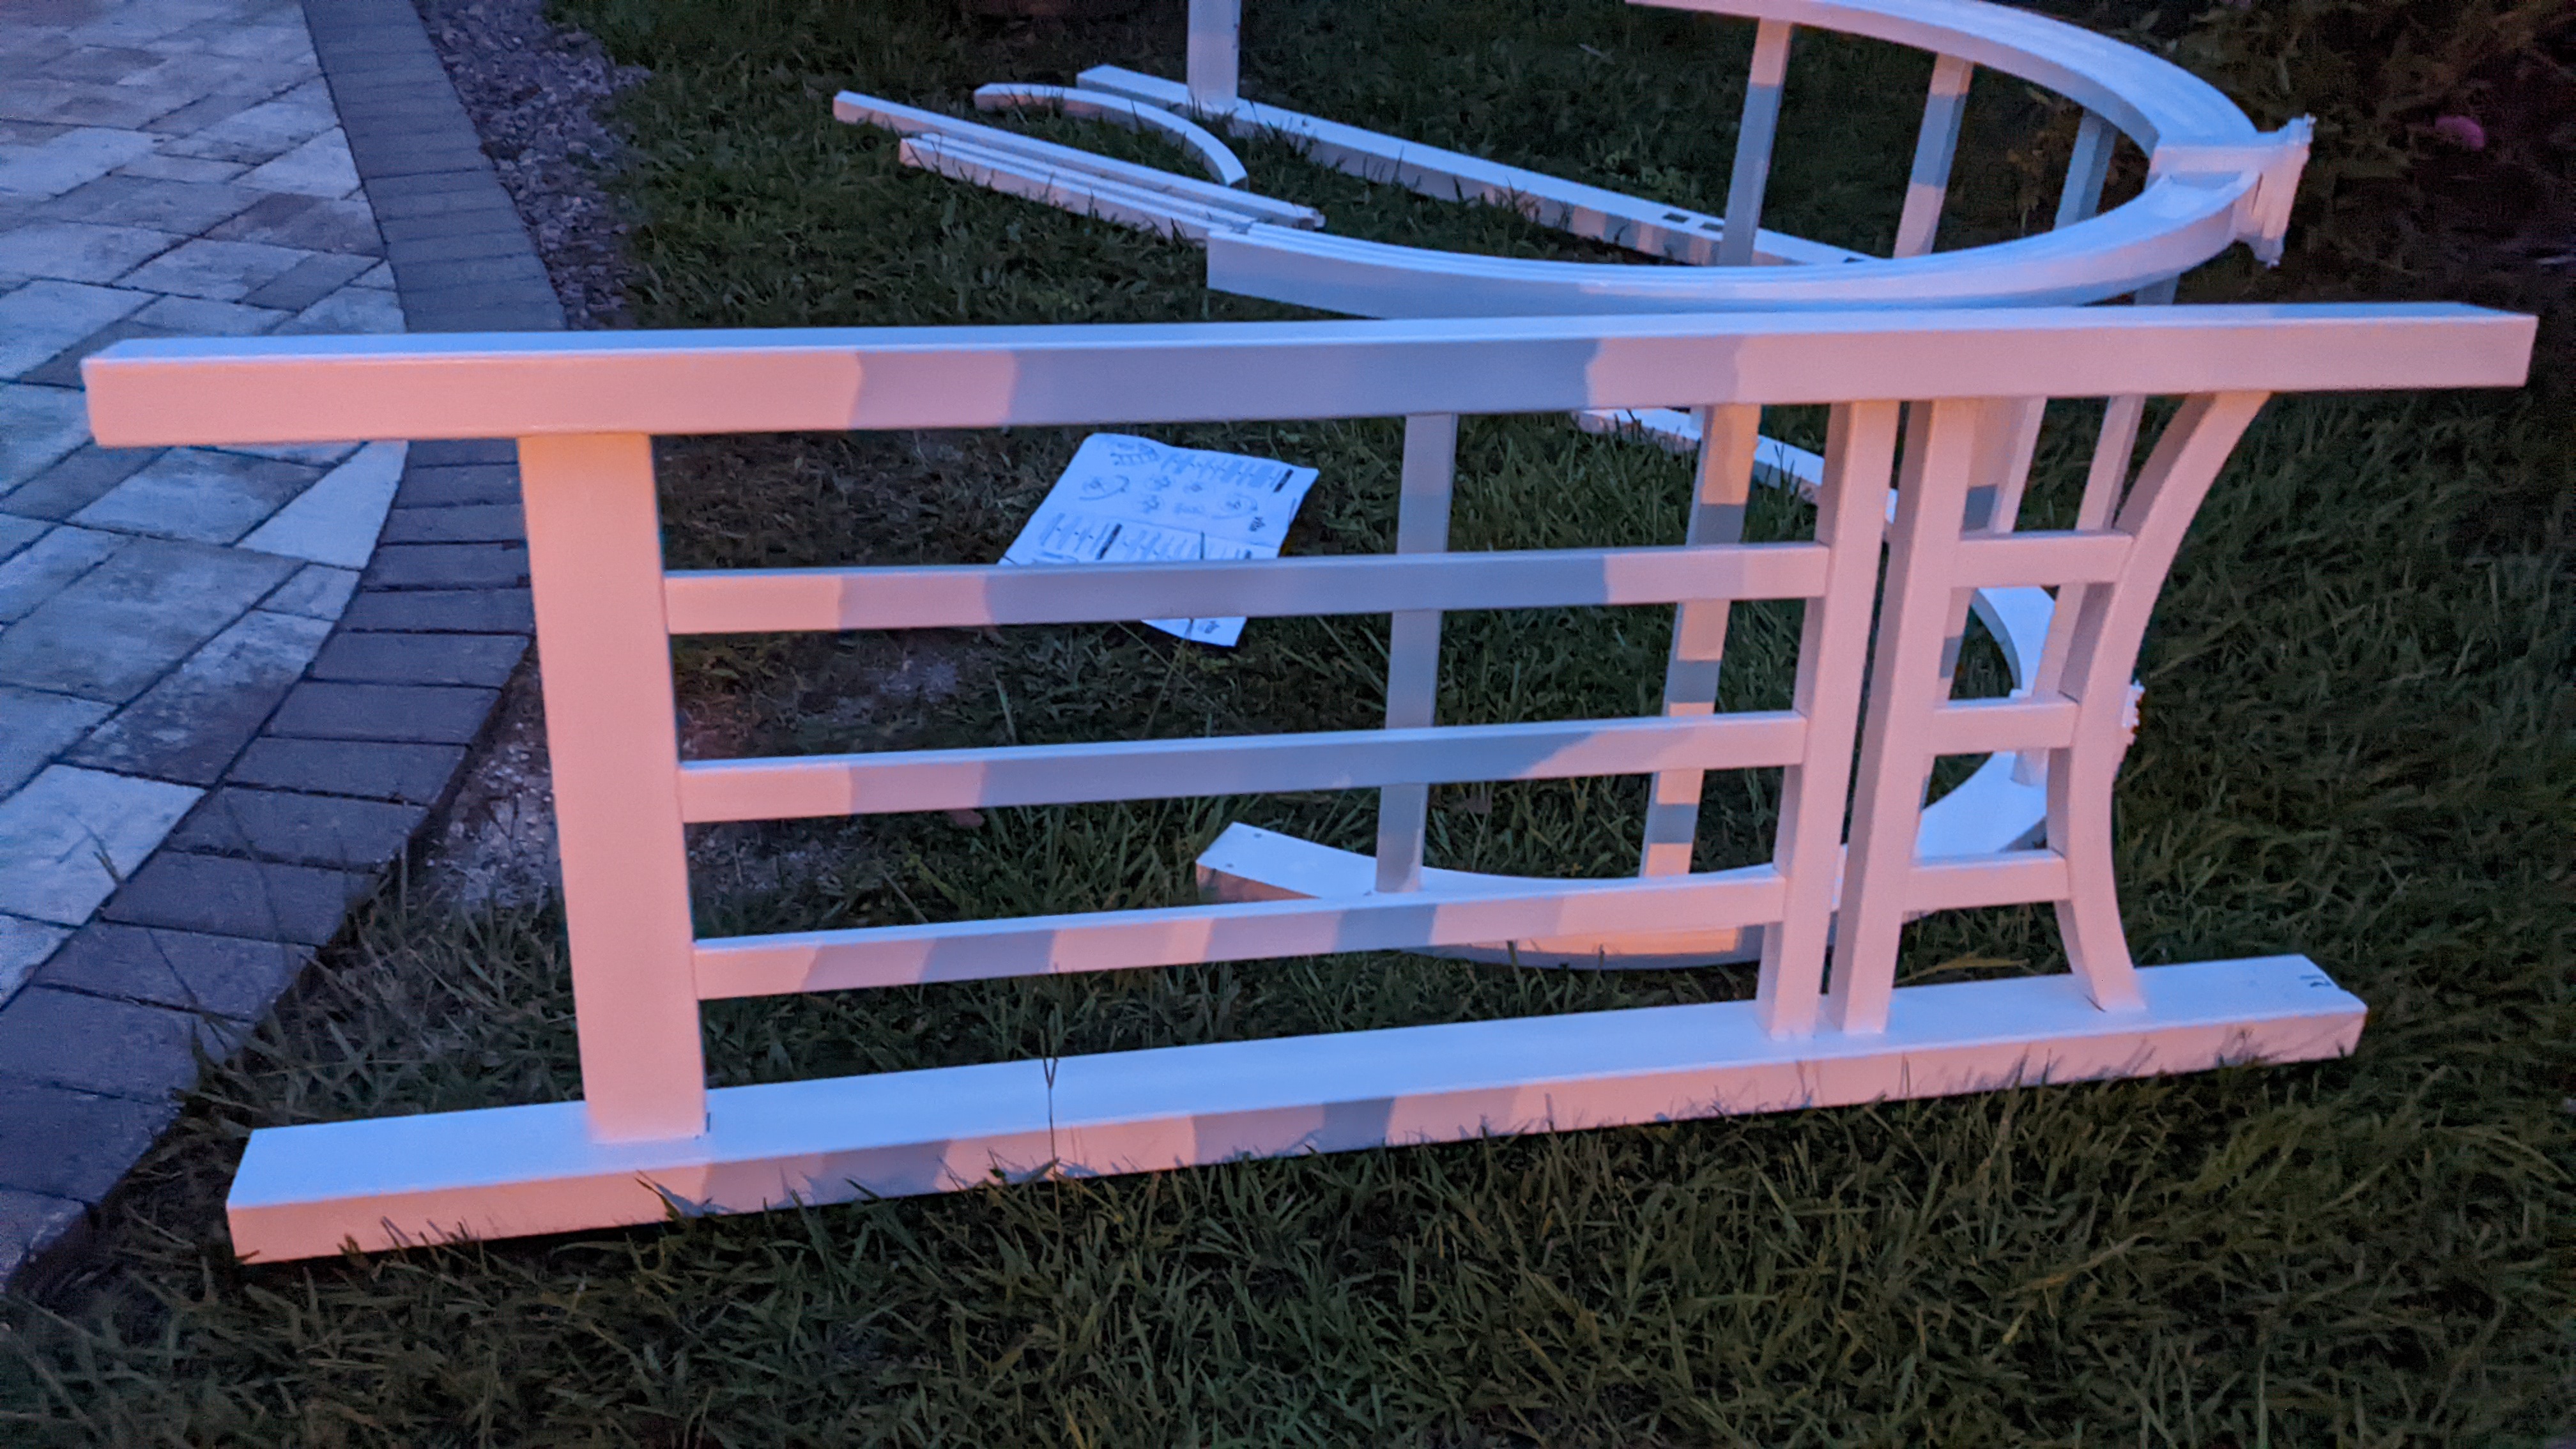
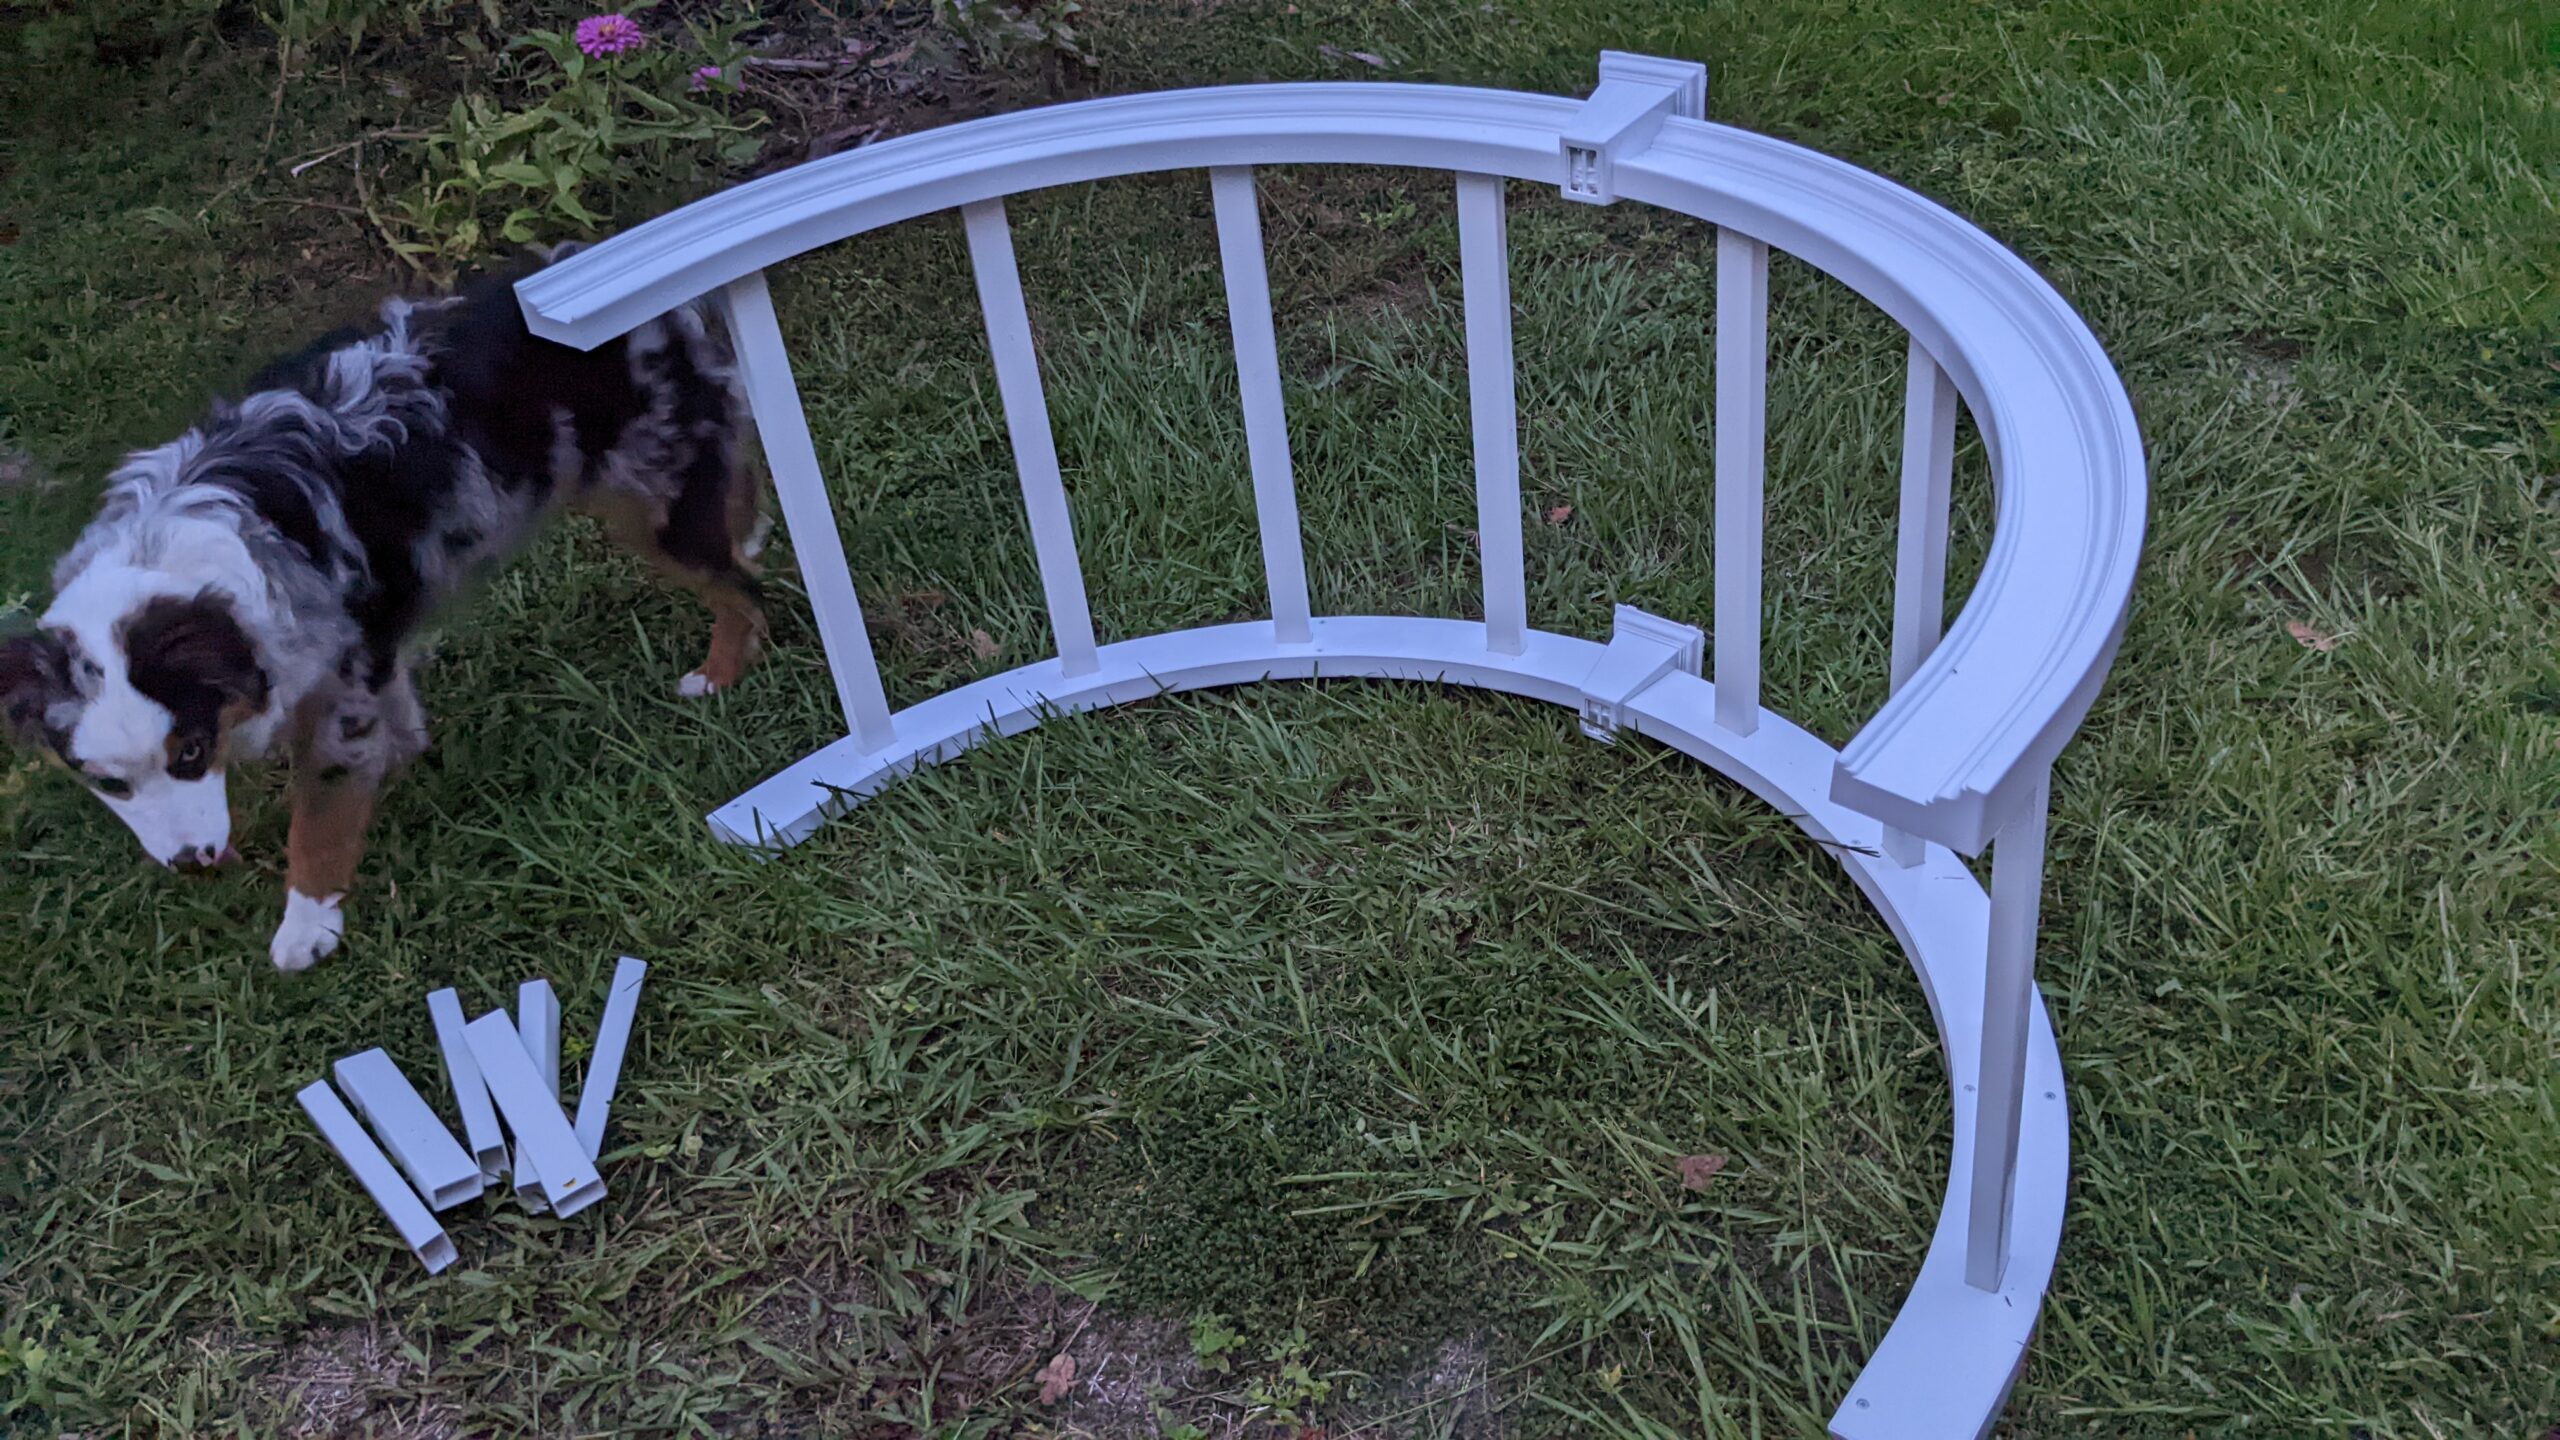
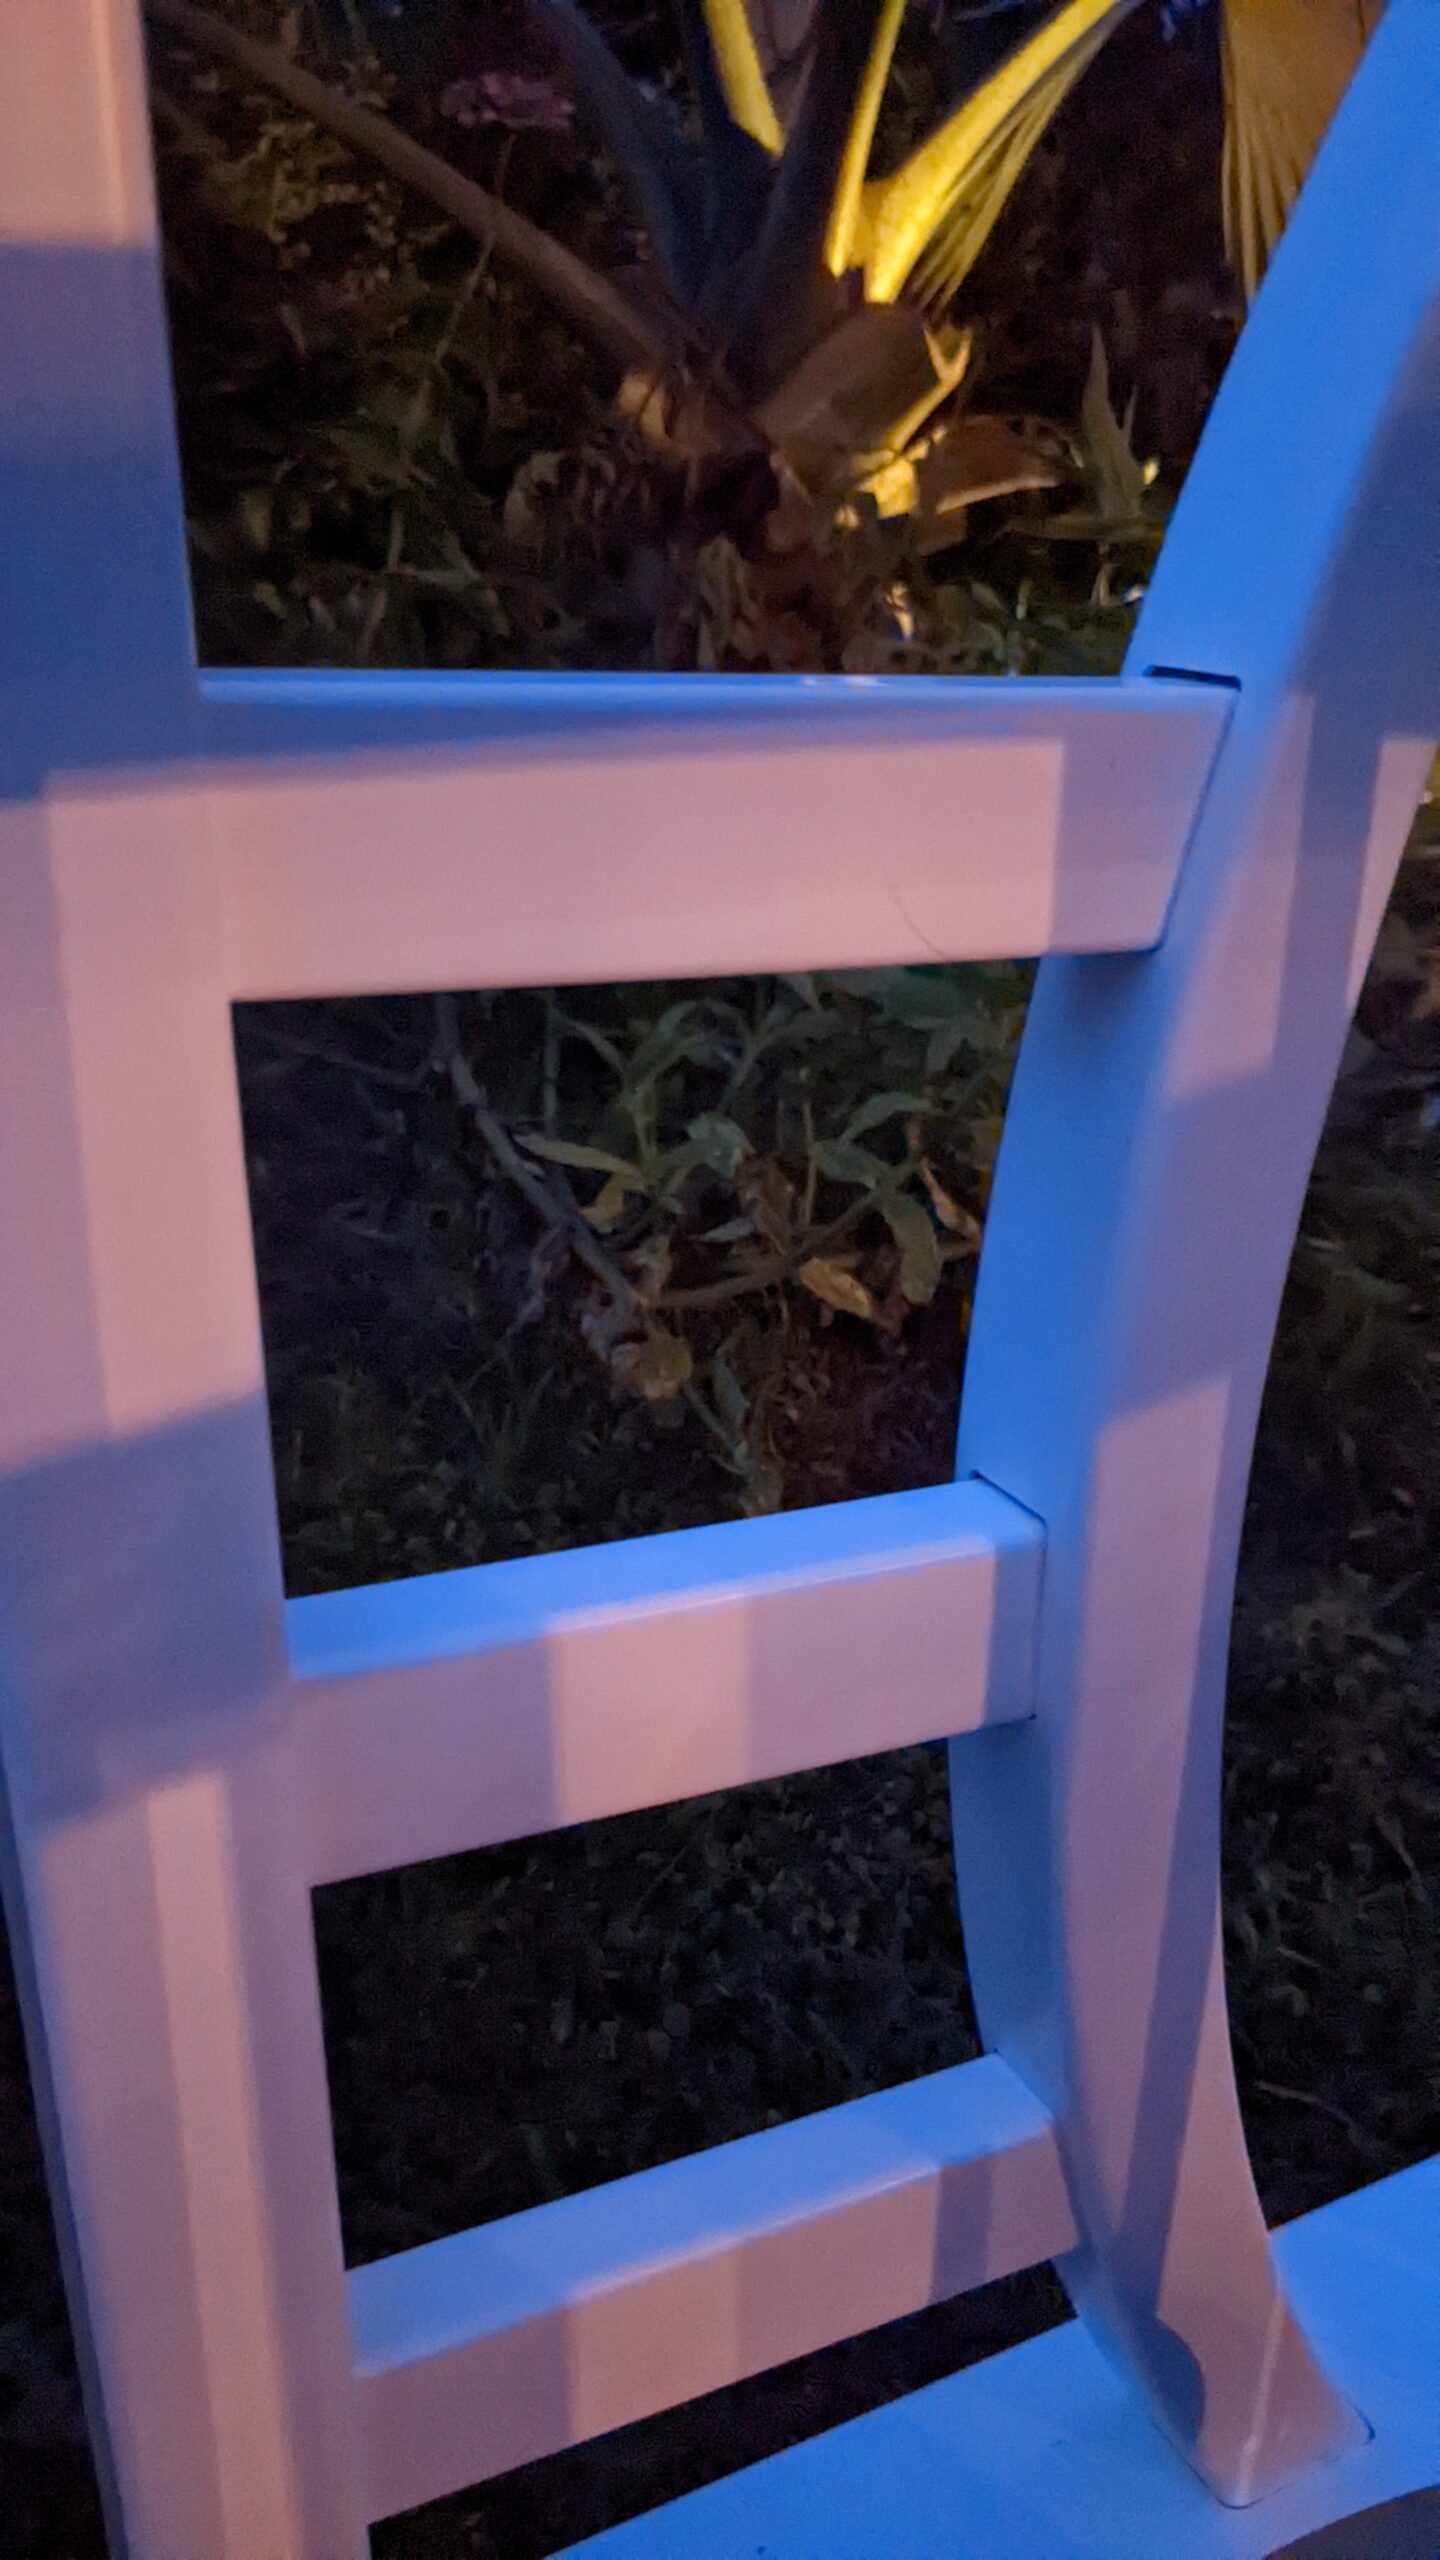
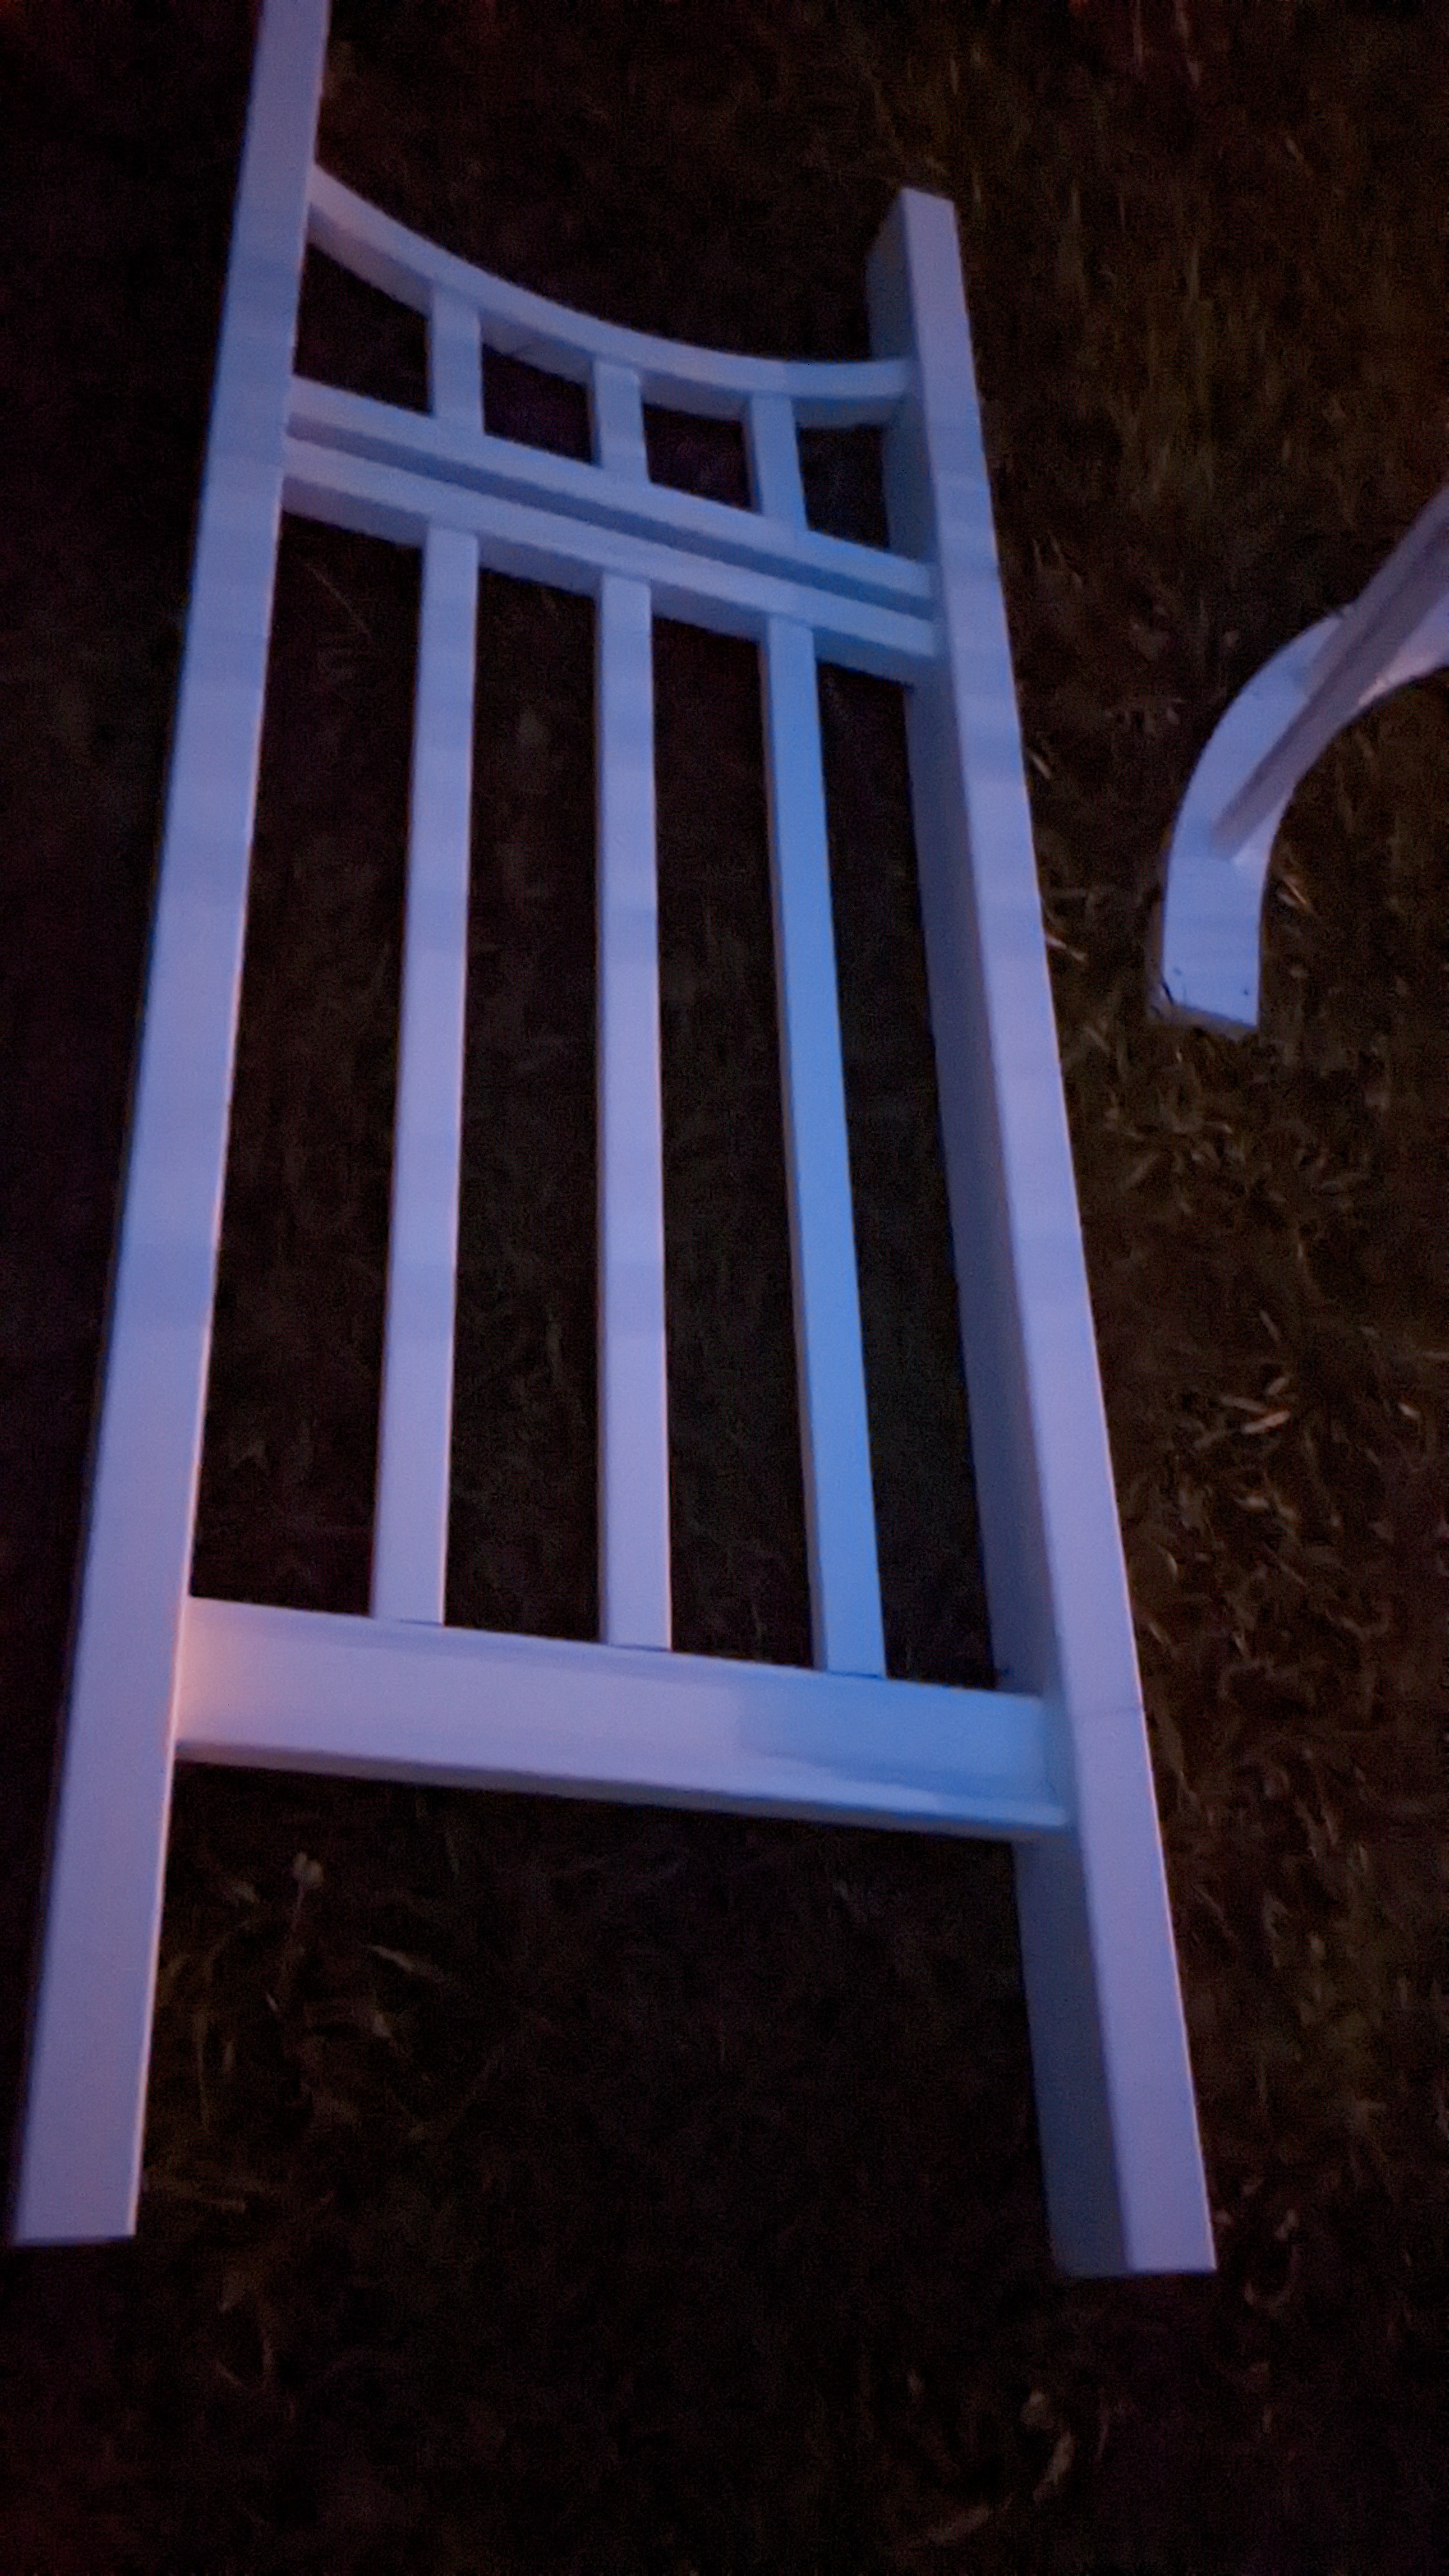
I placed the long side flat on the grass, then snapped in the bottom rail. Next, I positioned the three vertical railing pieces (horizontal in this picture) and snapped them into the top straight rail of the bottom railing.
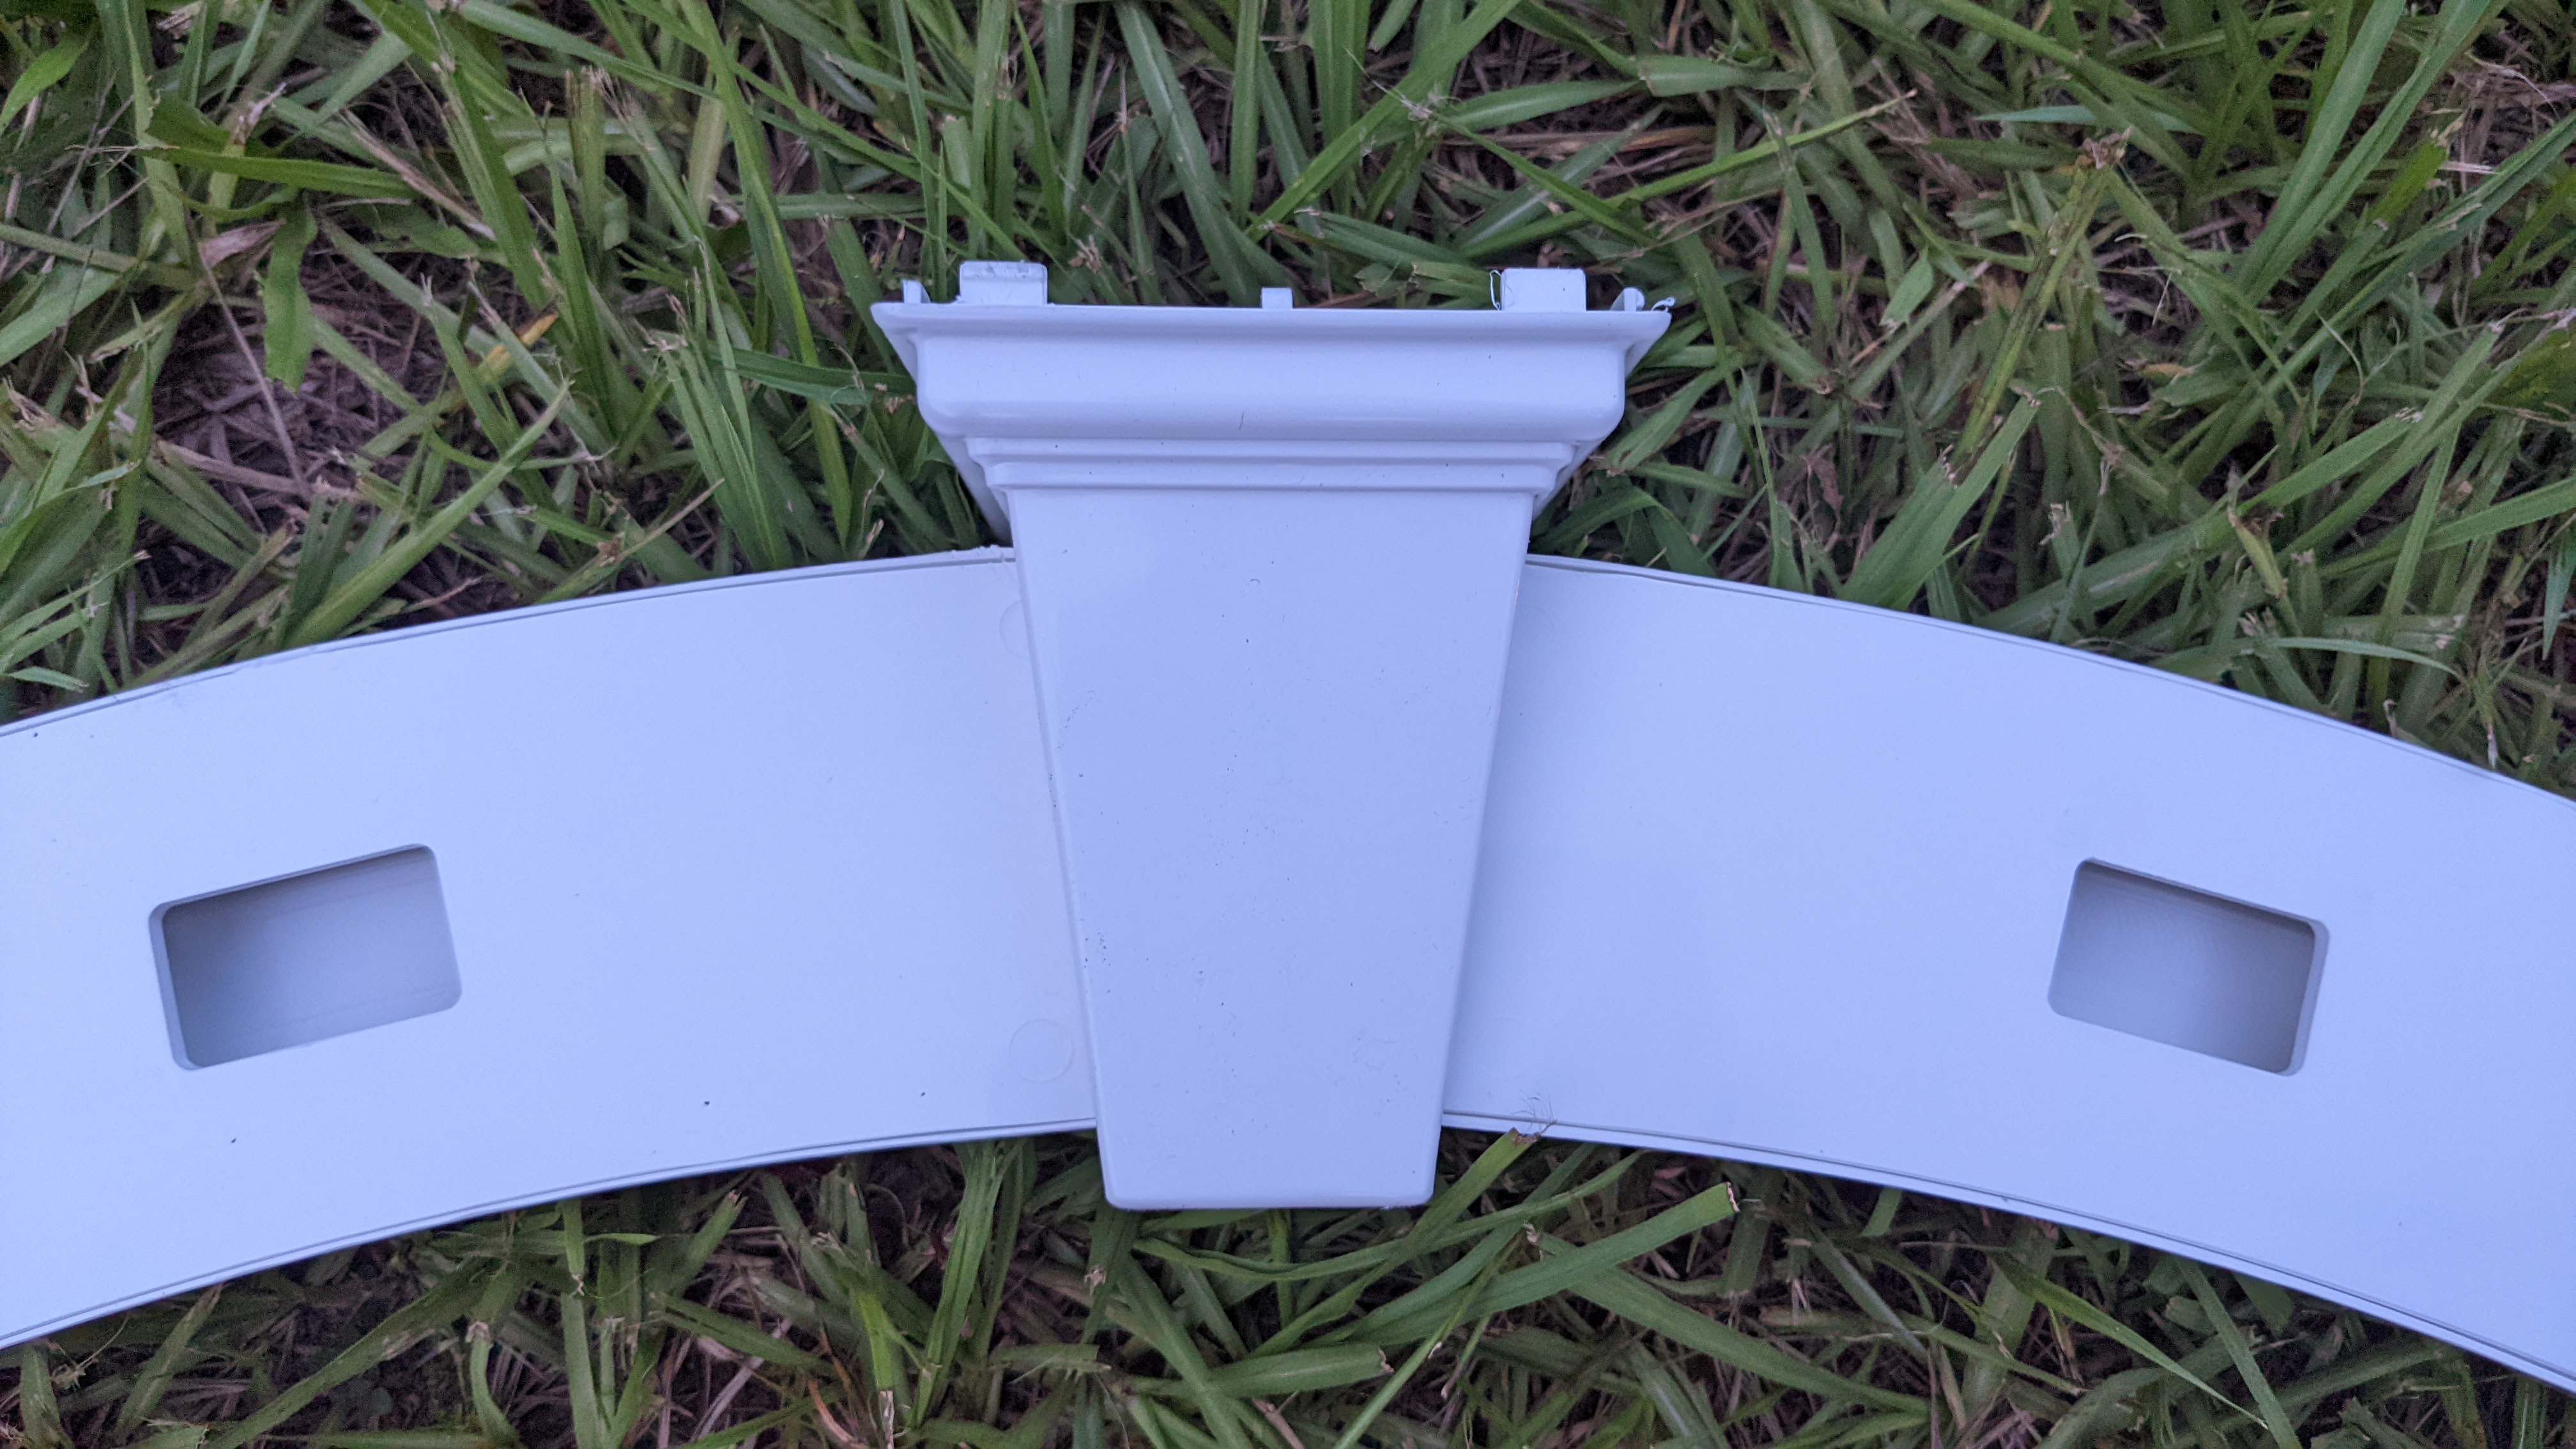
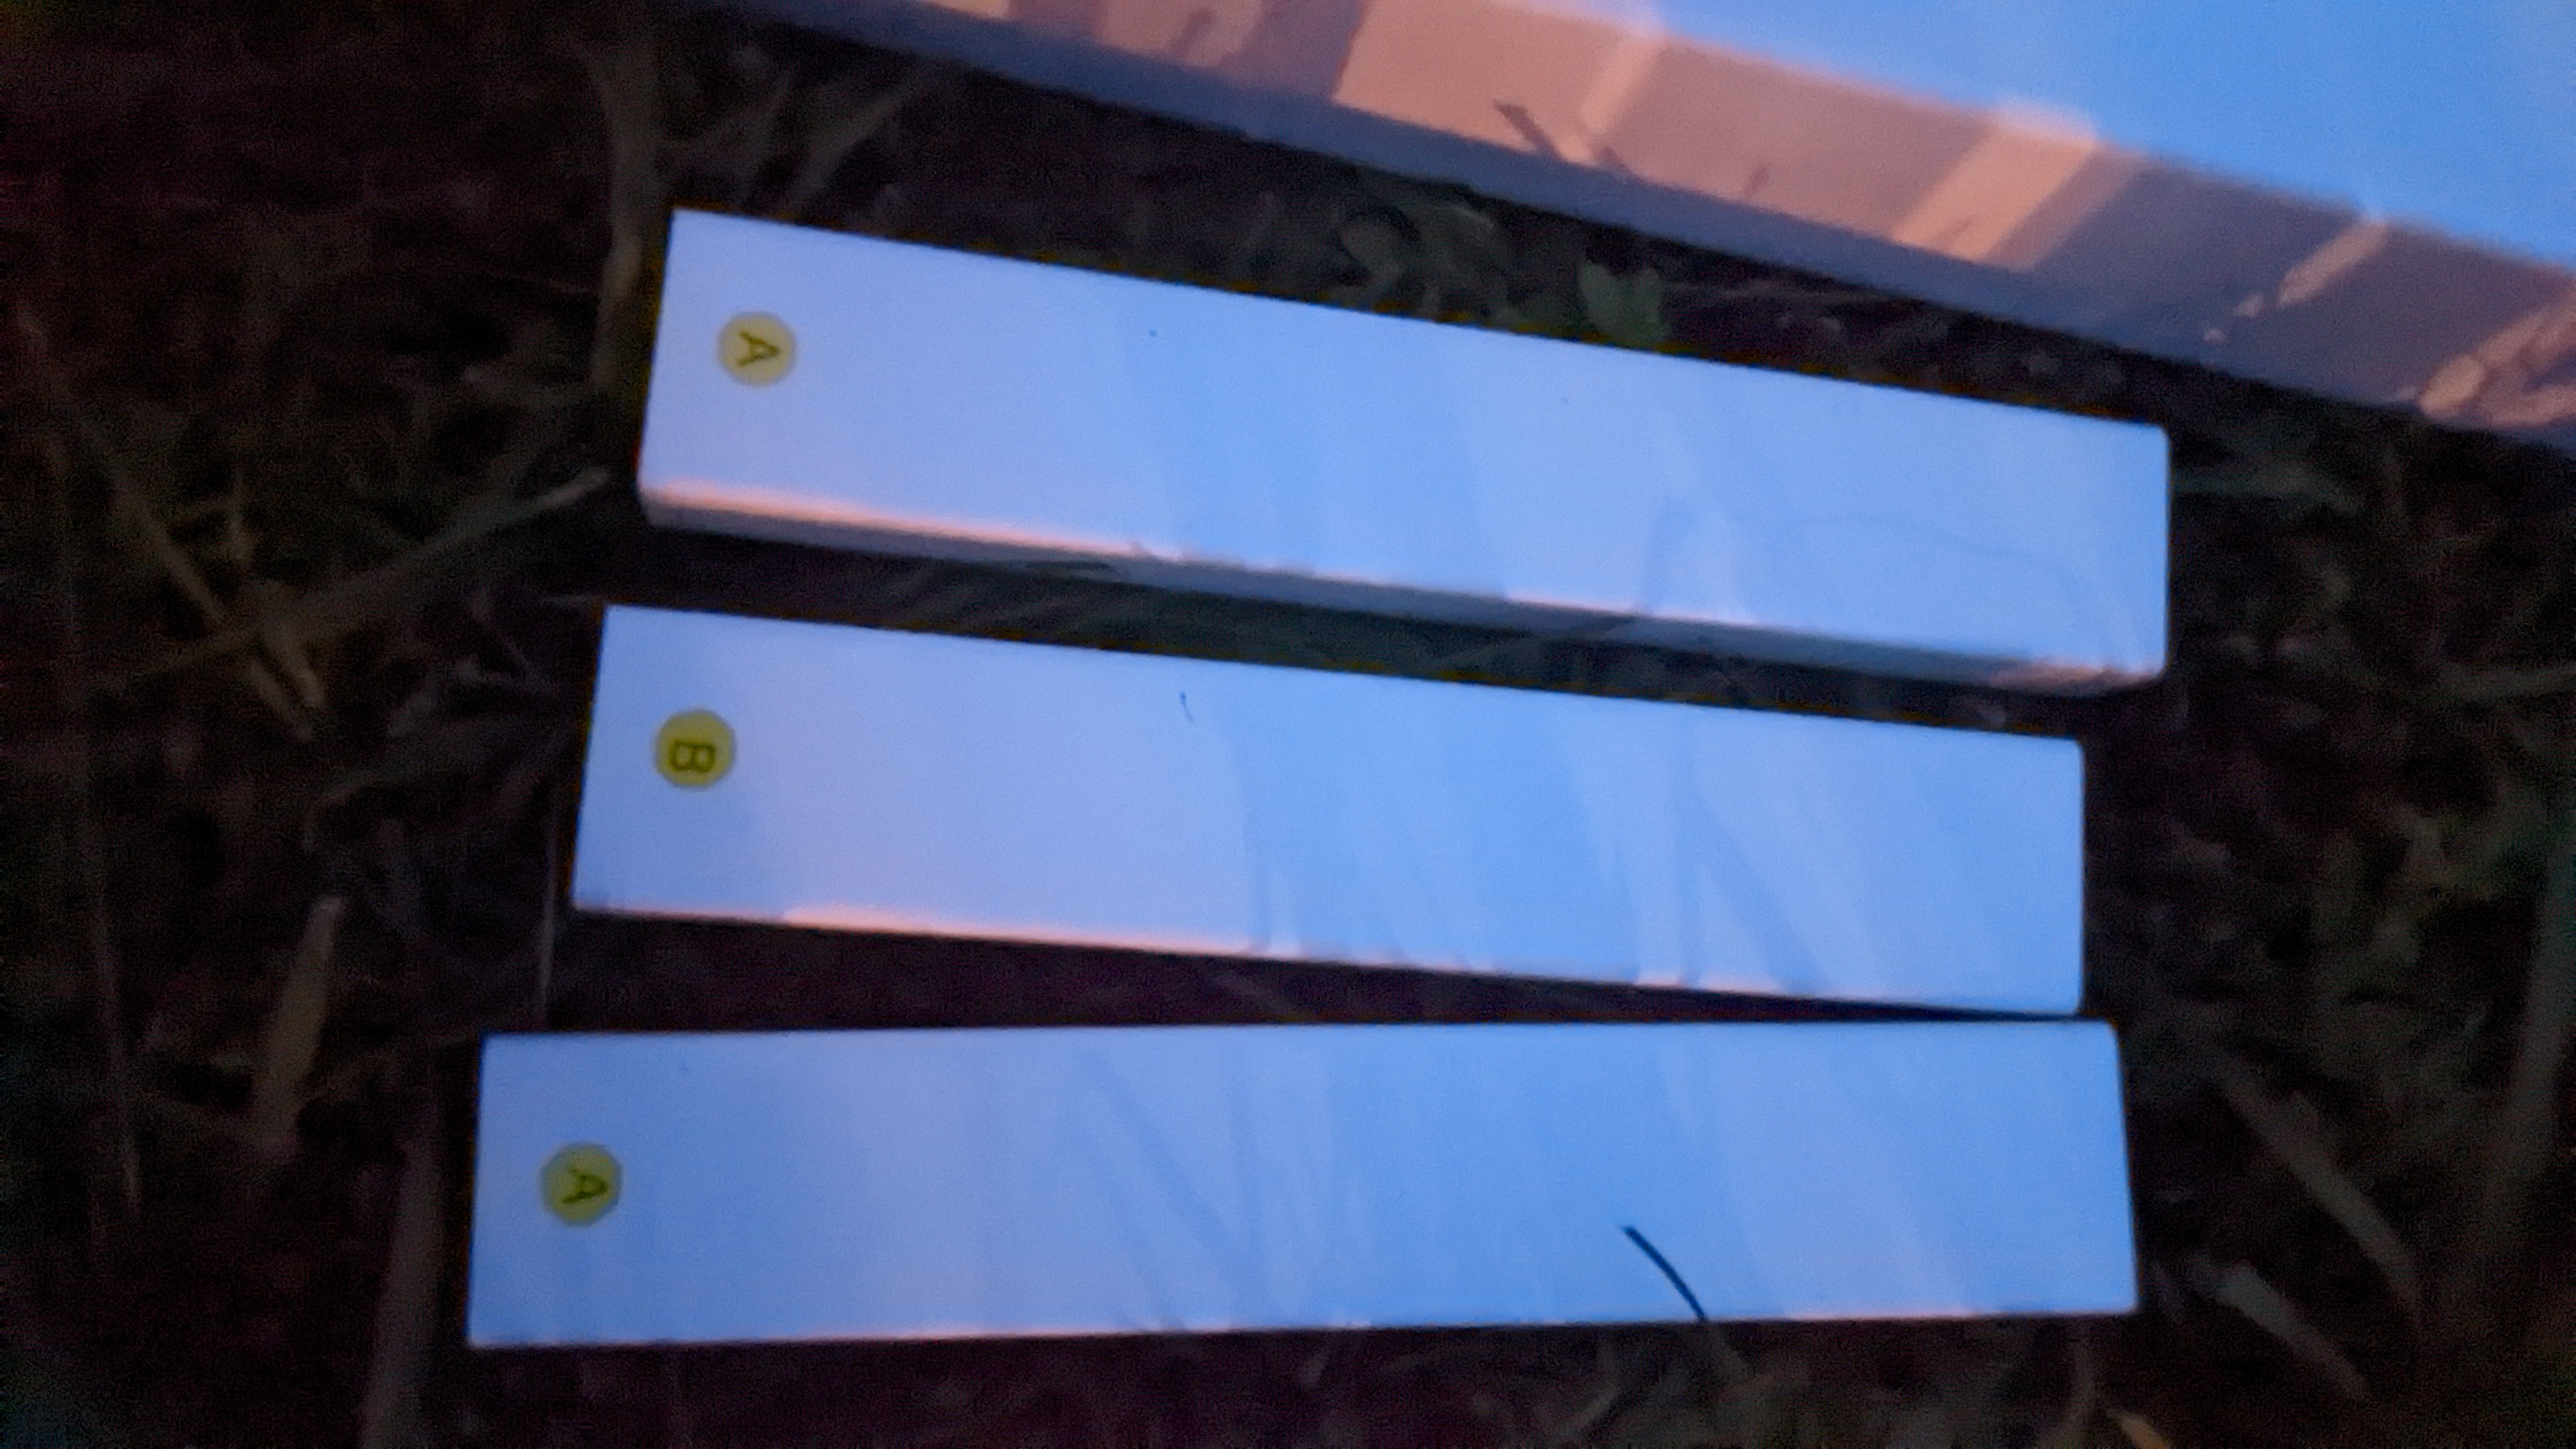
The curved top part of the railing was next up. The most important part about this step is to realize there are pieces marked A and B. Two As go on the outside and the B goes in the middle.
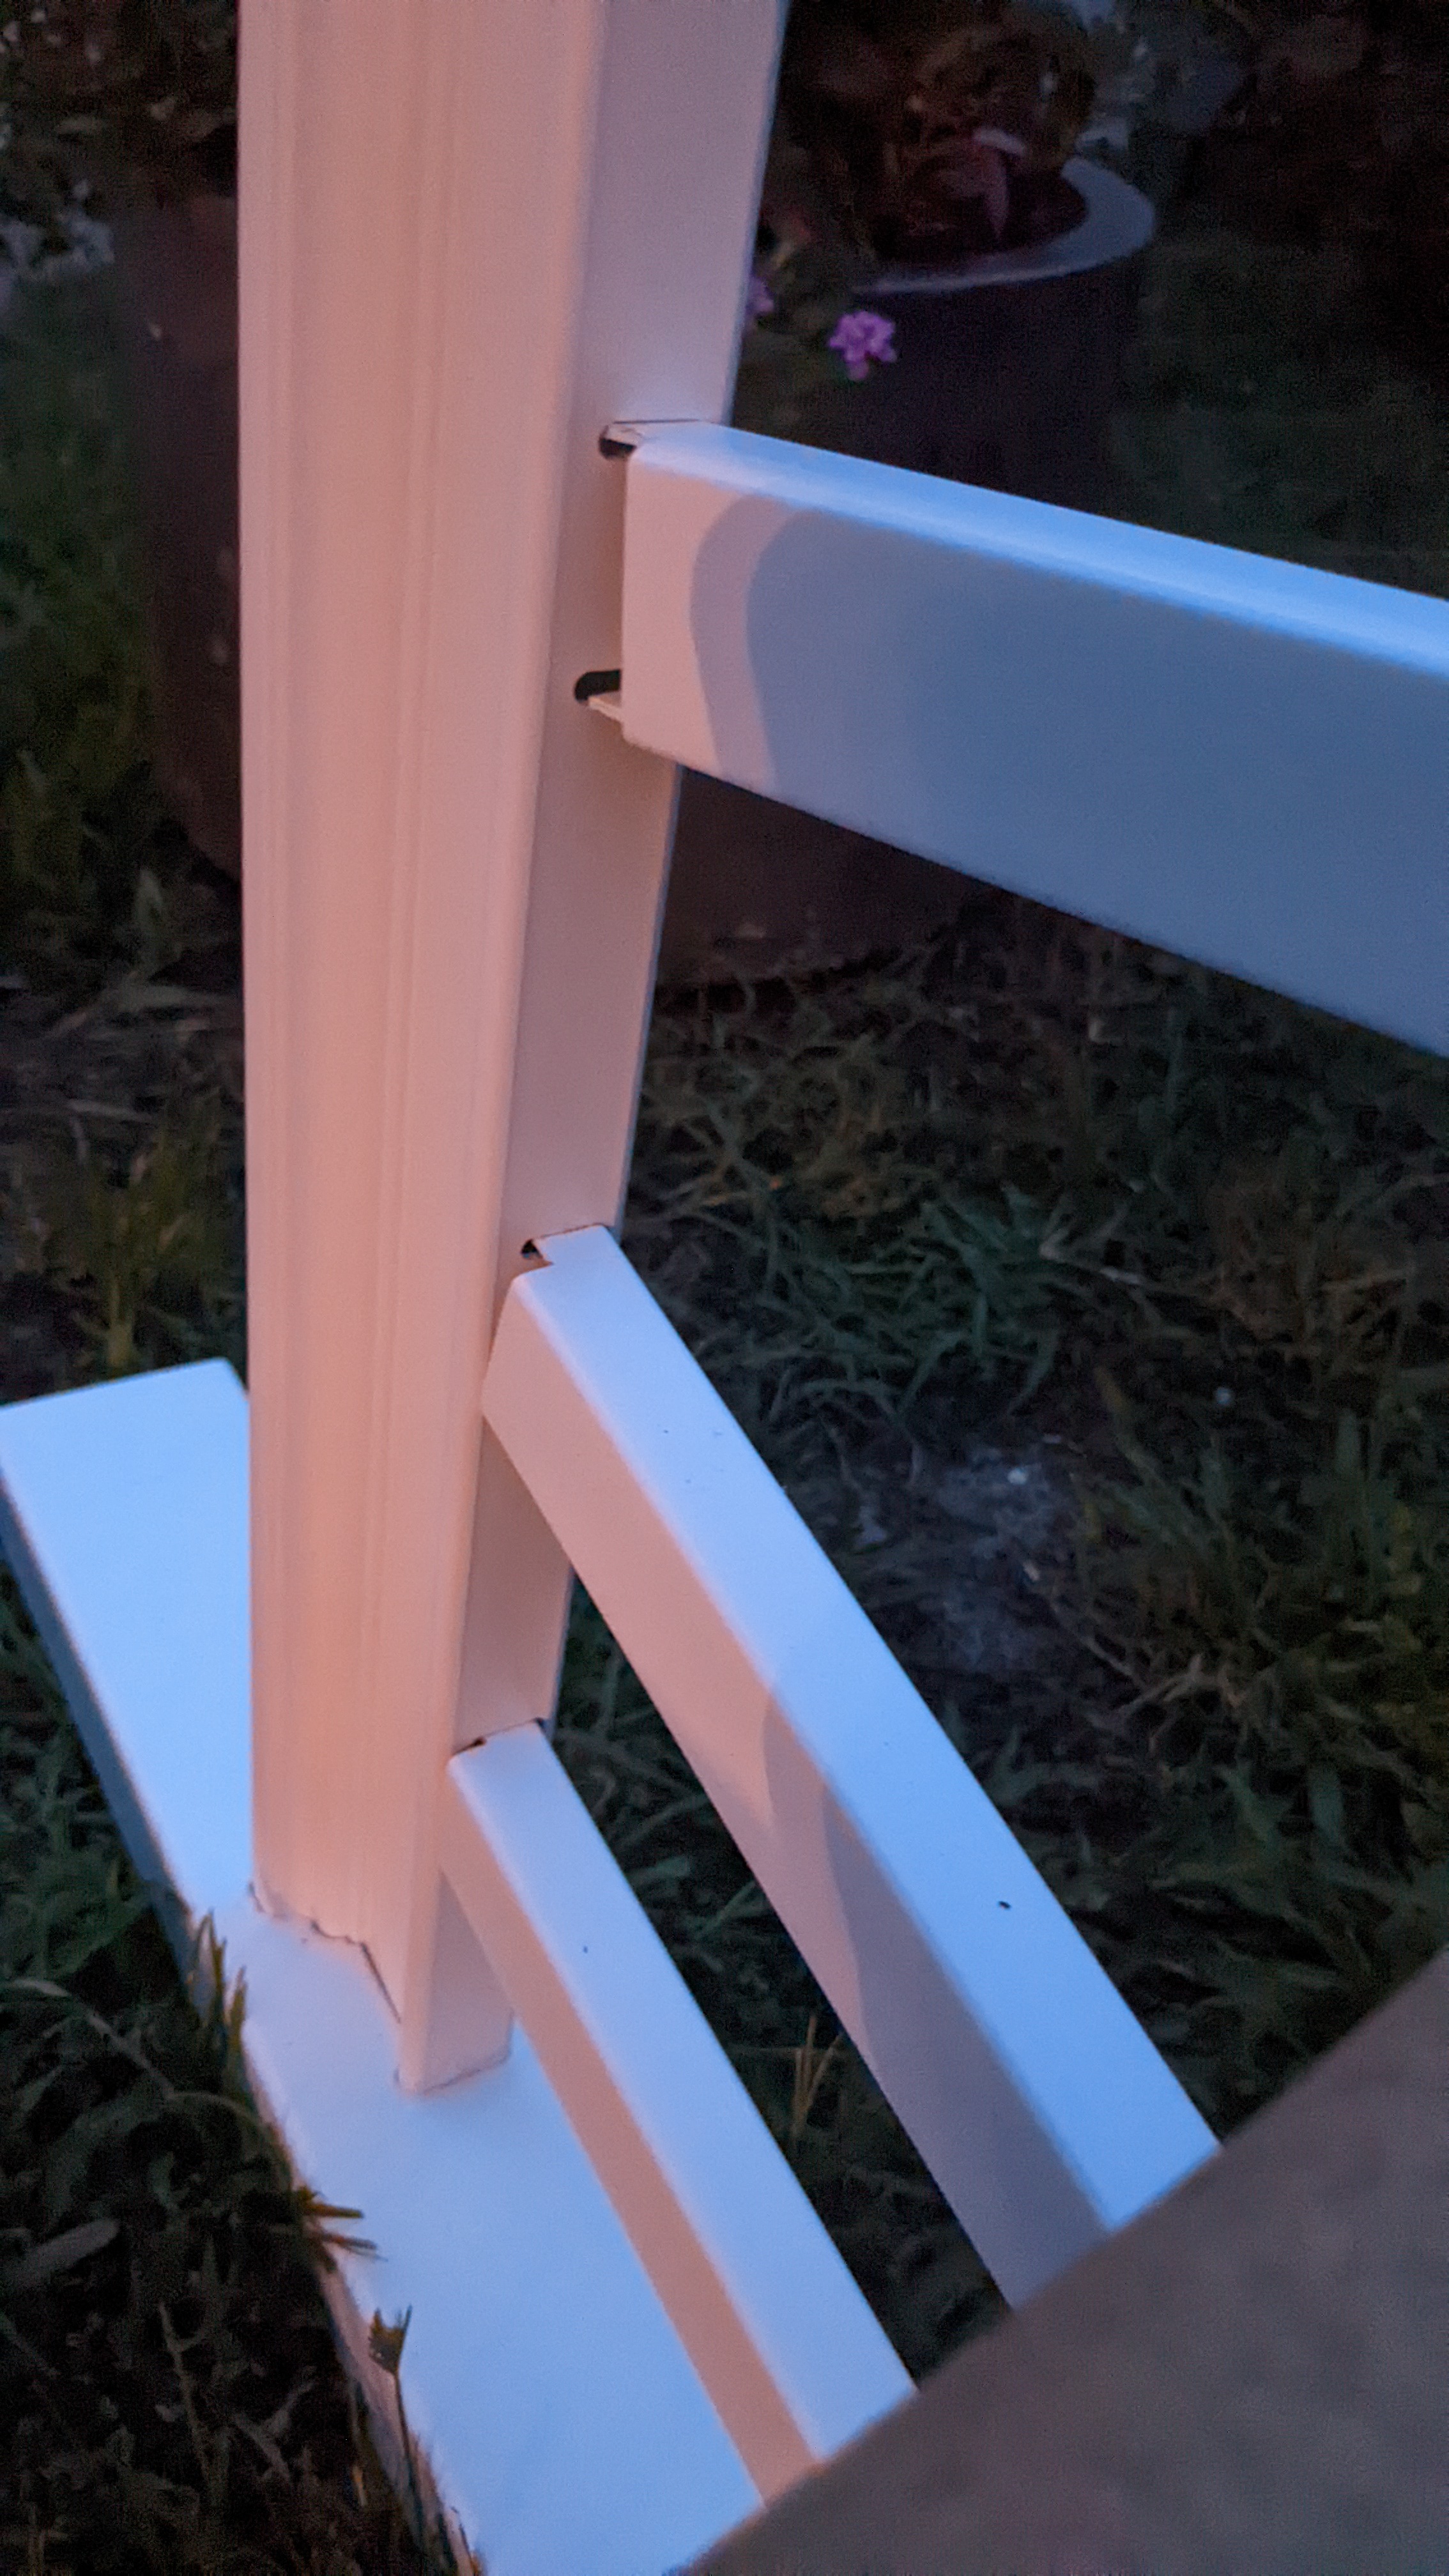
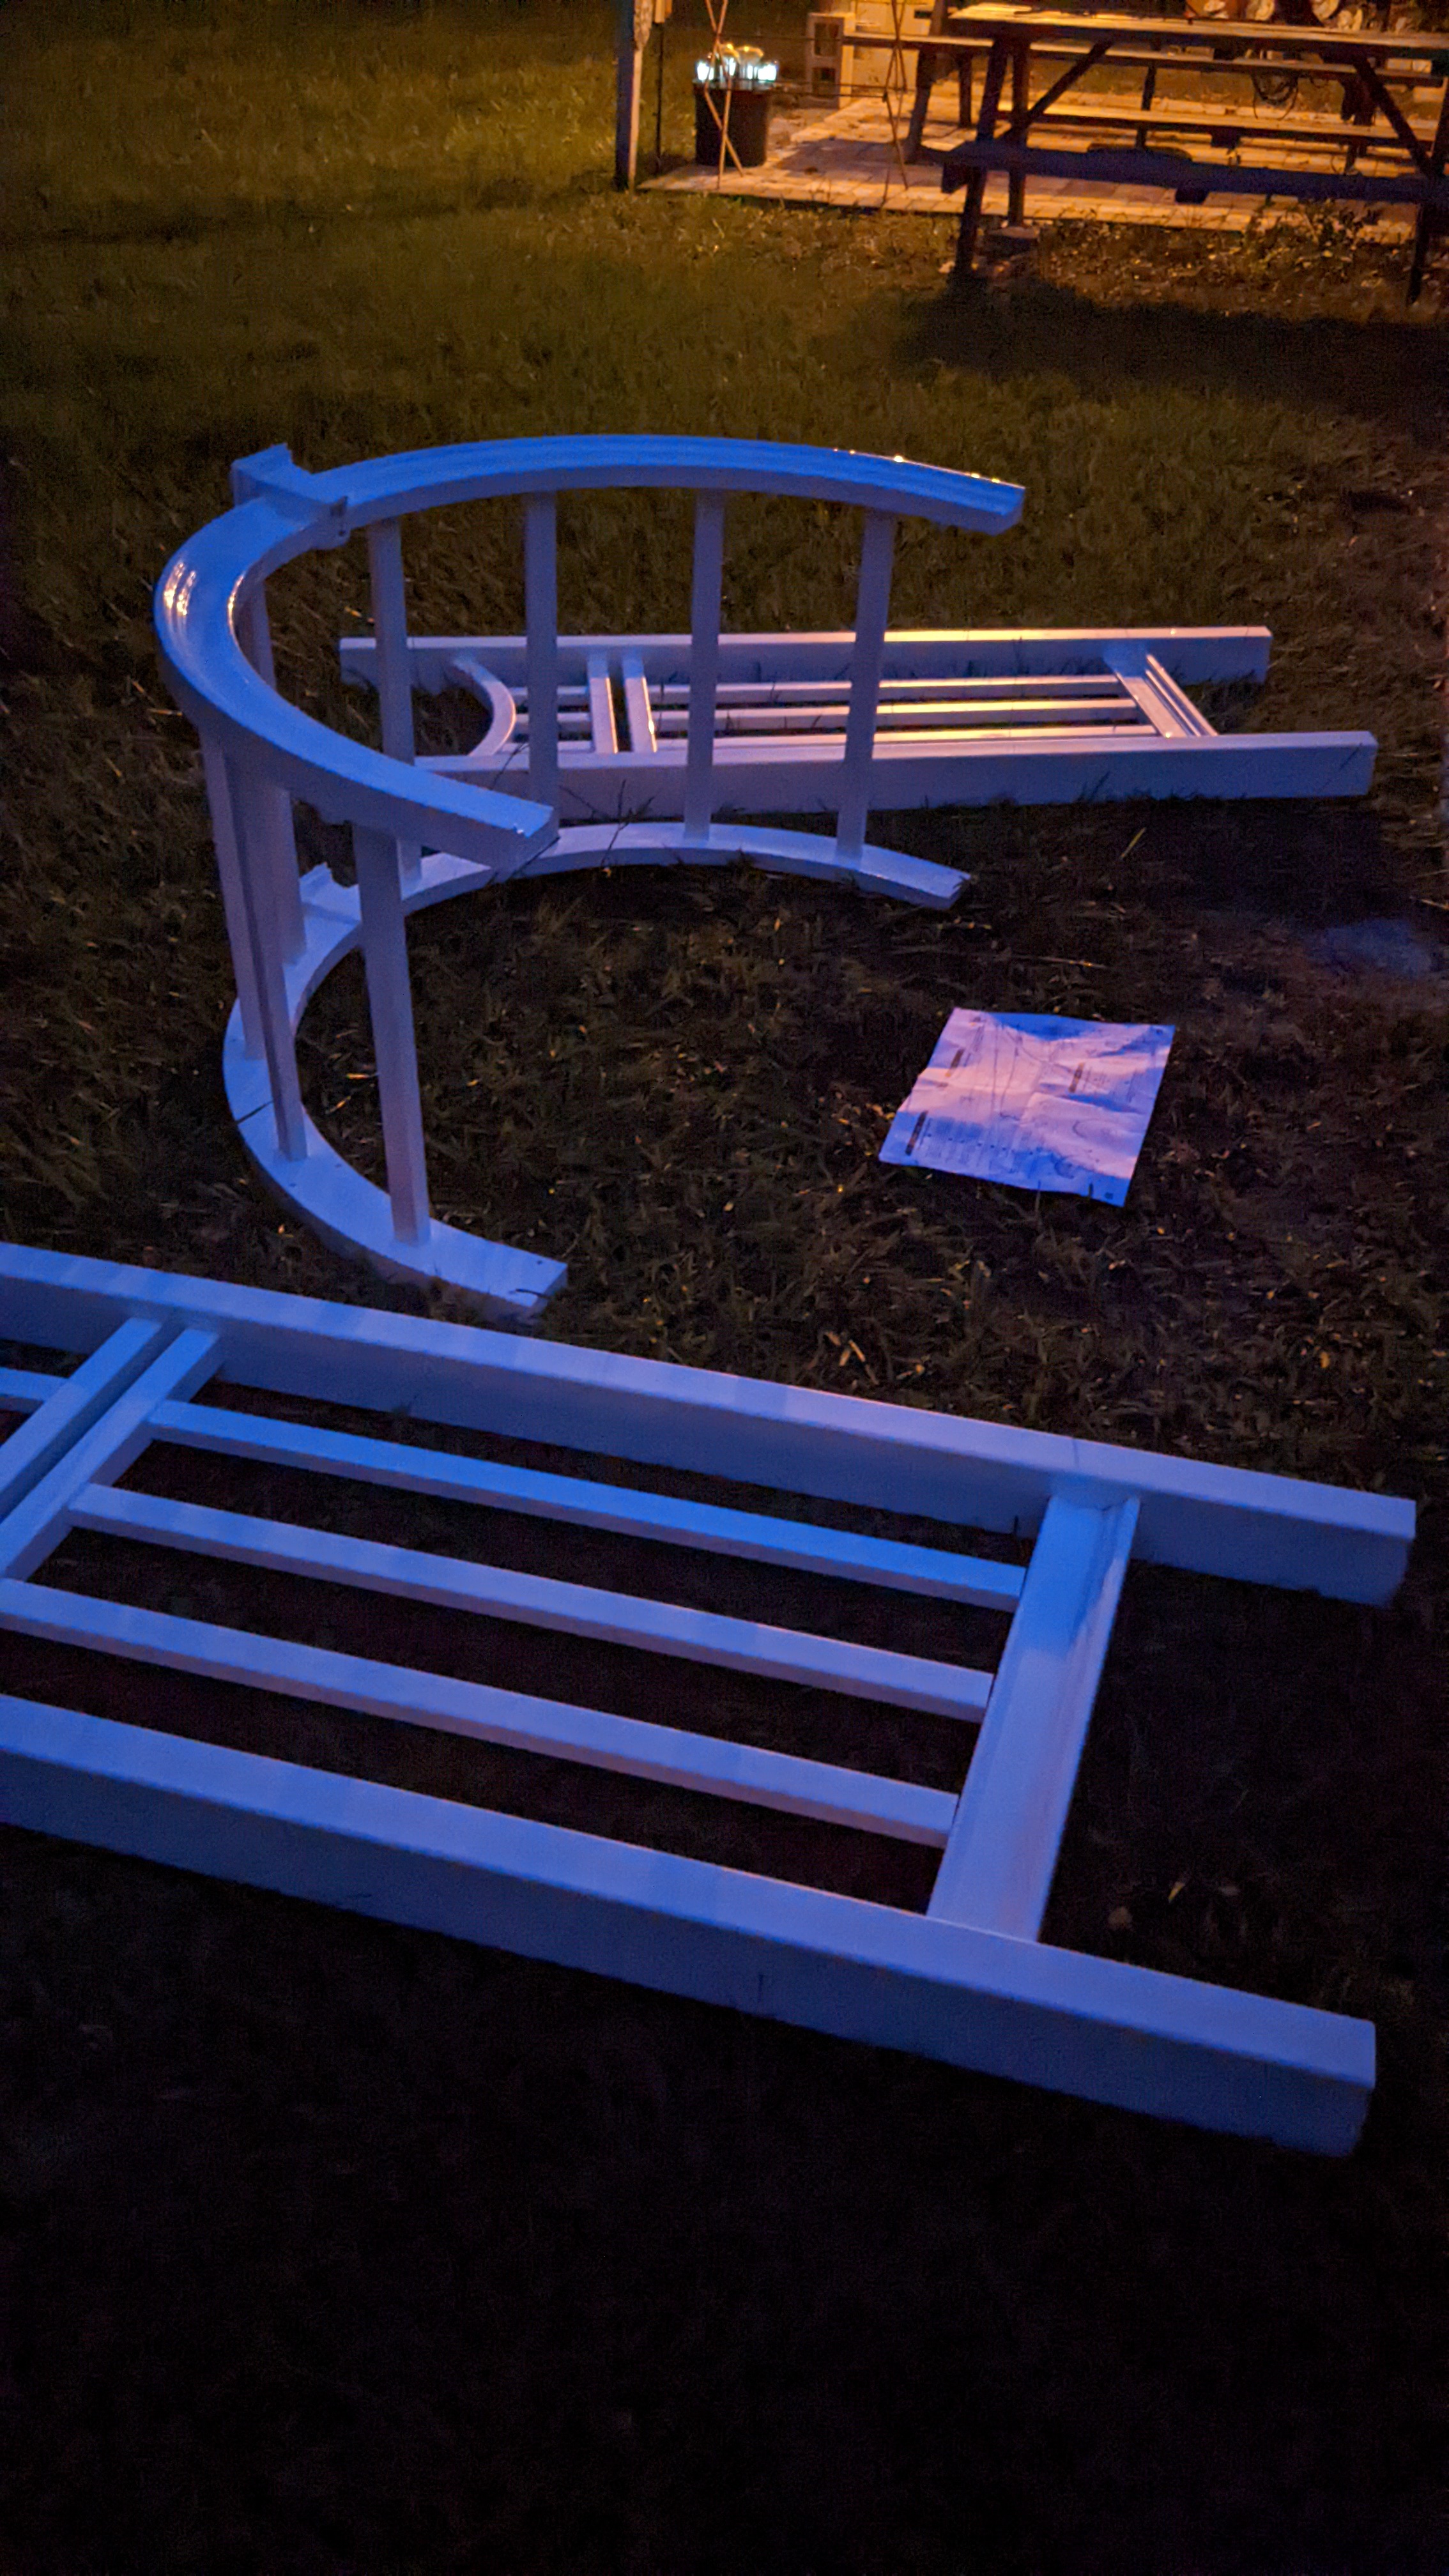
The trickiest part was making sure the curved piece gets placed inside the side railings first… otherwise, it just doesn’t work.
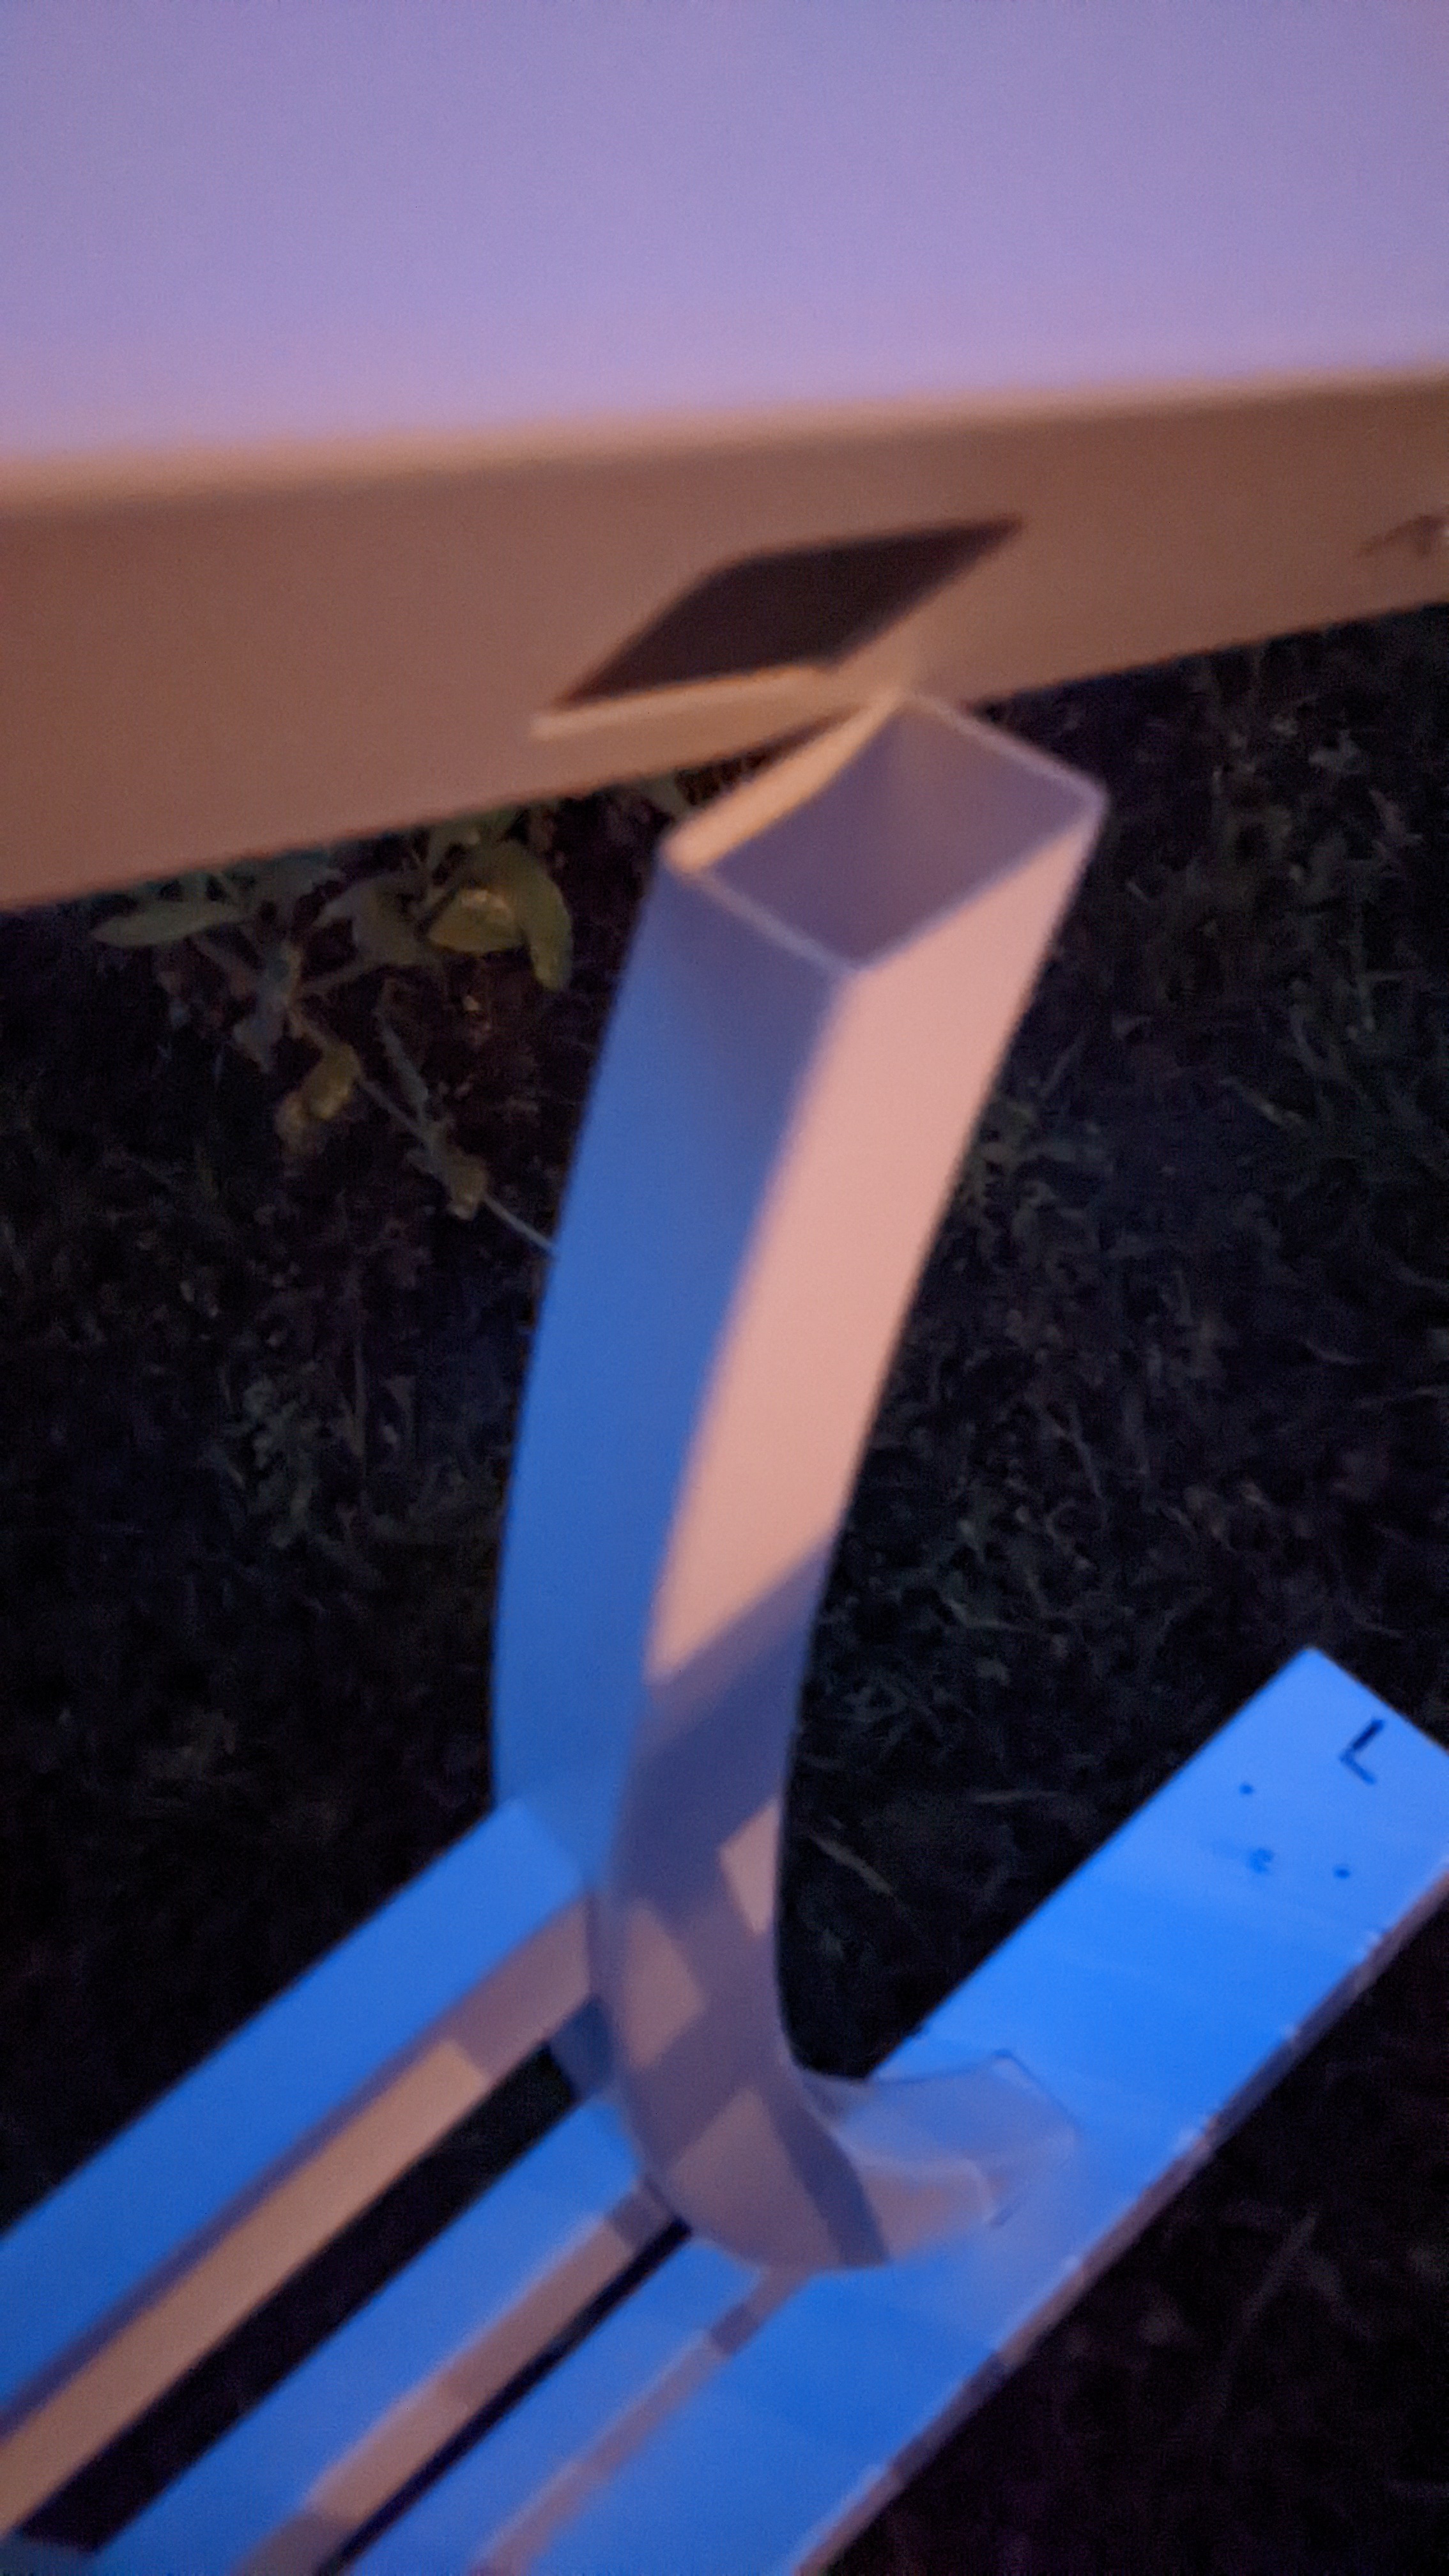
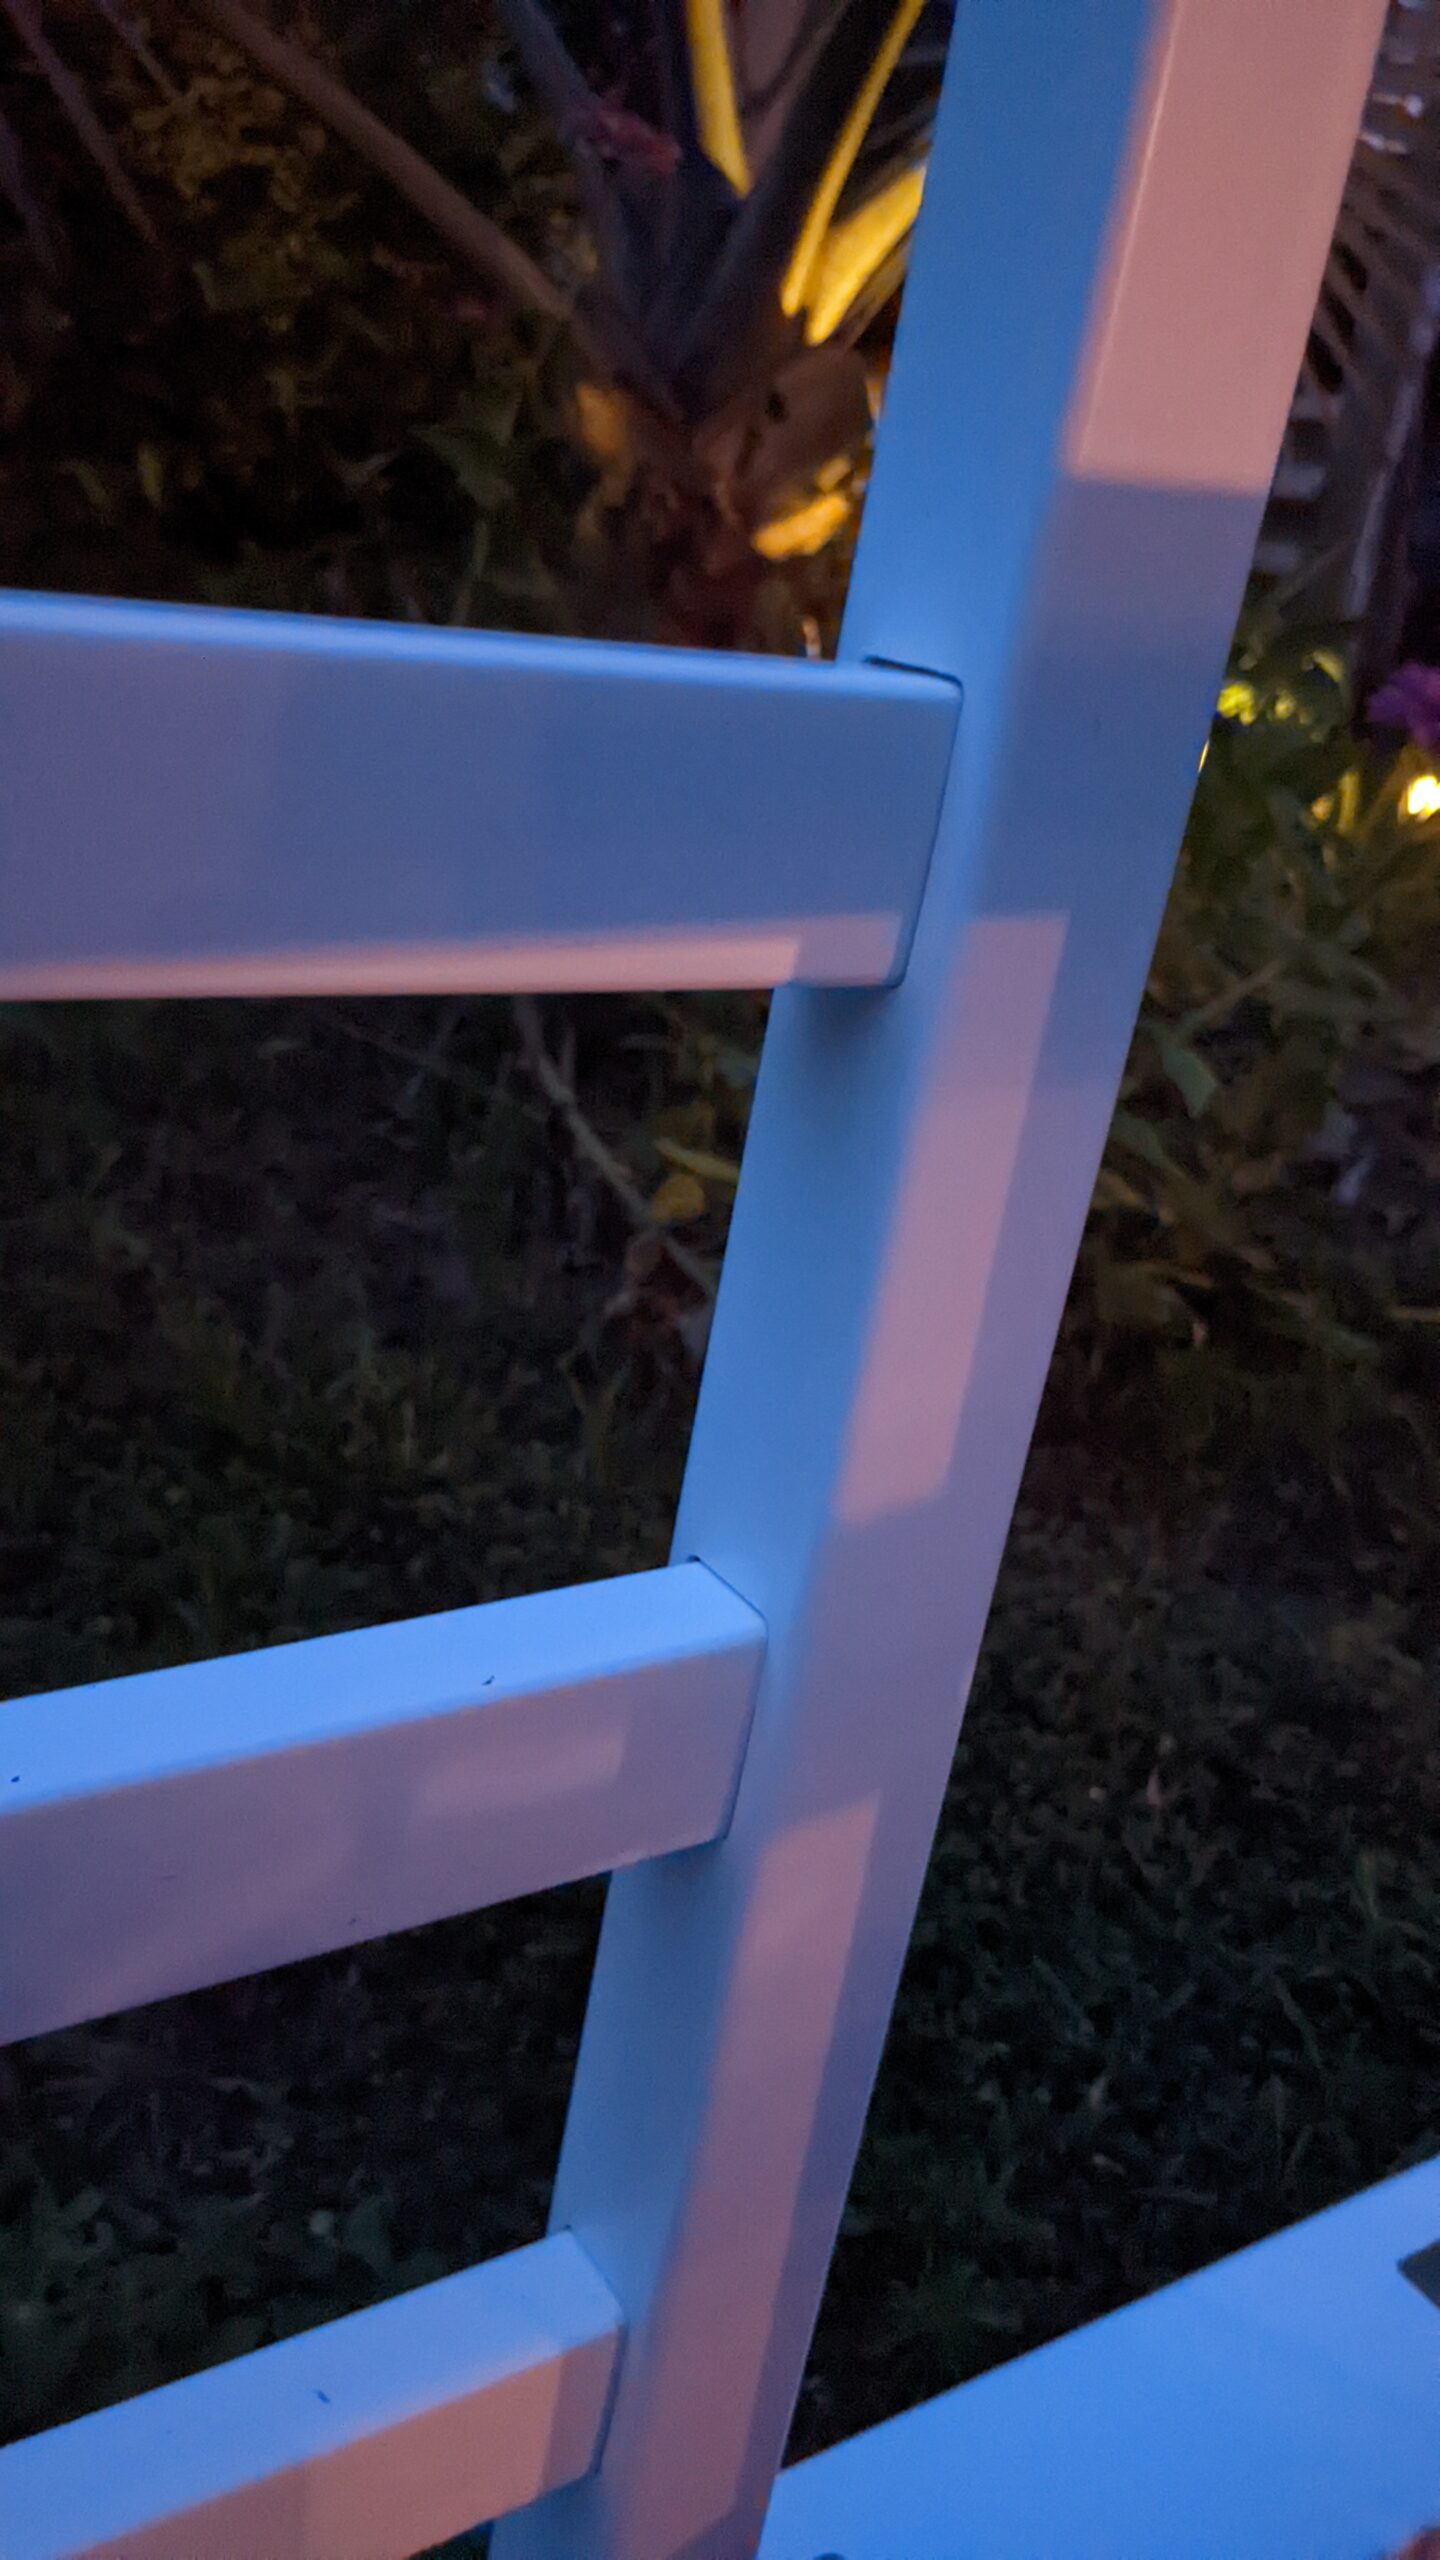
Once the curved edge is in position, the other rails should pop right in. Make sure it snaps in past the side nubs.
Now that the major pieces are individually assembled, they can be put together.
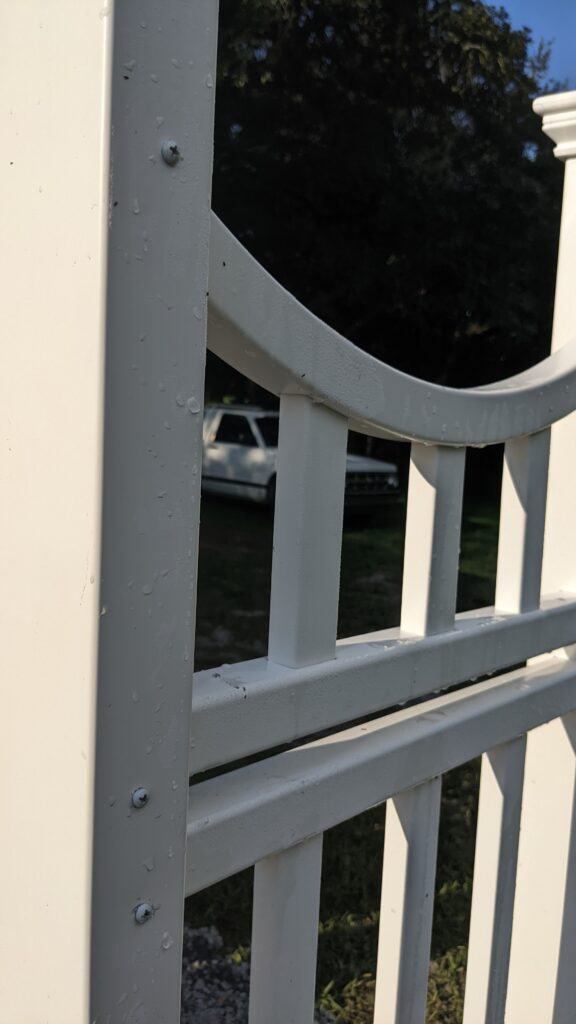
The next morning, I screwed the pieces of the keystones together and placed the covers on the tops and bottoms.
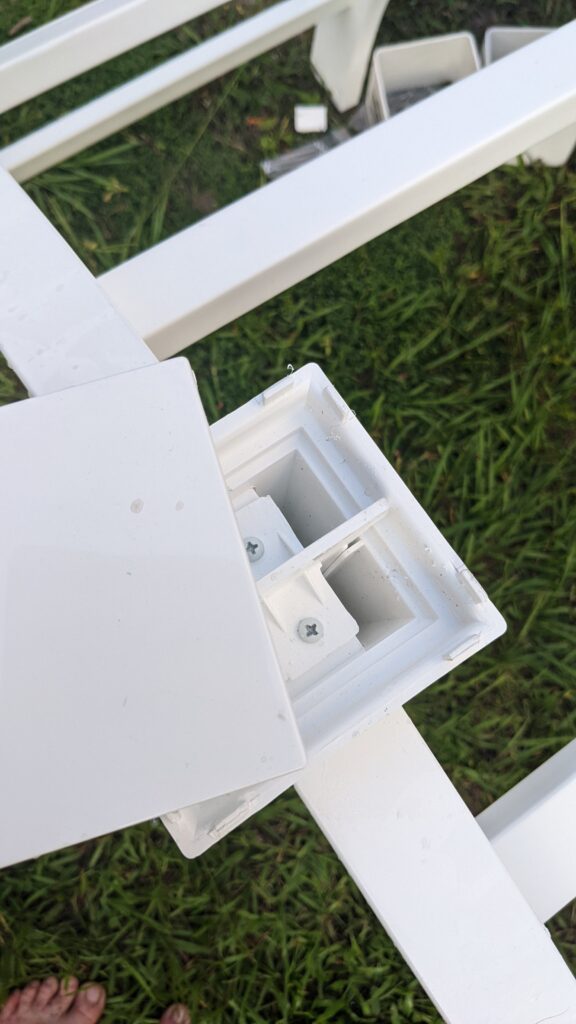
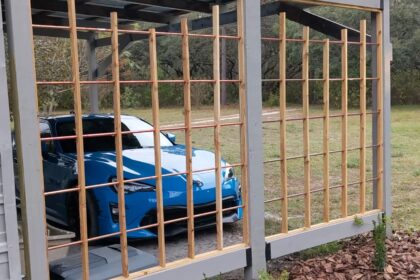
Moving the pieces across the driveway into position, the top arch was placed on the side supports. I tried to do it myself, but that didn’t work at all, especially considering that I had not screwed all the pieces together as I should have.
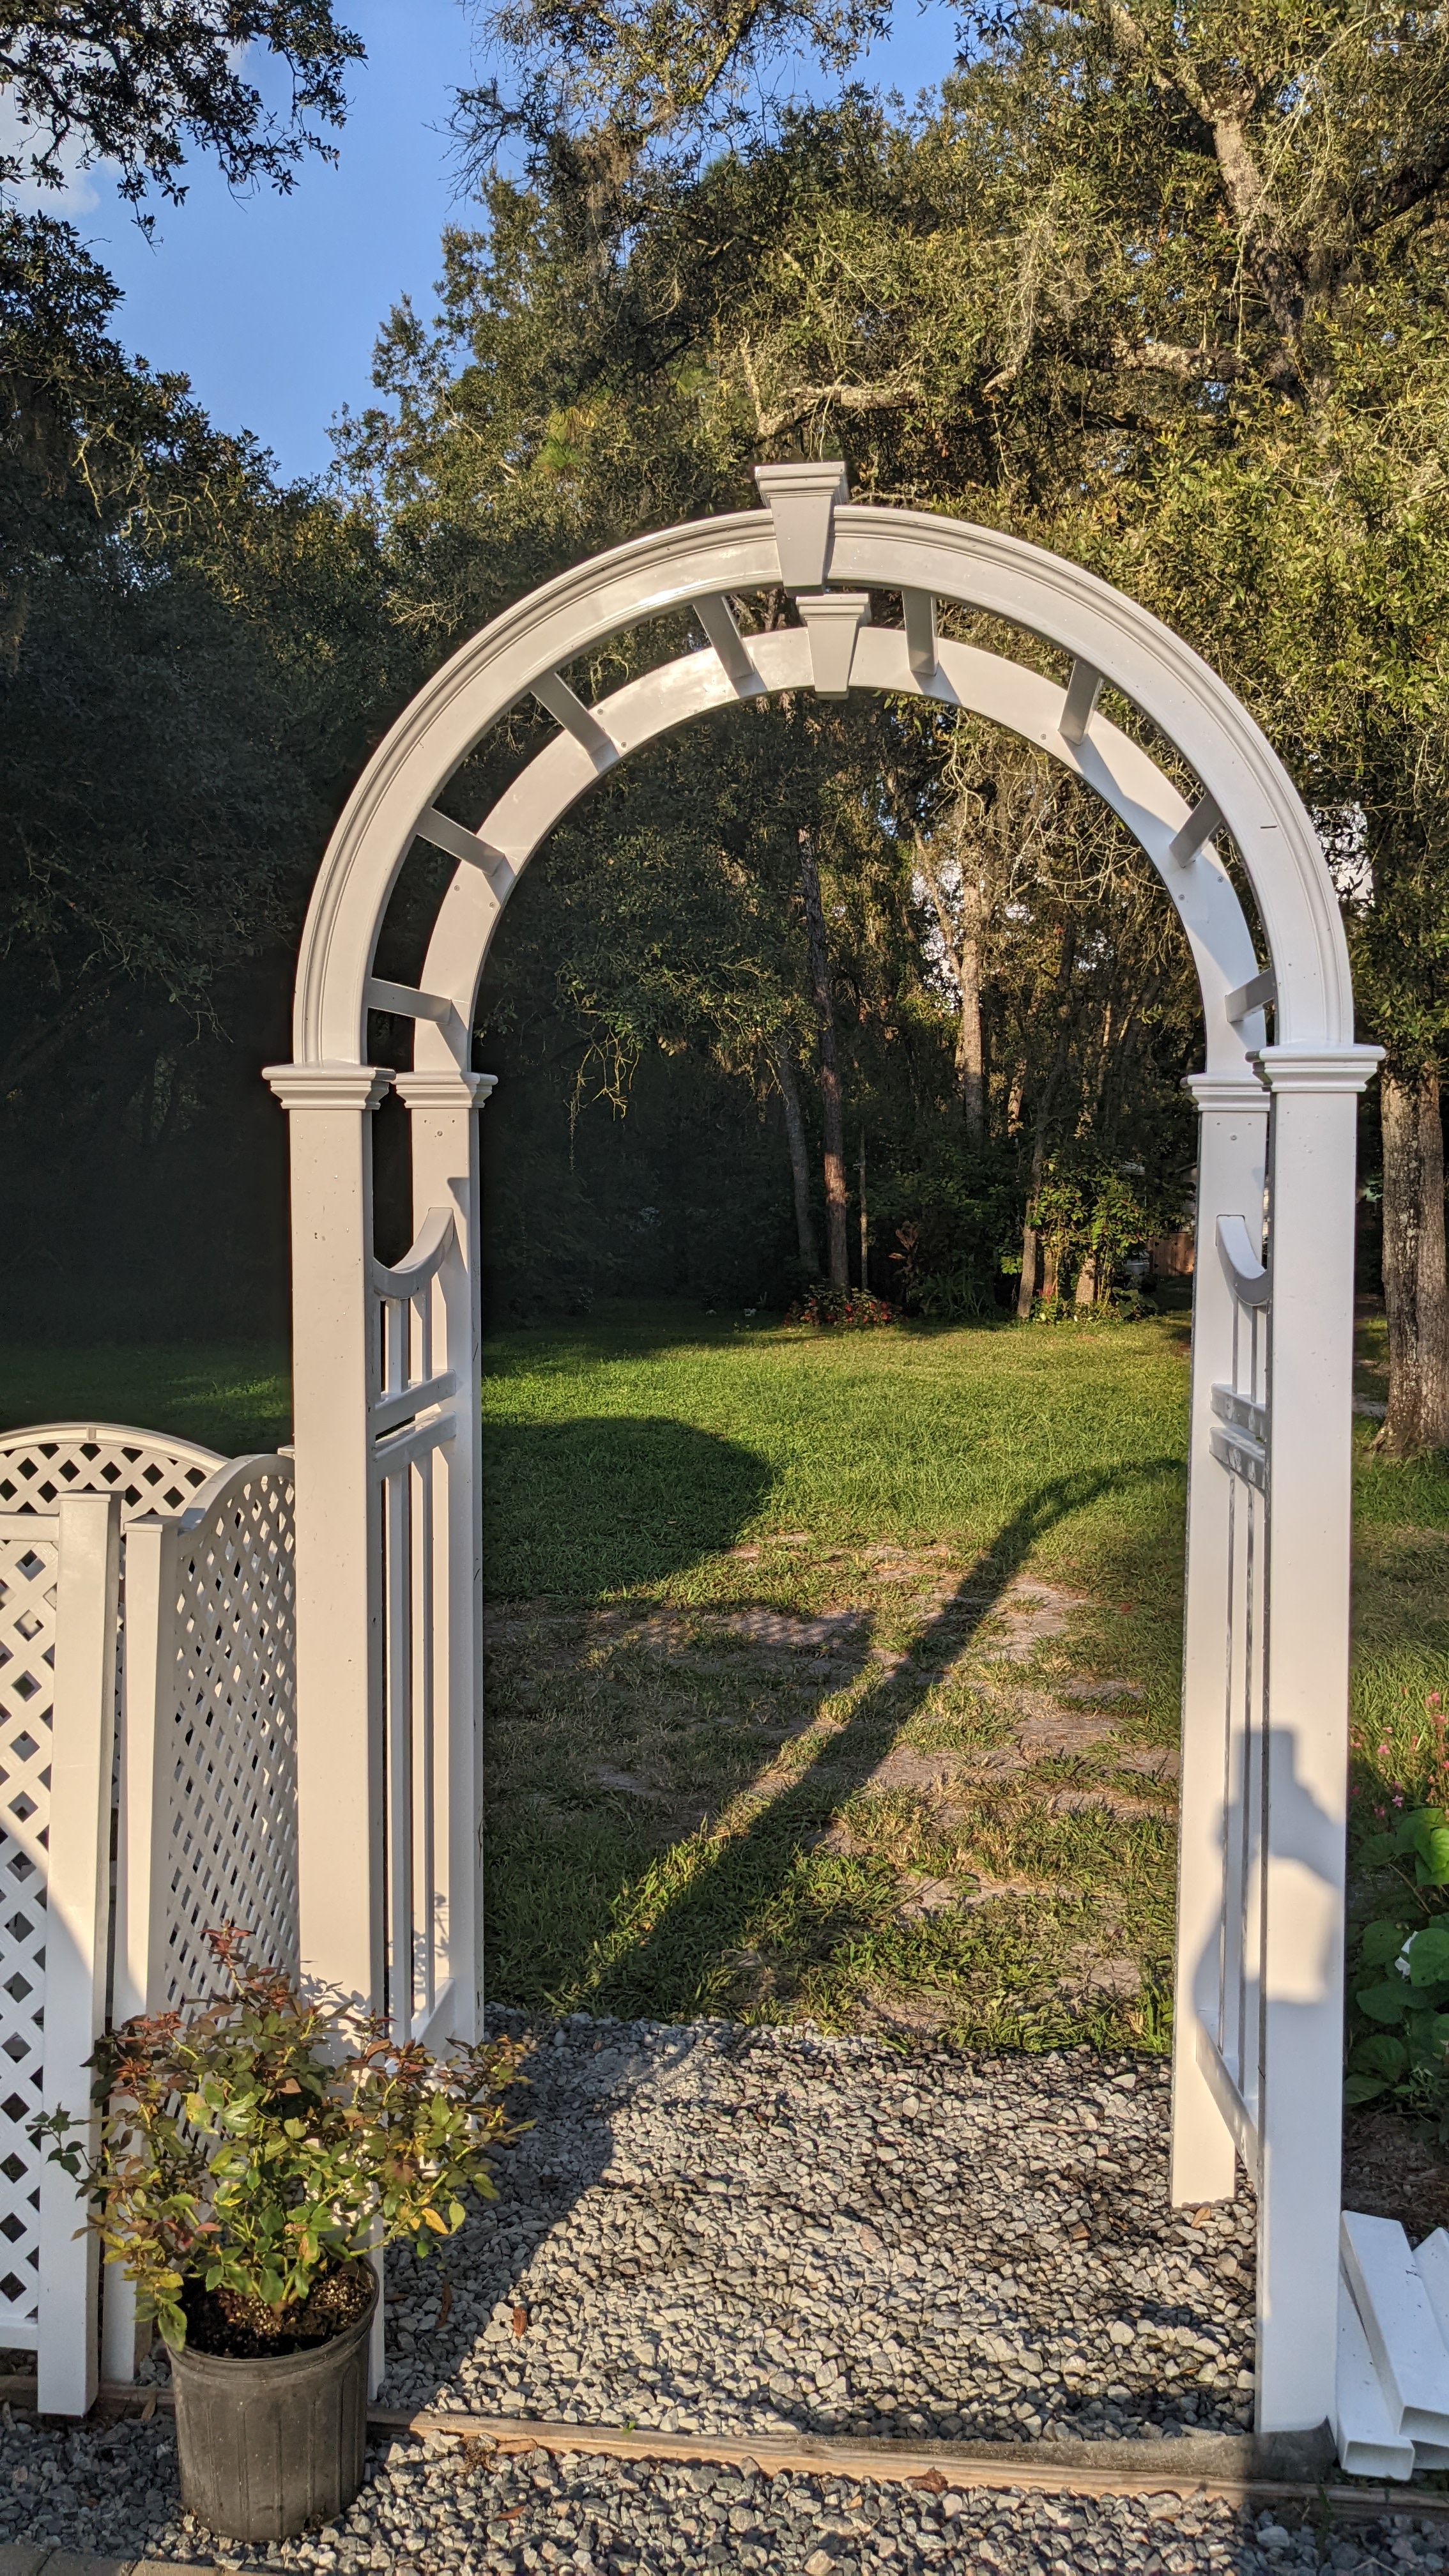
The stabilizing inserts were placed into the posts which were positioned into holes dug with a posthole digger. Once in position, dry cement was poured into the holes. The cement was watered down so it can harden.
The arch is taller than I expected which is really nice. And, the final product!
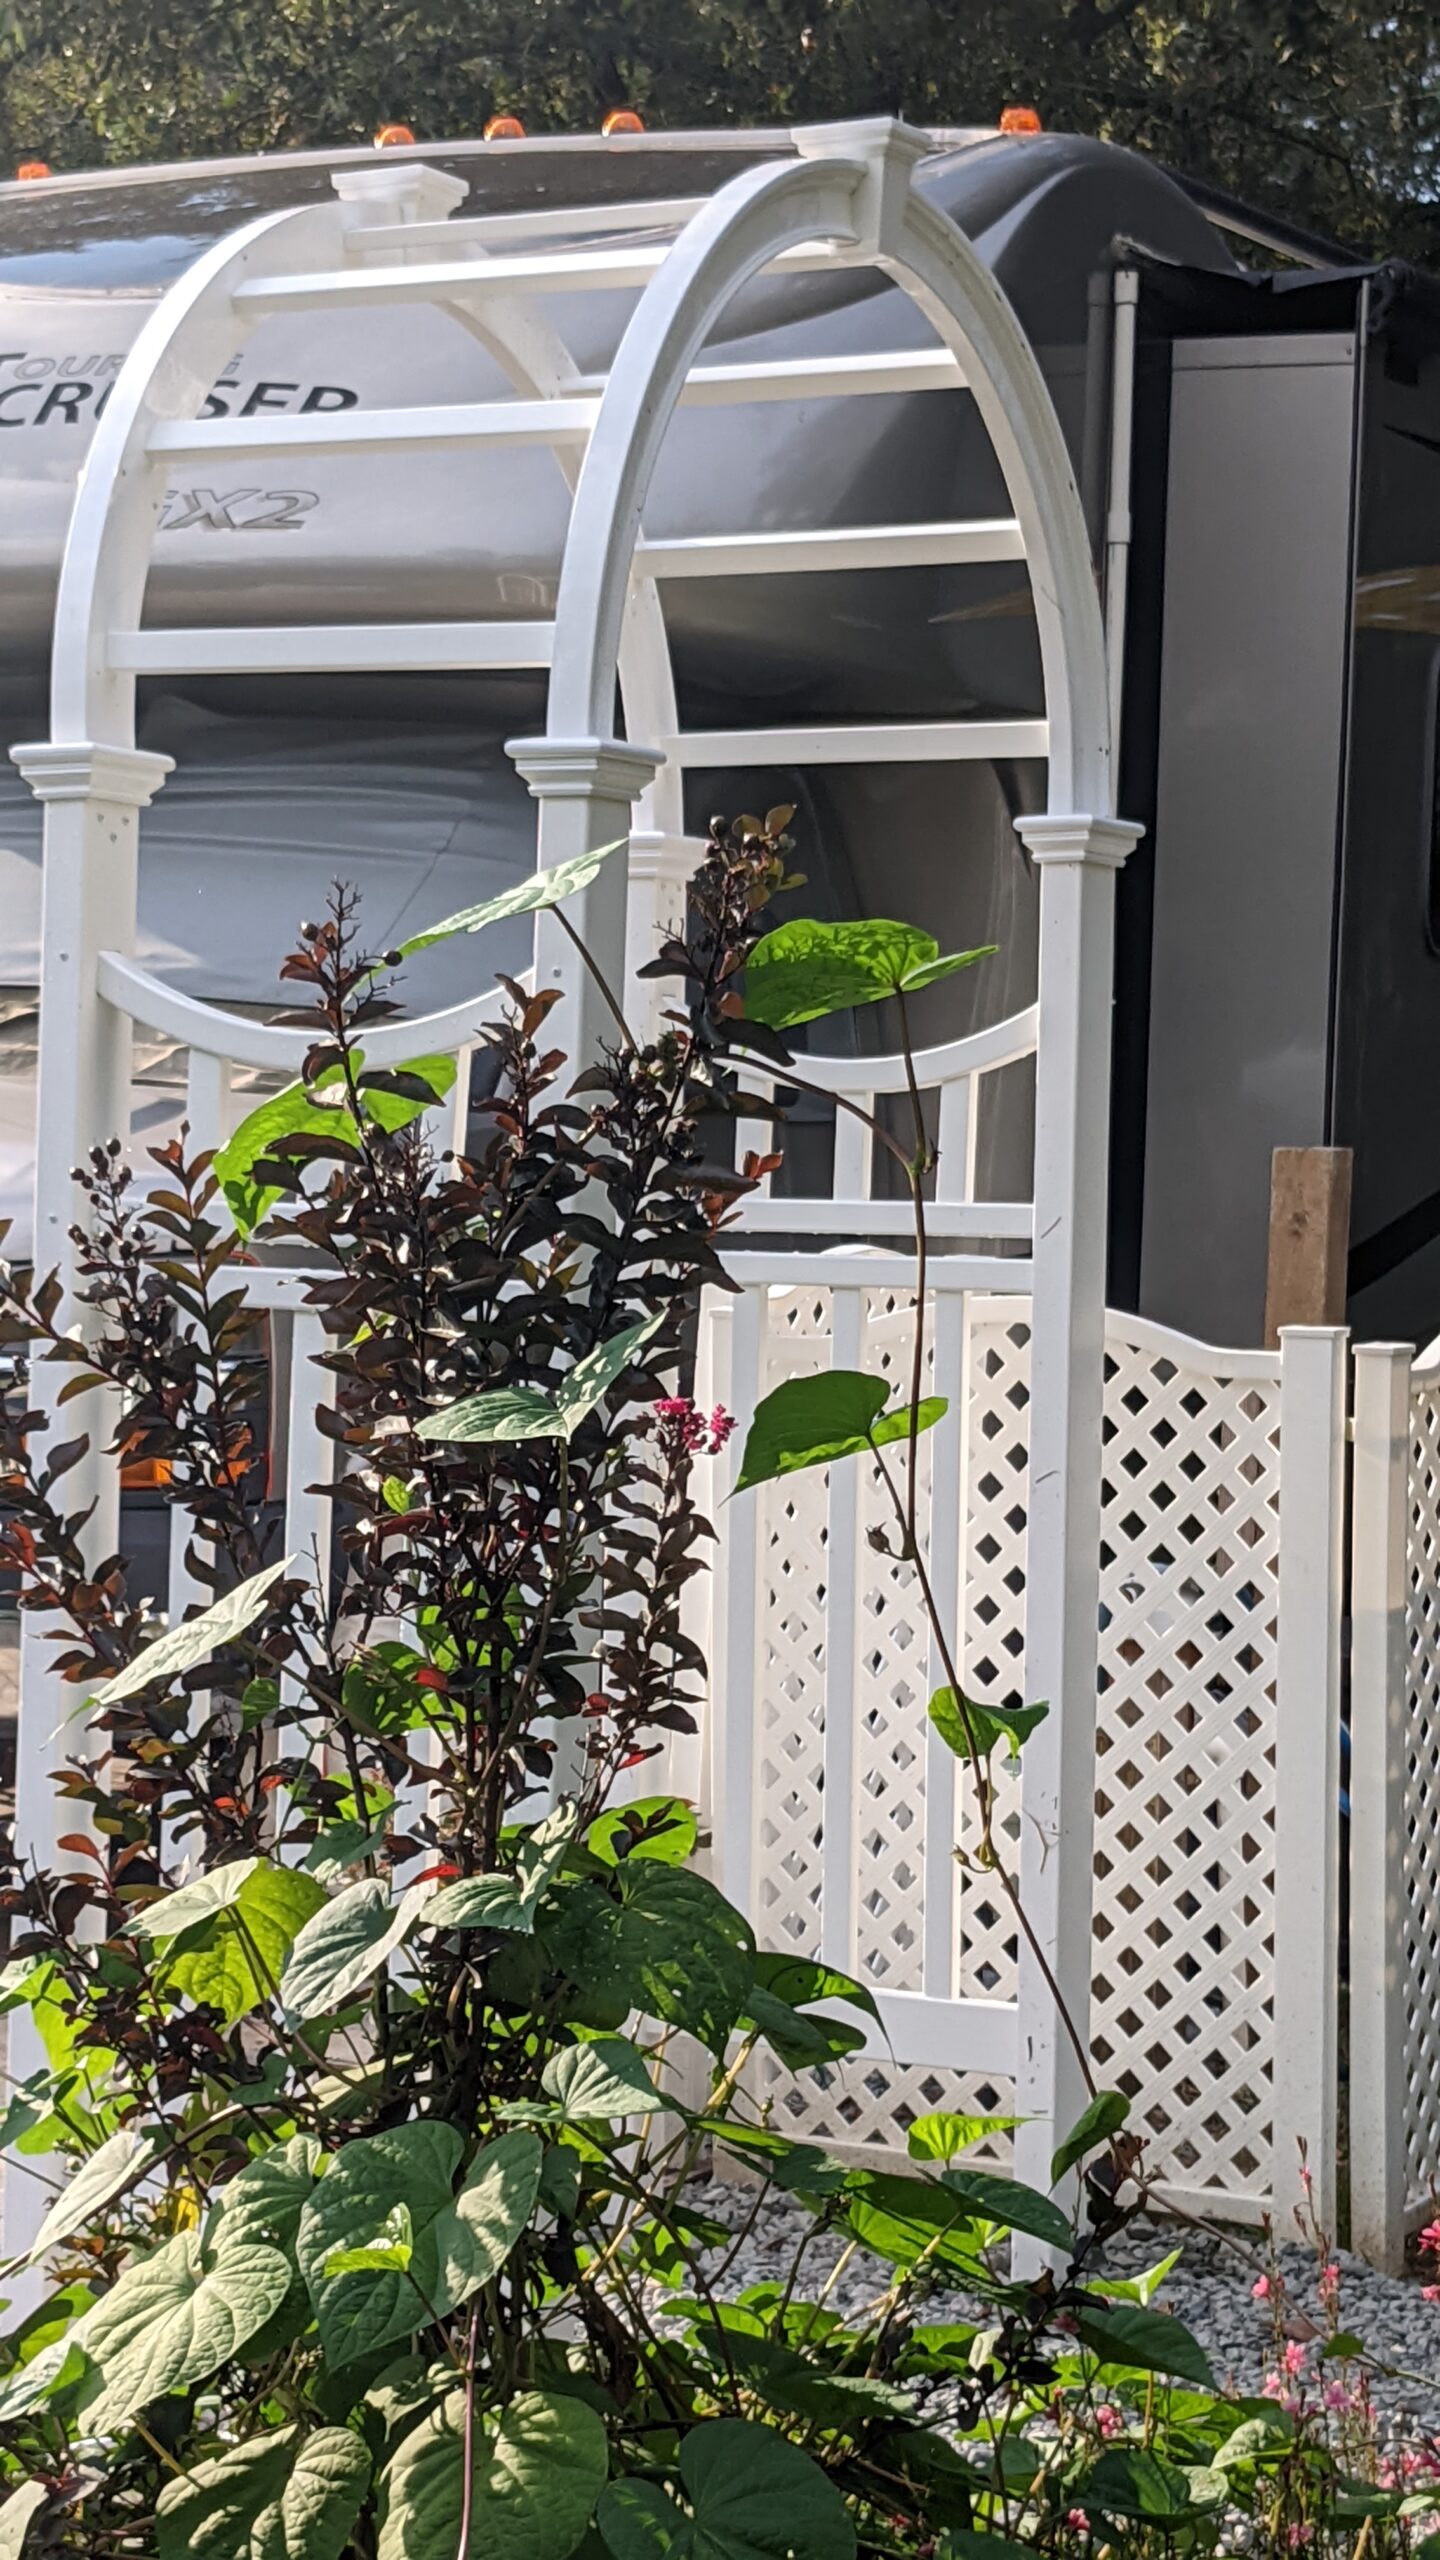
One of the main reasons I purchased this arbor is because I threw moon flower vine seeds down and they were overtaking my crepe myrtle. I had to untangle them and reposition them onto the new arbor. Now, I am planning to edge this with beautiful container gardens and I need to create a vignette at the far end with a sculpture for an intentional vista!