I just recently made a double hose holder and wrote about it in my renovating an eyesore article. Well, I’m working on another utility area that I would like to place behind a fence. We just recently replaced the water softener and located it inside a plastic outdoor closet to protect it from the elements.
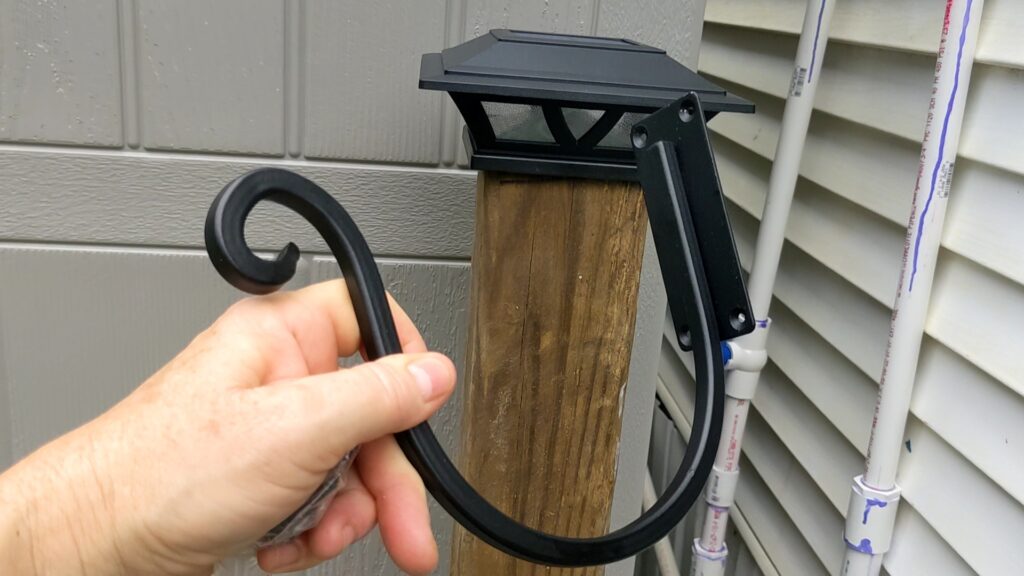
Meanwhile, just behind the closet is a hose that is homeless. It just lands wherever it gets tossed and doesn’t have a real place. It’s been this way for a couple of years, so I’m kinda’ aggravated that I let it go so long since I discovered an extremely easy way to give it its own space that actually looks pretty sophisticated. Now, I’m used to the farm life in rural America so slapping a 4×4 into some sugar sand is a perfectly acceptable option. The one thing I didn’t want is one of those green aluminum cheapo hose racks (which I also already have down near the well). I wanted to take it up a notch so I purchased a cute black wrought iron bracket.
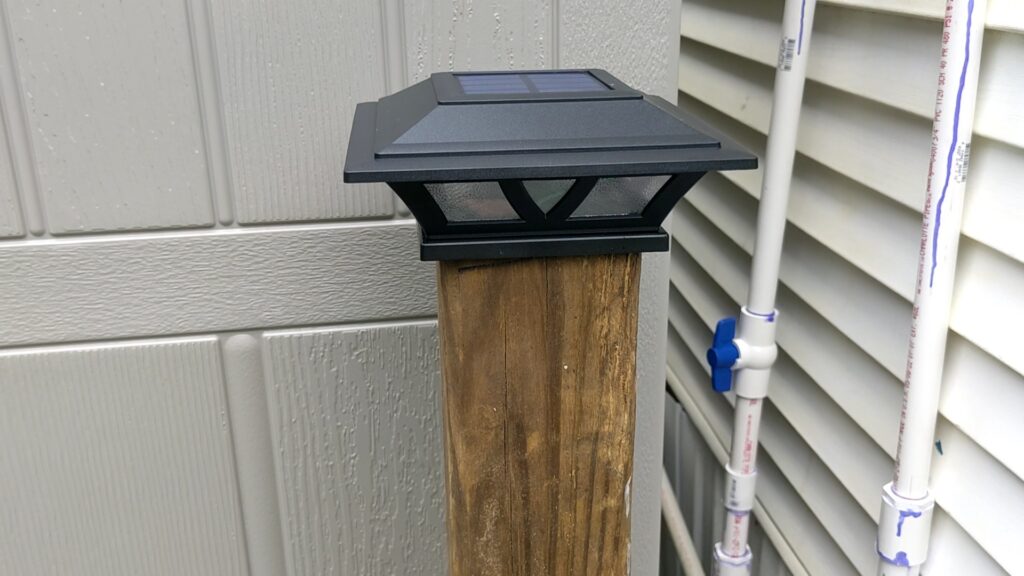
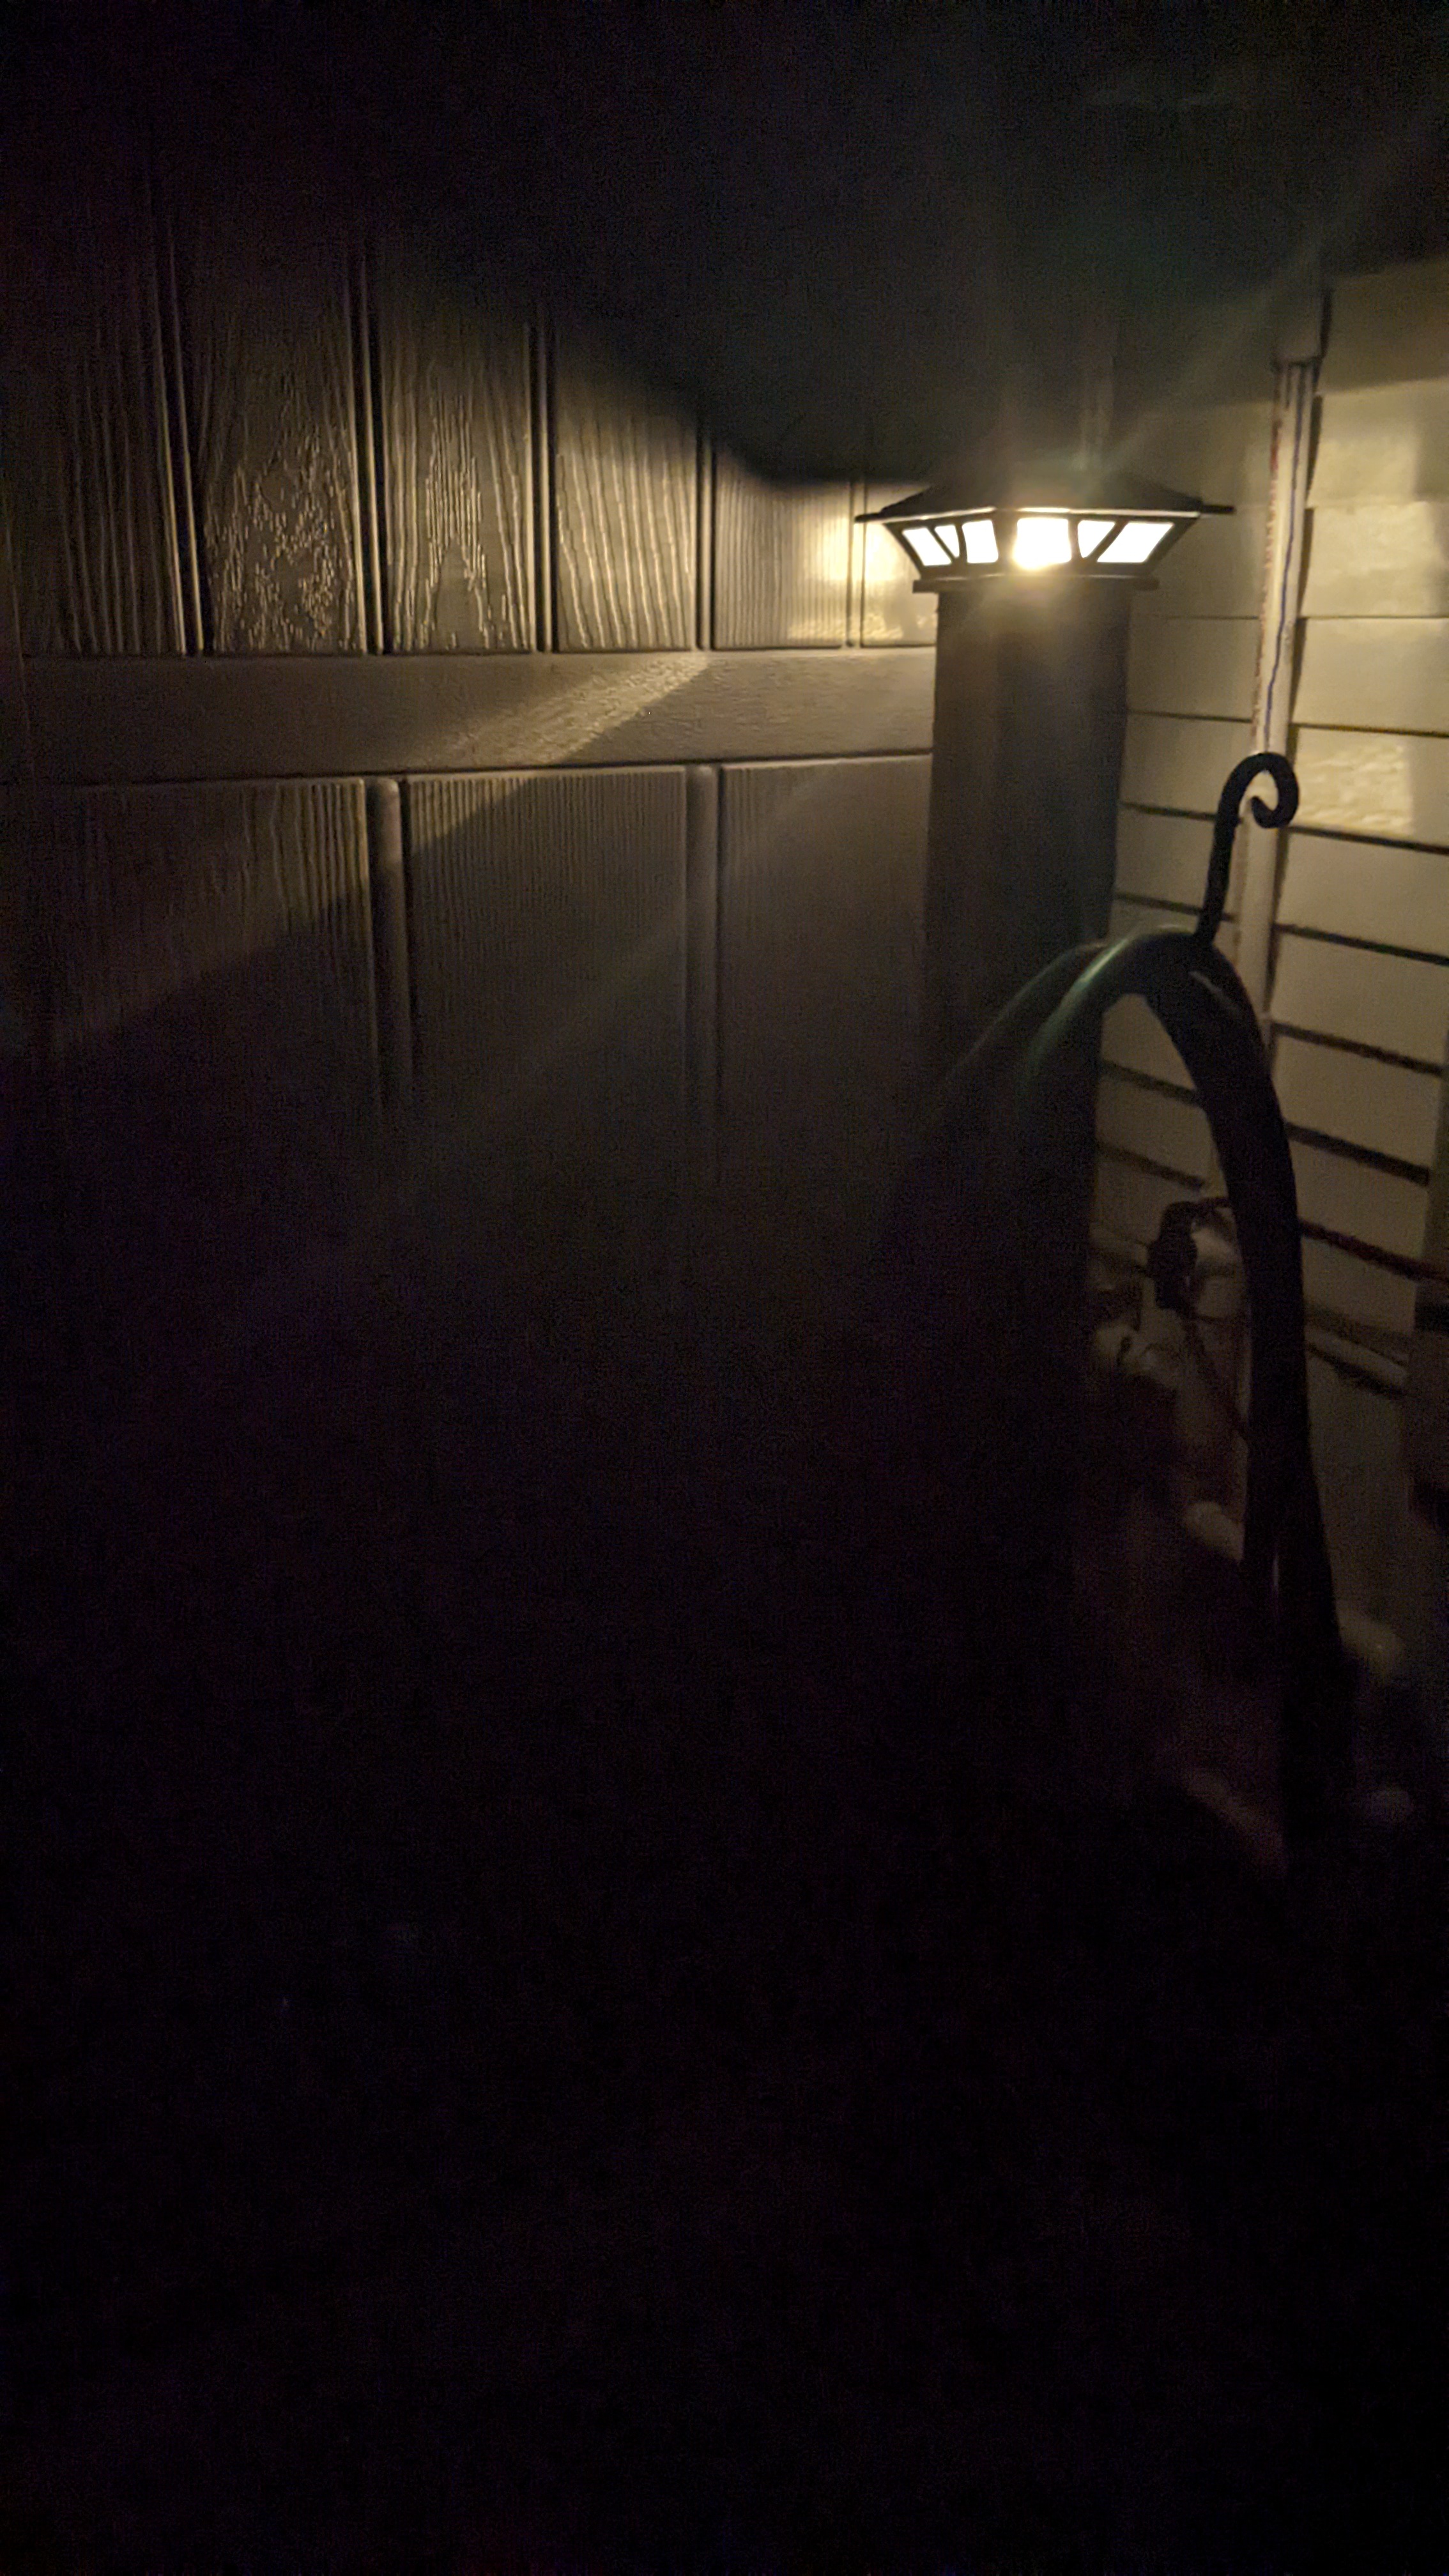
I also didn’t want the top of the post to be “naked,” so I searched for post caps. The plastic ones at the big box store just didn’t do it for me so I looked online and found the perfect solution… a solar light post cap.


After cleaning up the area and laying down landscape fabric (for the entire reno project), I dug a hole with an auger to fit a 4×4 post.
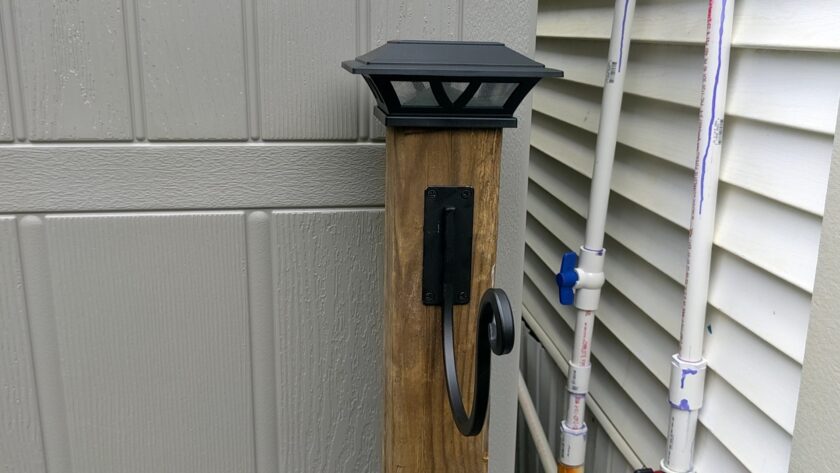
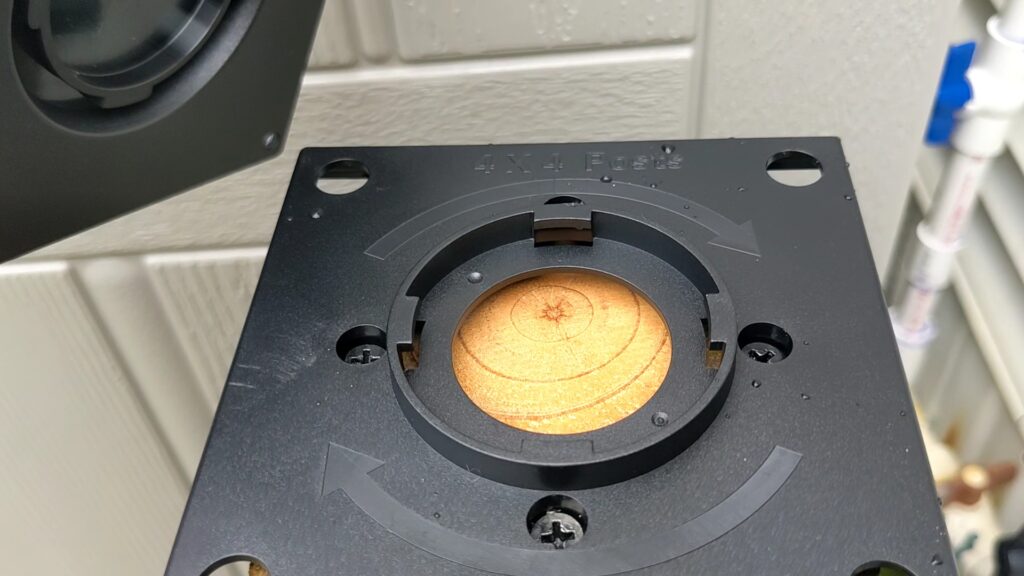
The rest is pretty easy. I purchased a solar light post cap. It came with fittings for 4×4, 5×5, and 6×6 posts. After screwing the 4×4 base to the top of the post, I turned the solar light on to “warm light.” The light fixture easily rotated onto the base. And that was it!
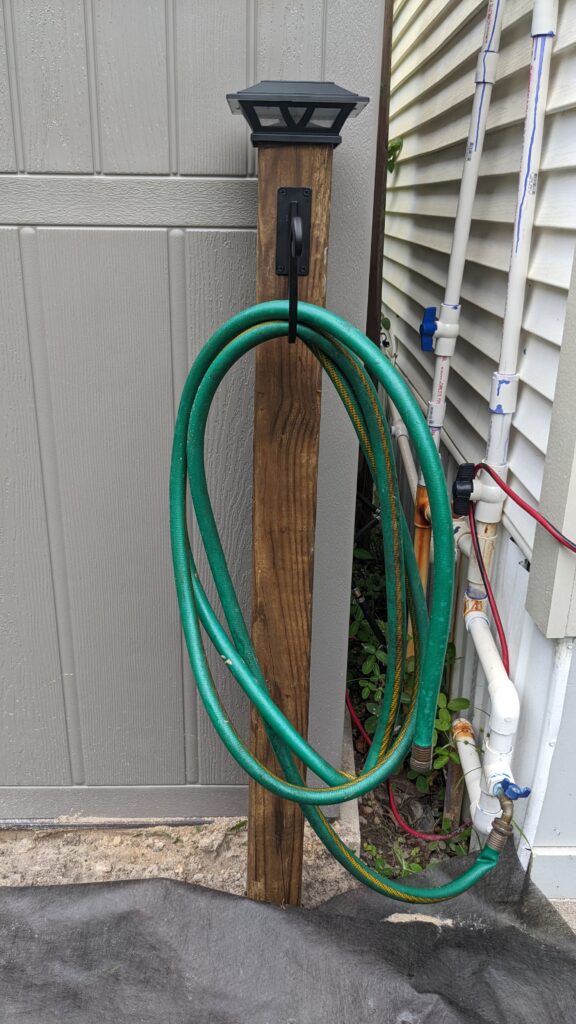
Next, I attached the wrought iron bracket I purchased to the top front of the post. That also took four screws that were included with the purchase.
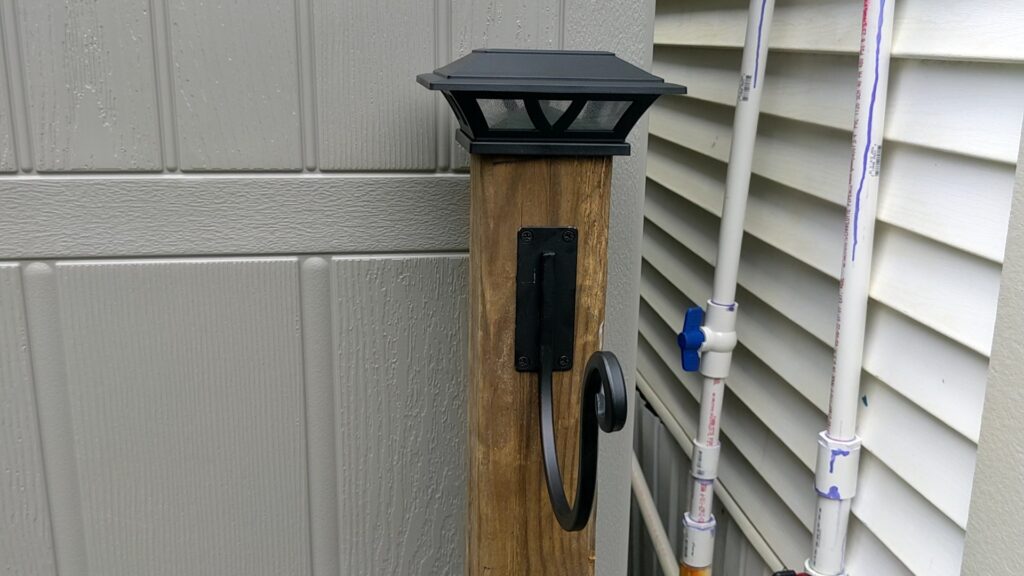
And here’s the final result!
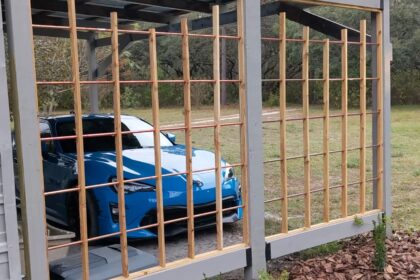
Stay tuned for the next part of this project laying pavers and installing a utility fence.