This is part 2 of the fixing an eyesore. The first part detailed how I made a garden hose holder for two water hoses up against an old, ugly, iron stained pvc pipe spigot. This post finishes up that project.
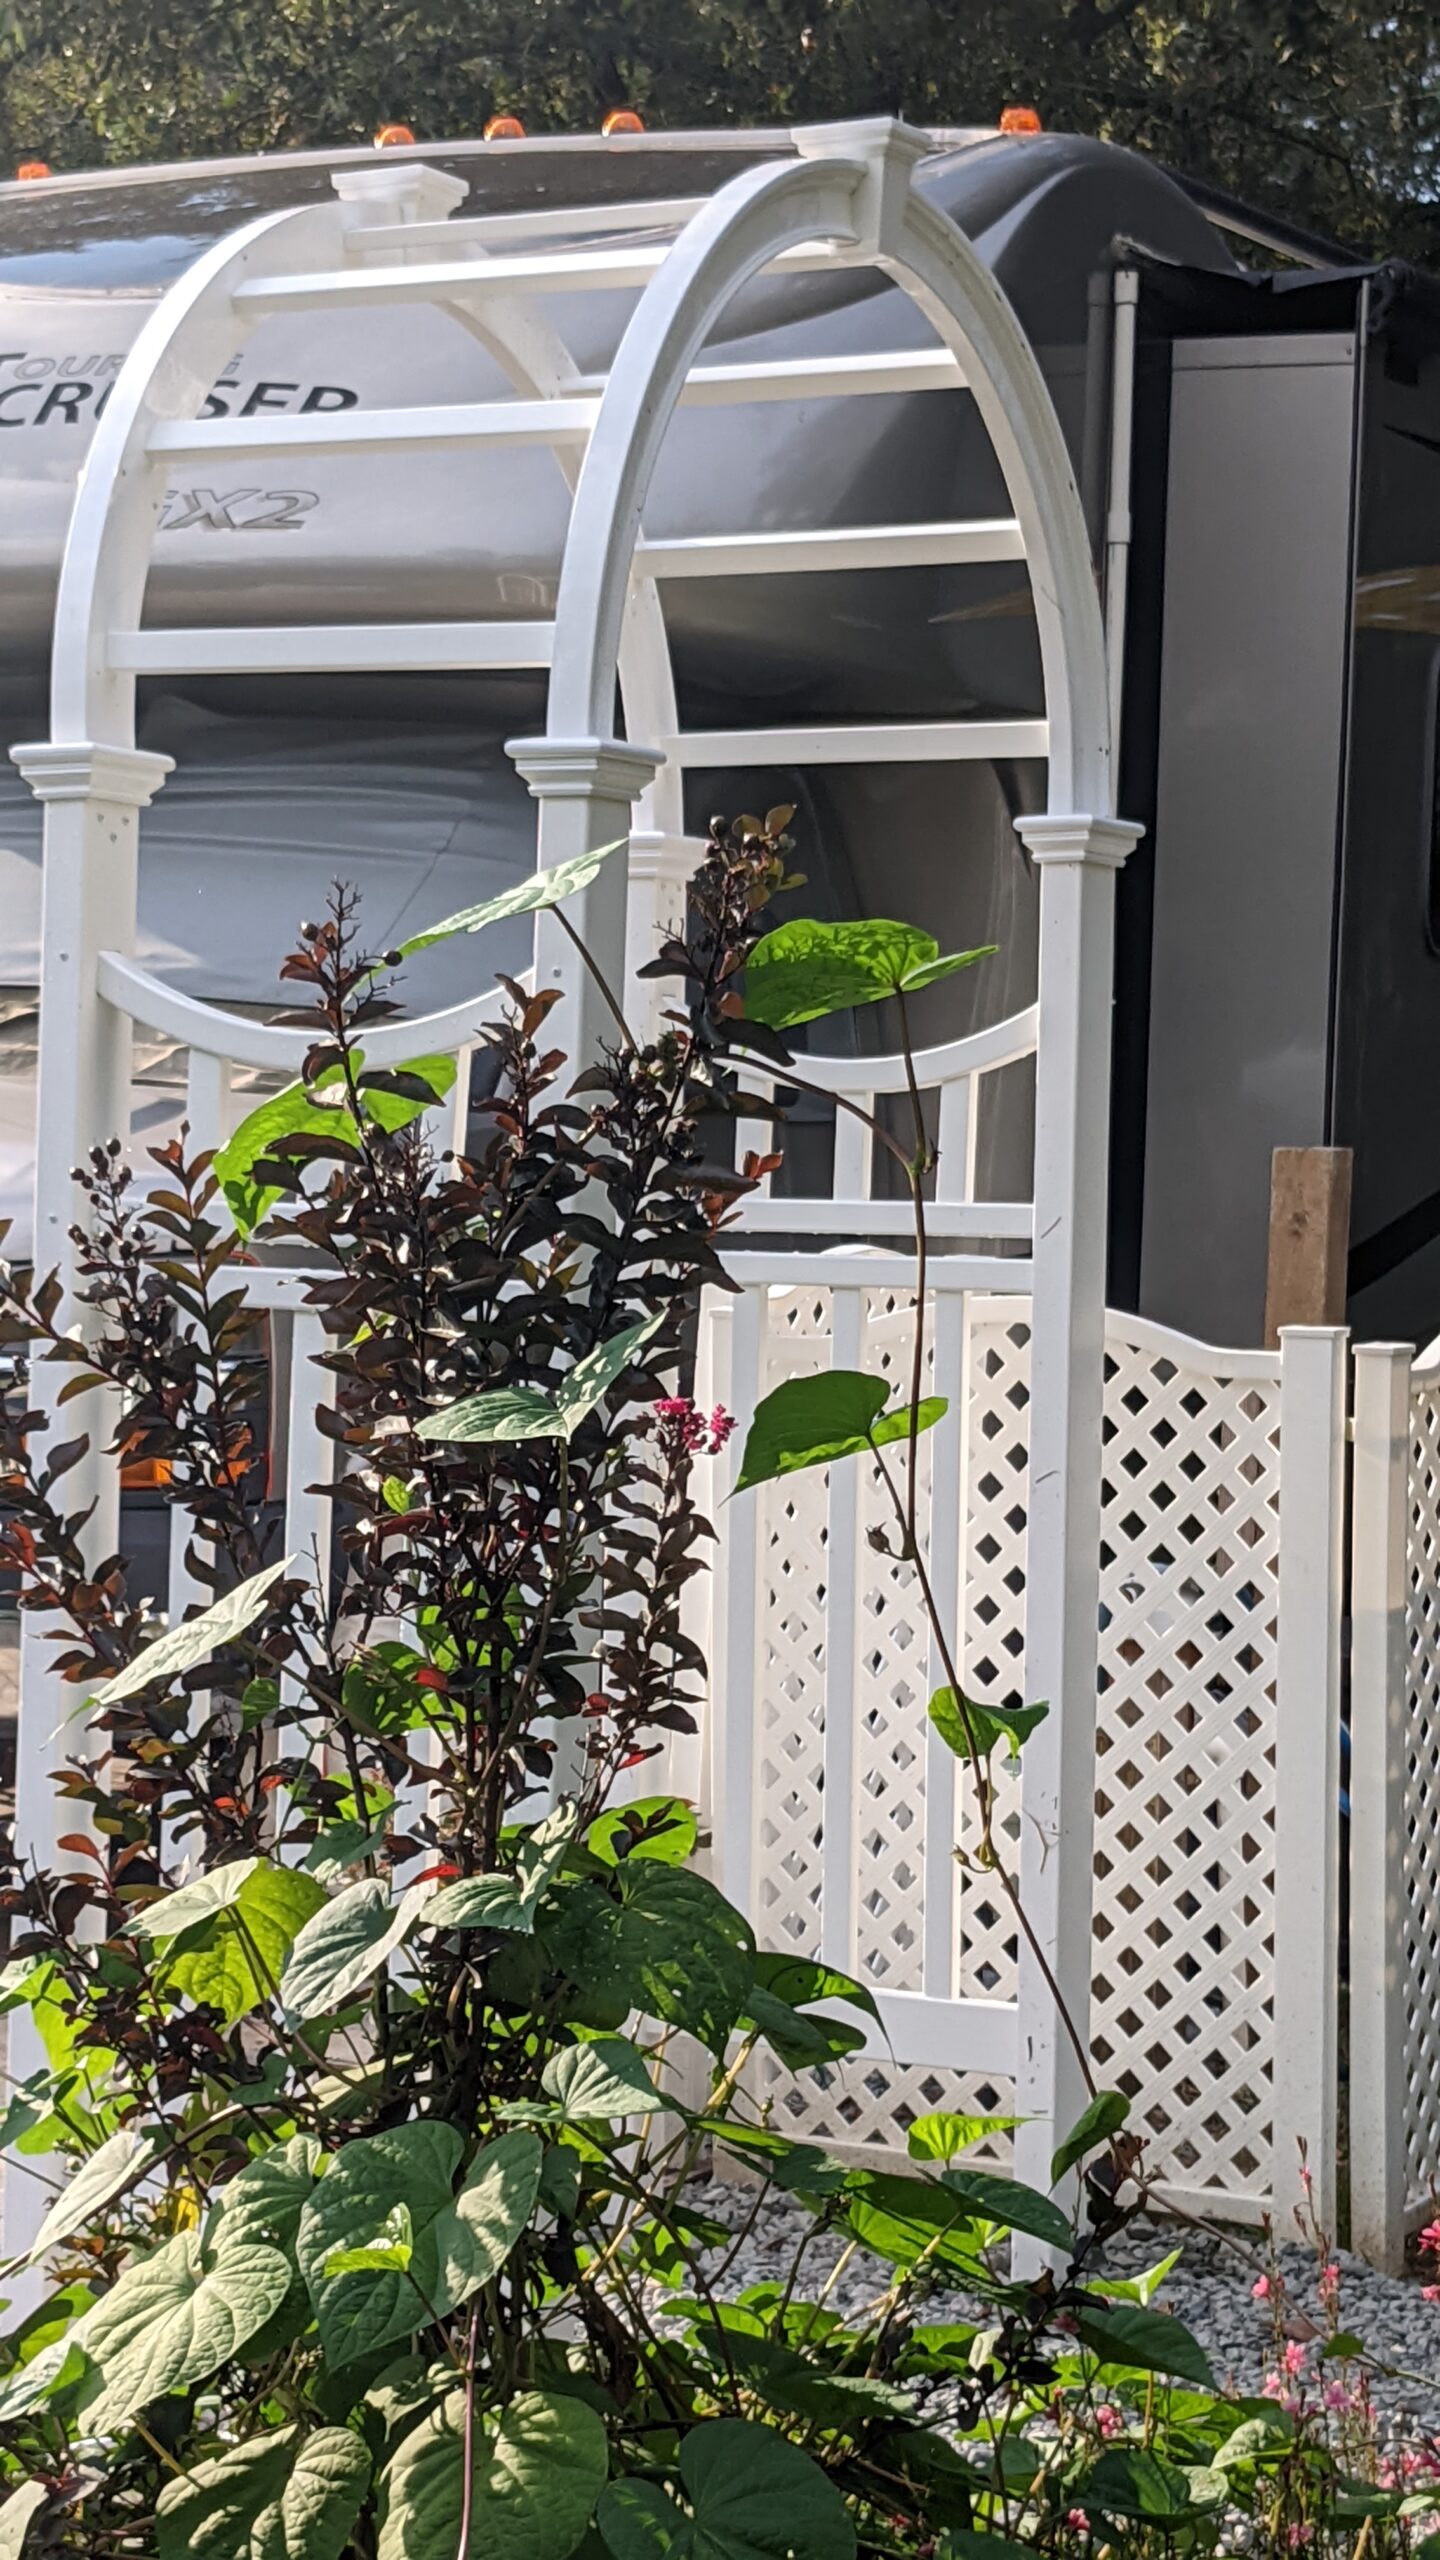
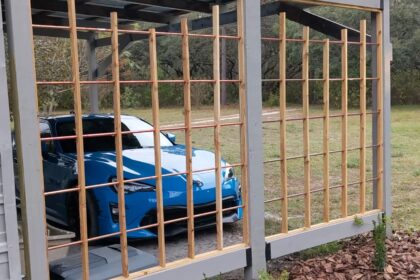
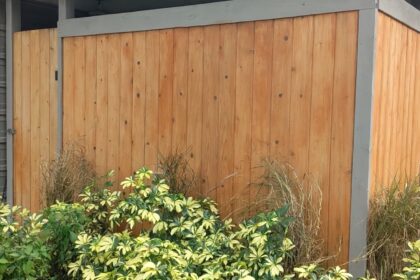
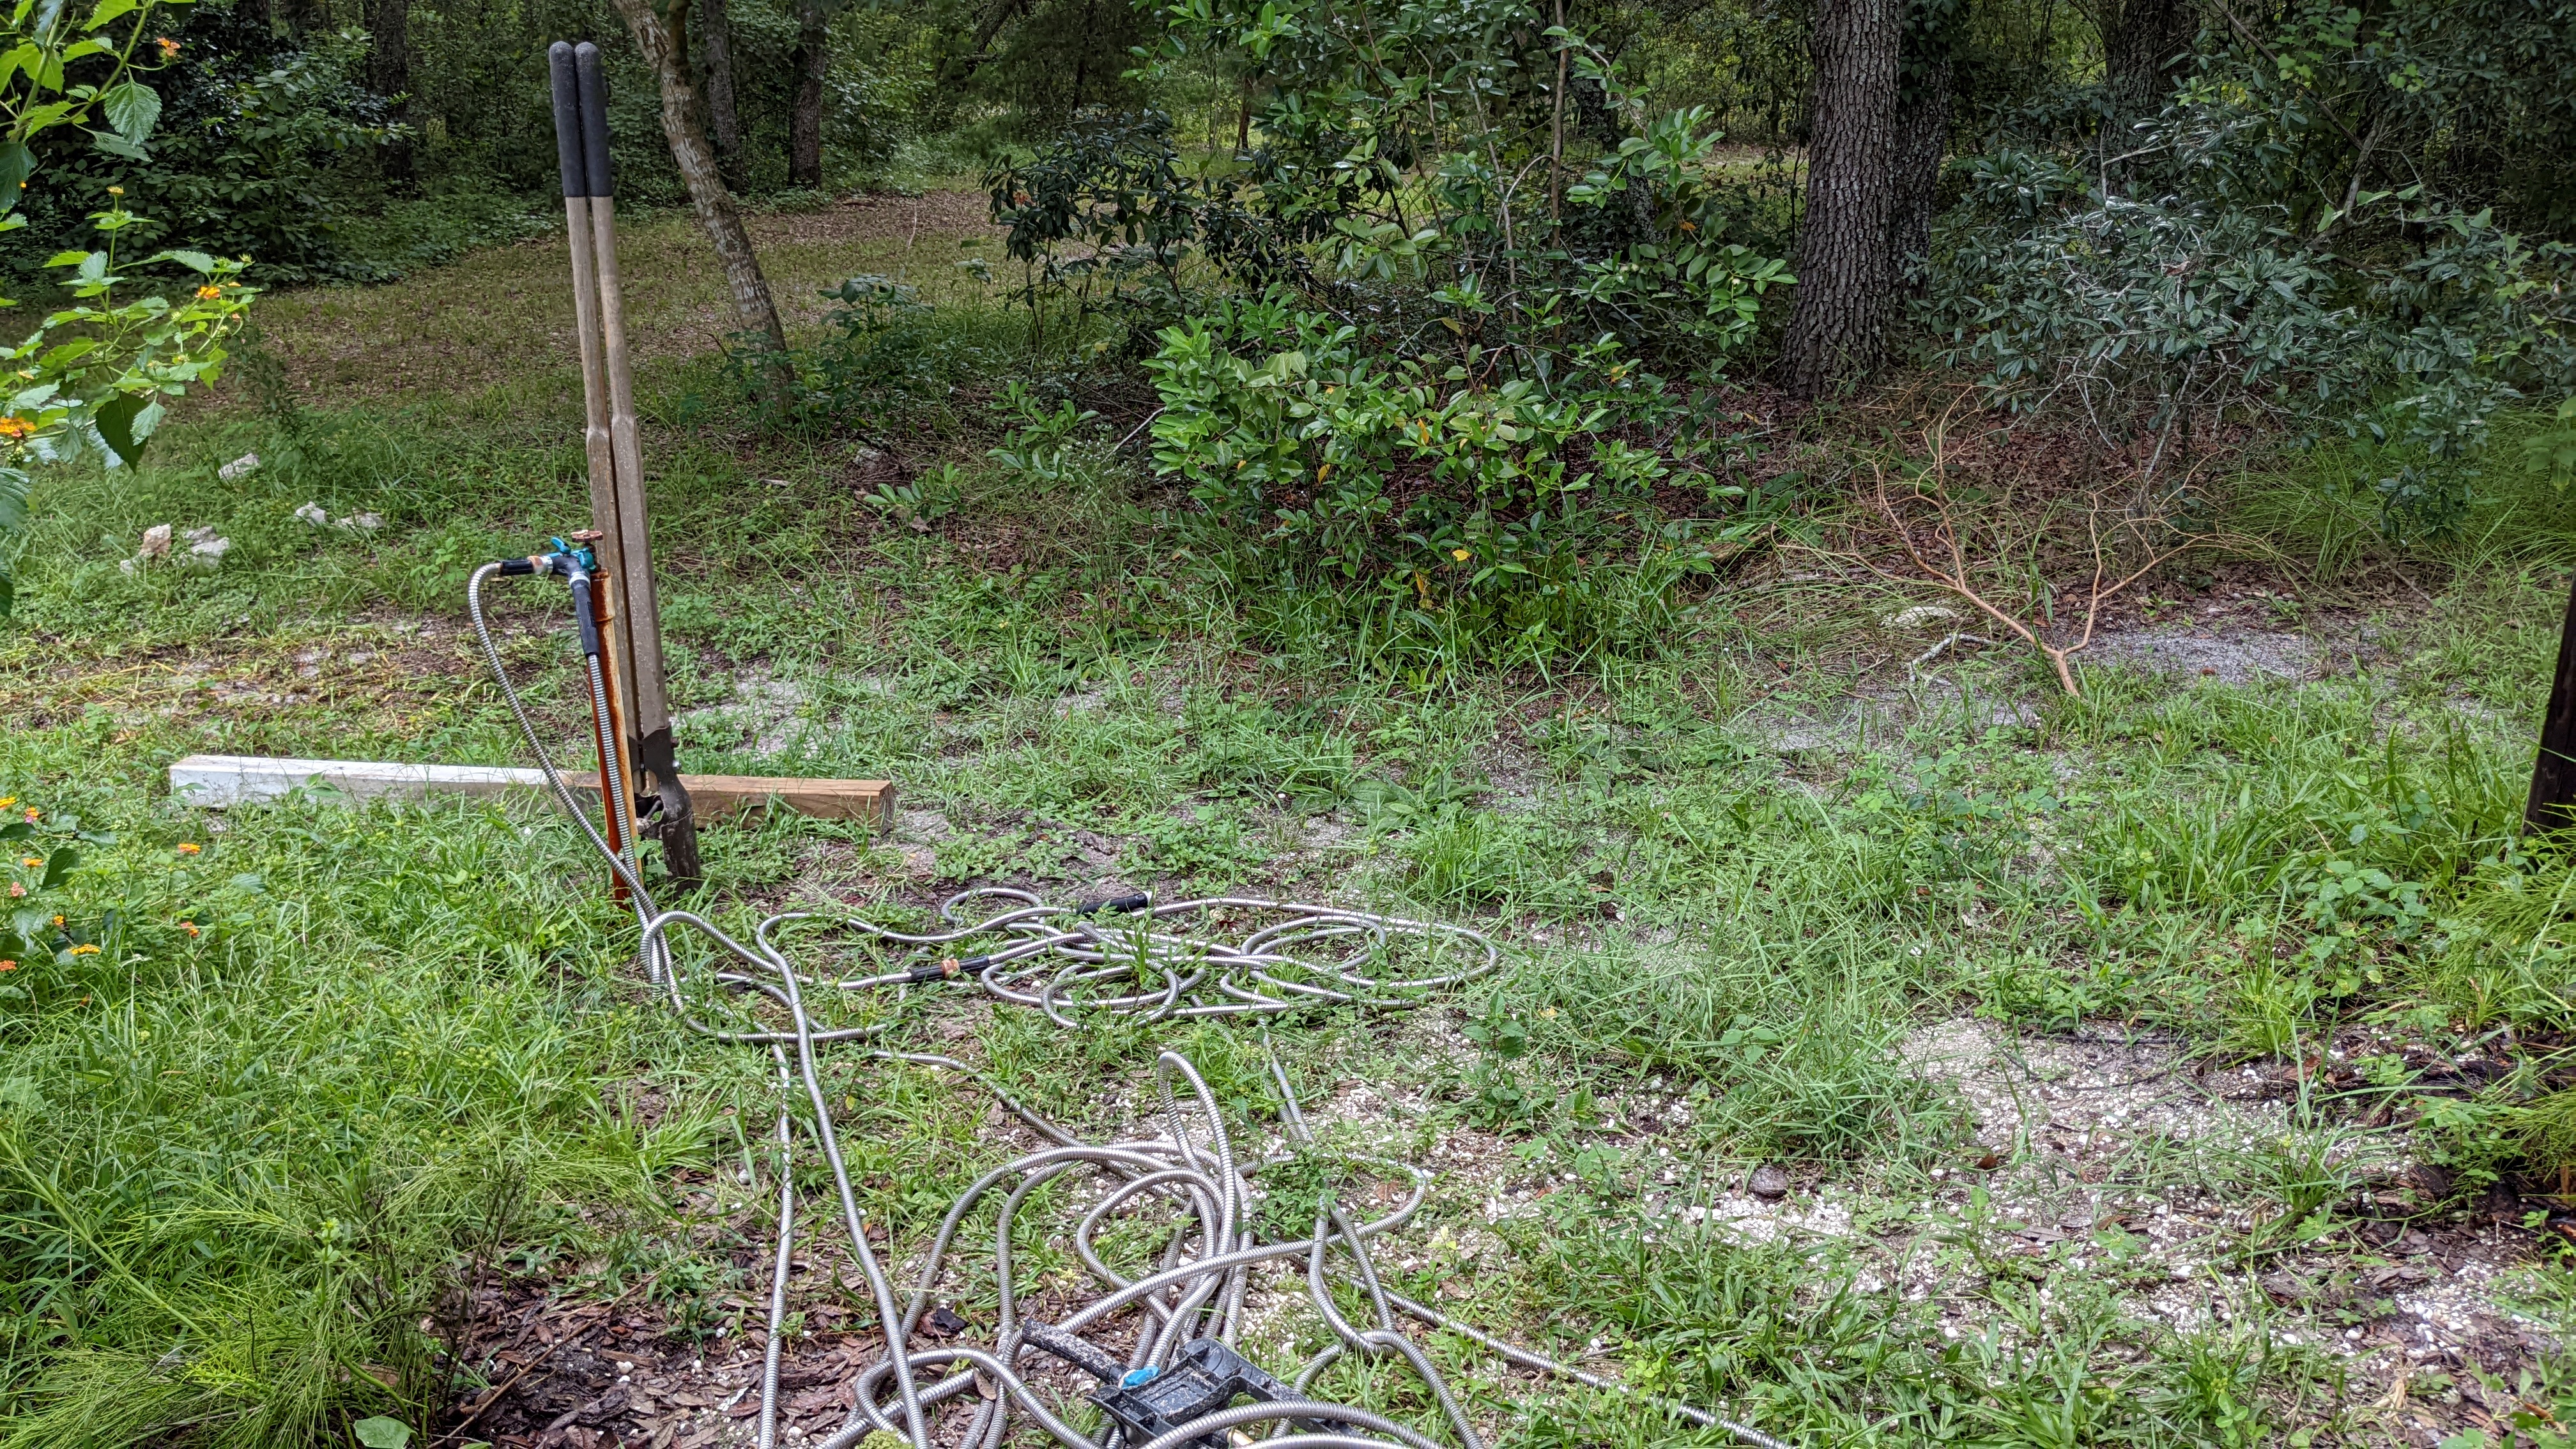
Here is what the space looked like before the renovation:
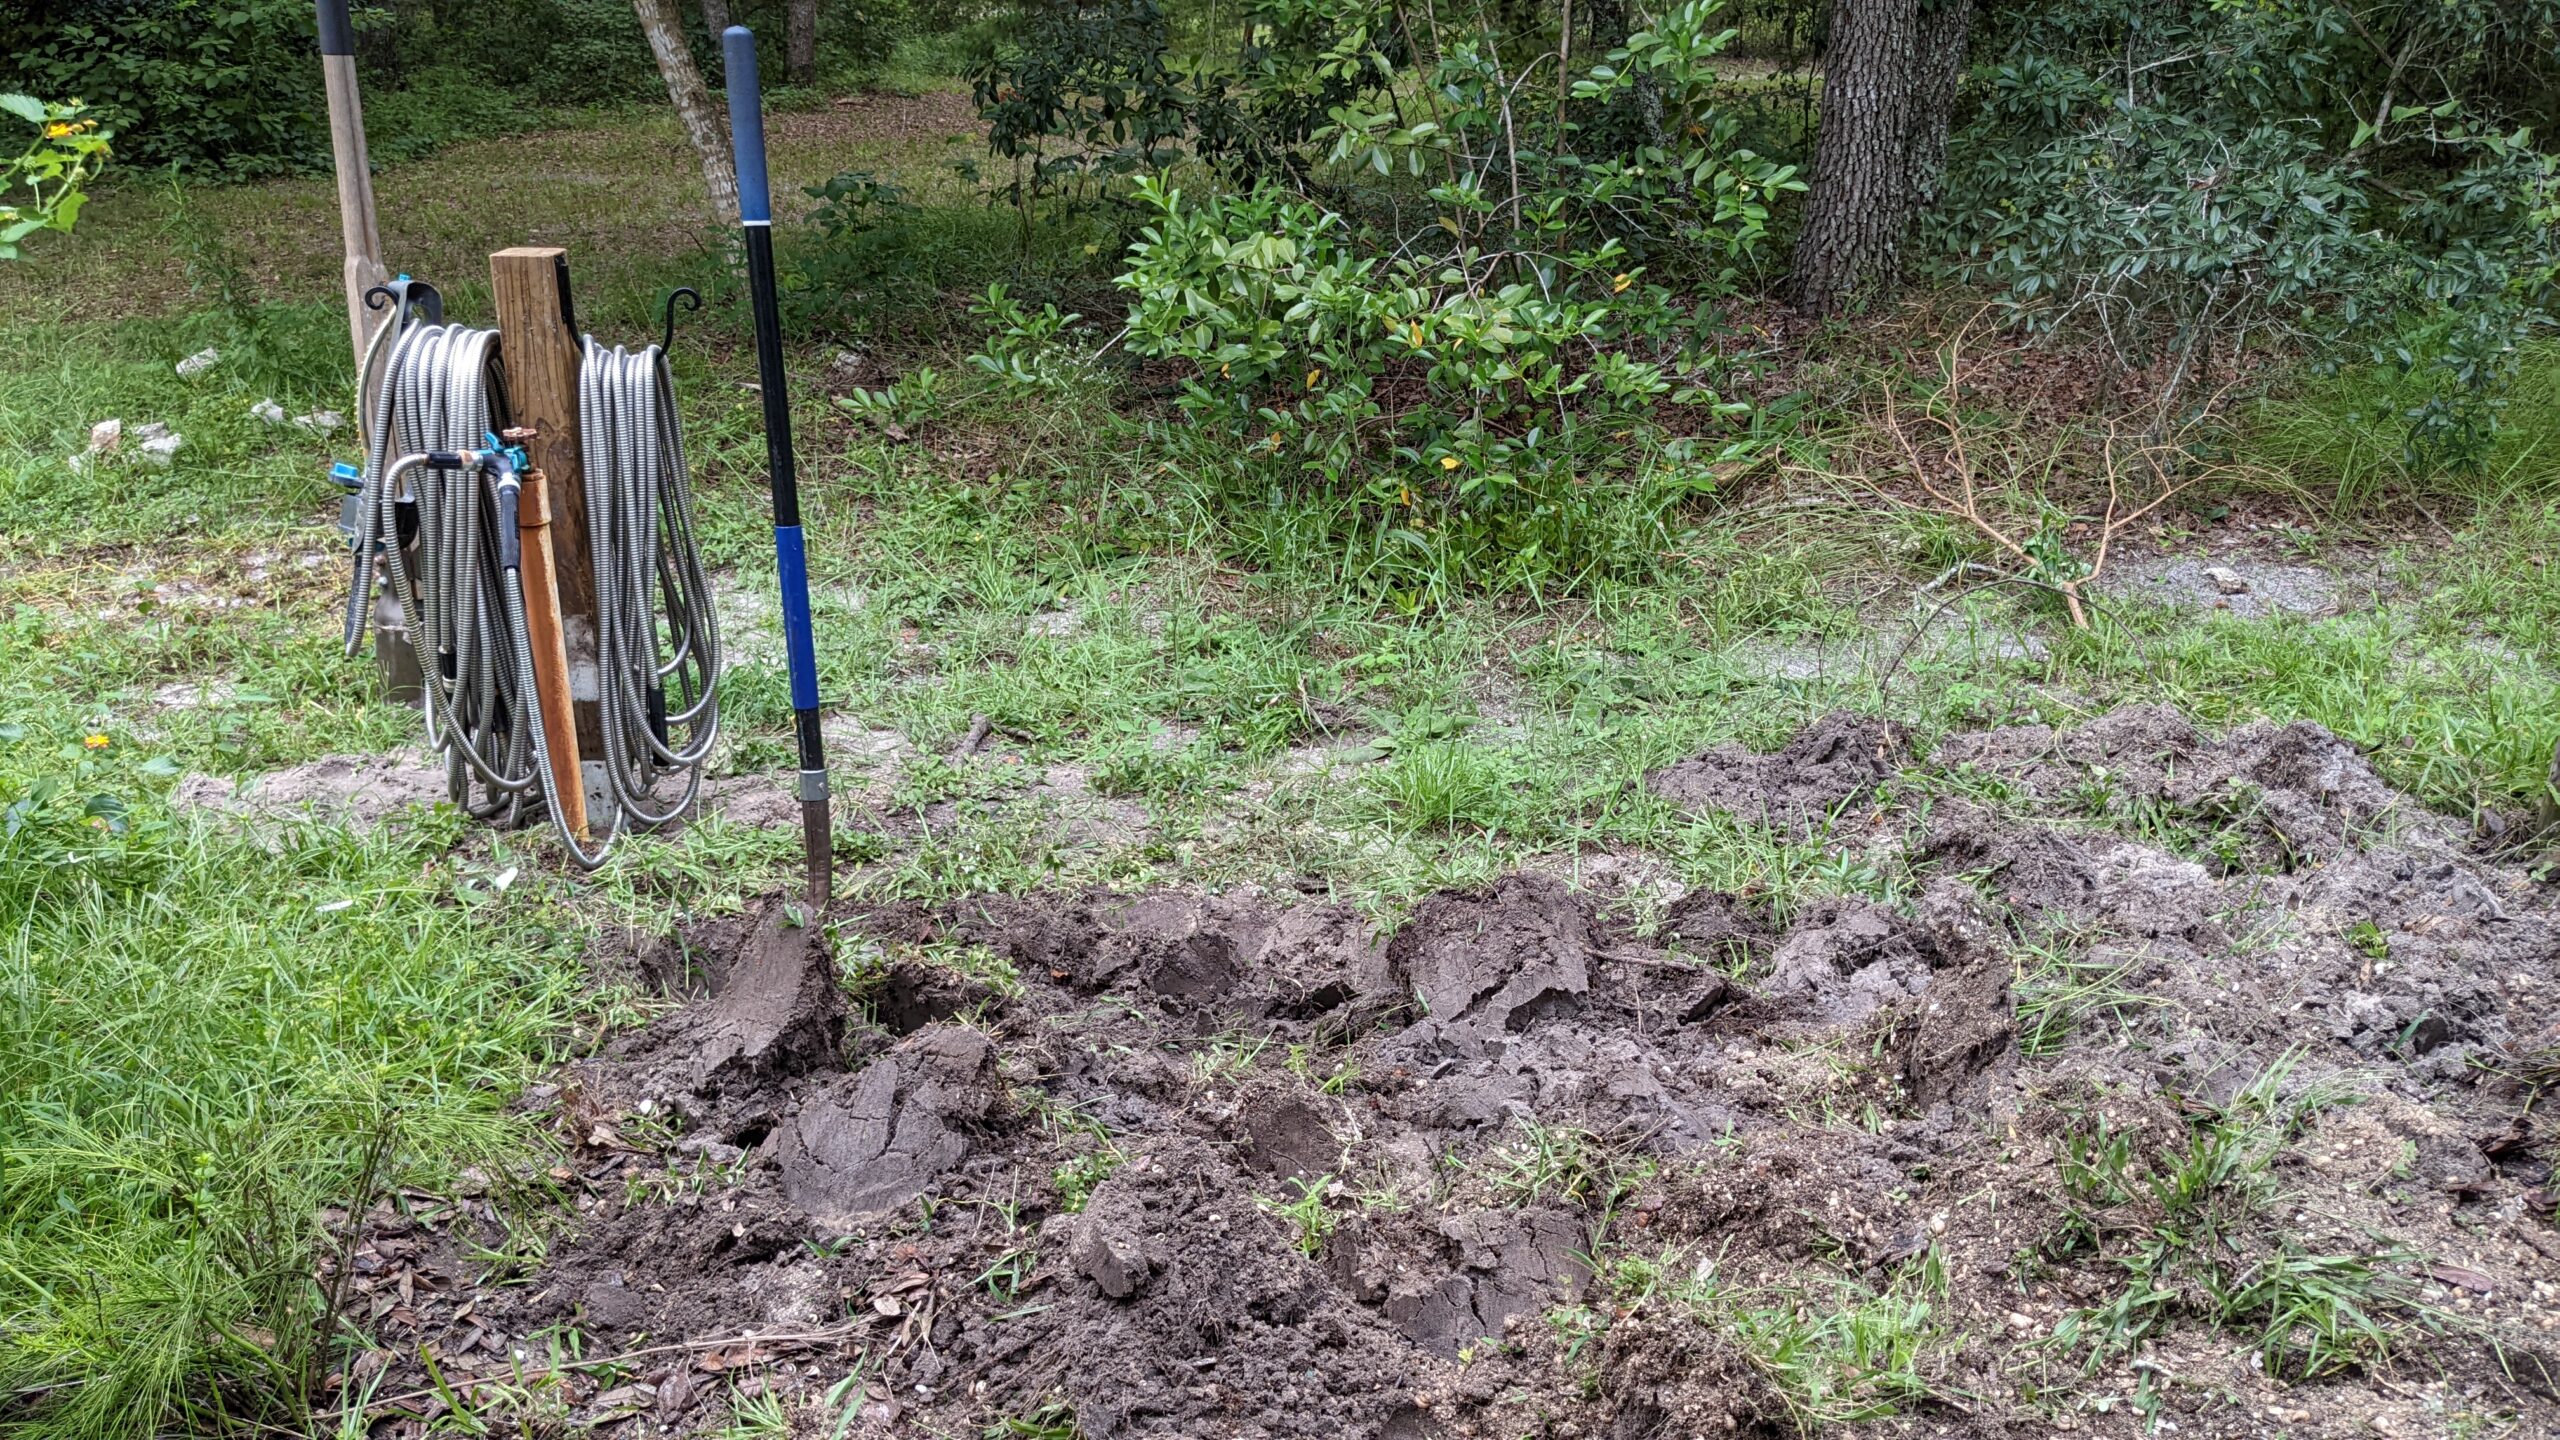
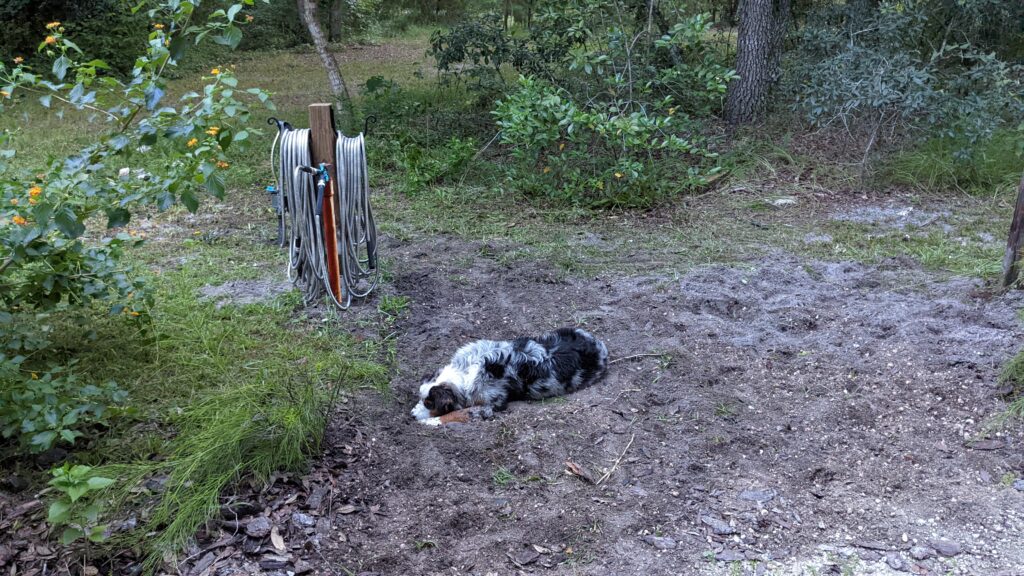
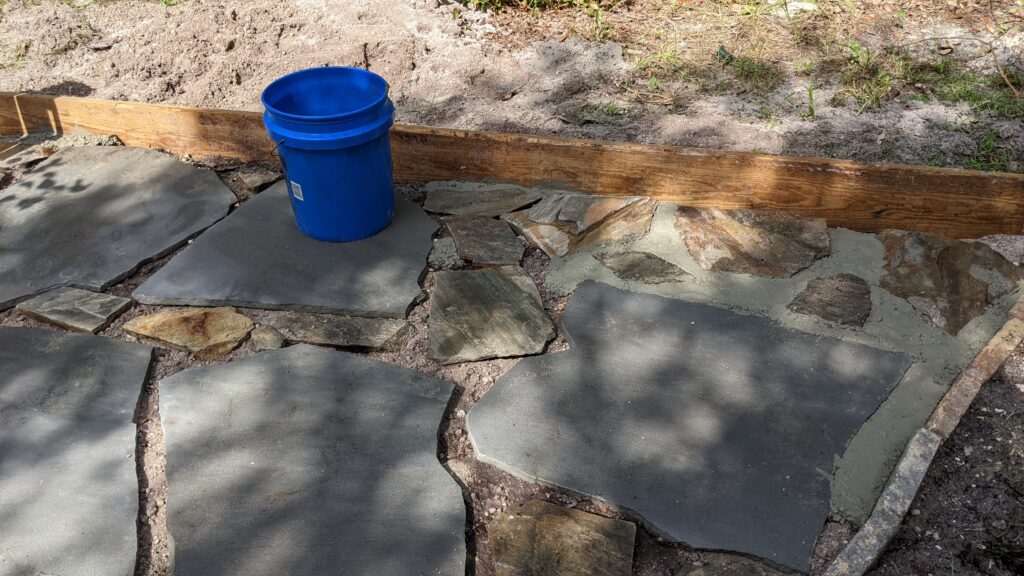
This is how the space looked prior to laying down the flagstone:
Once I turned over the soil and removed all the weeds, I leveled the best I could, considering there is a slight slope. Then, I positioned flagstones to cover the space. I didn’t want a specific pattern, so I intentionally staggered pieces randomly and made sure they intruded into negative spaces so as not to create straight rows. Originally, I planned to work only with the large, flat bluish gray stones, but then decided that I had a bunch of other rocks on-hand, and wanted some shape and color variations, so I brought in a bunch of rocks I had left over from the pond.
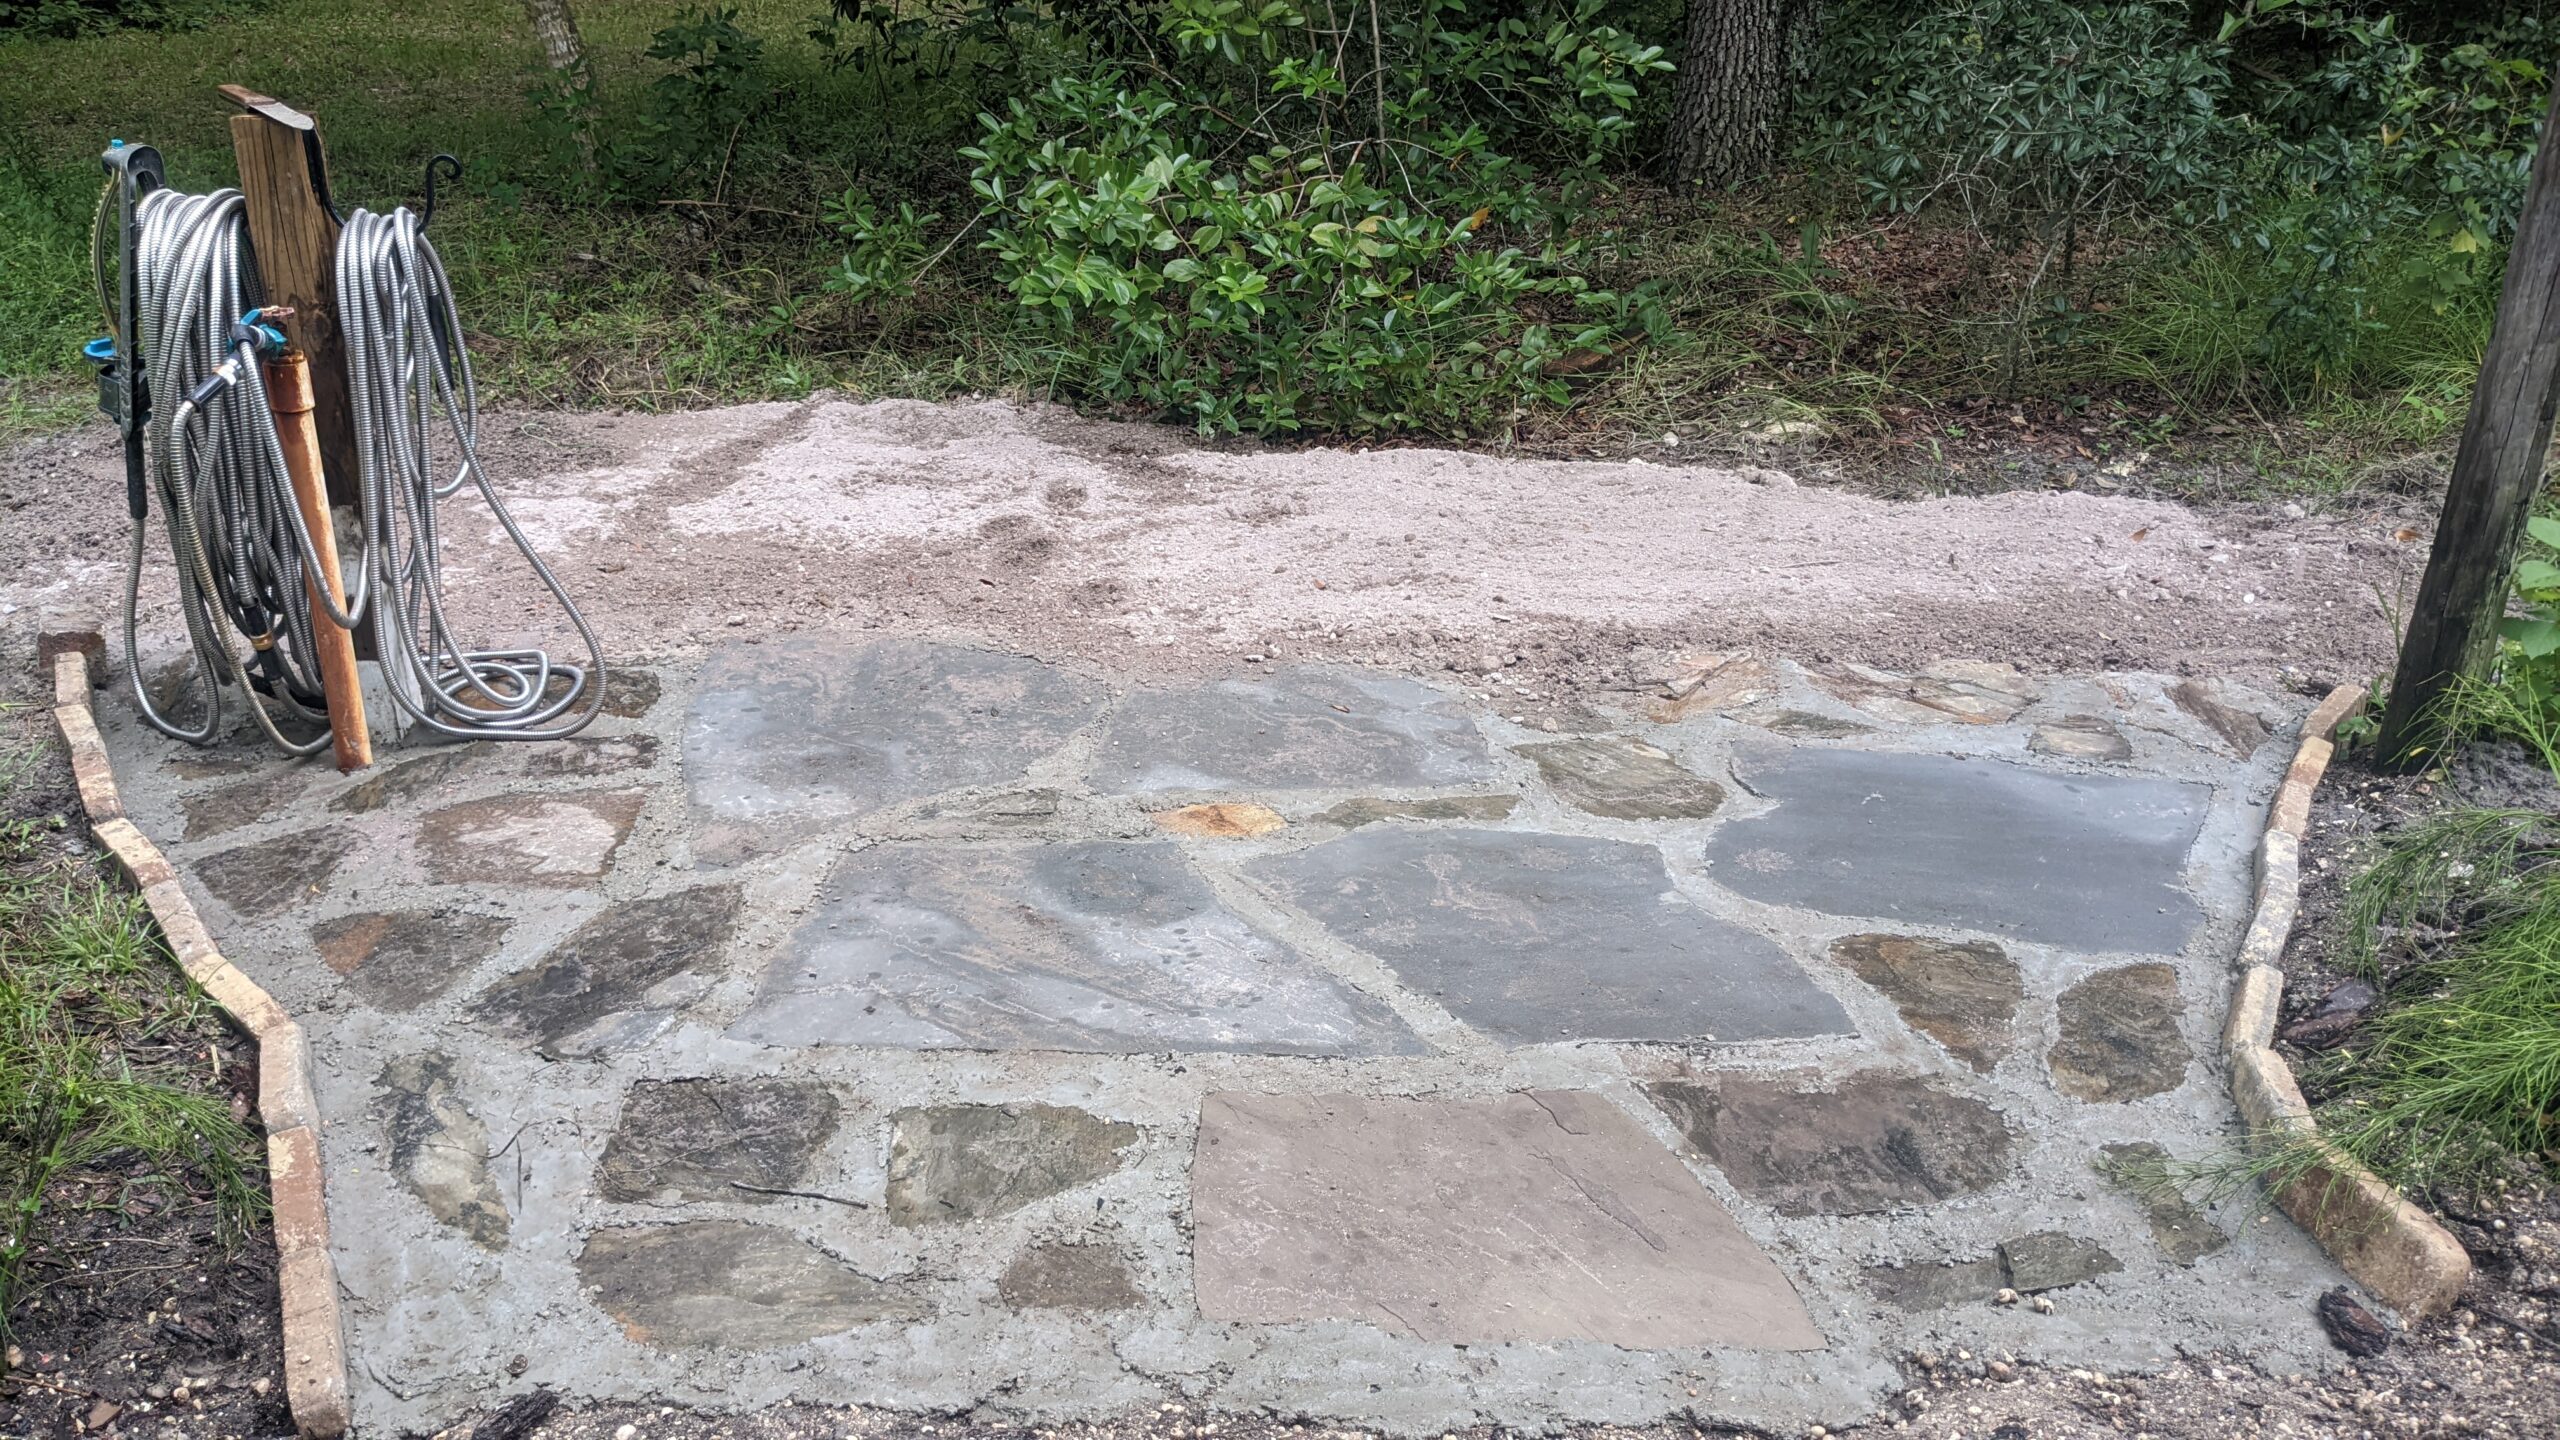
I made sure I had all my supplies and stones on-hand prior to mixing any cement. I also positioned a 2 x 6 timber into a small trench to assure the back edge was clean. Another nice feature I created was to position blocks as an edge border, placing them on their sides in a line to clean up the sides and to hold mulch back from the garden.
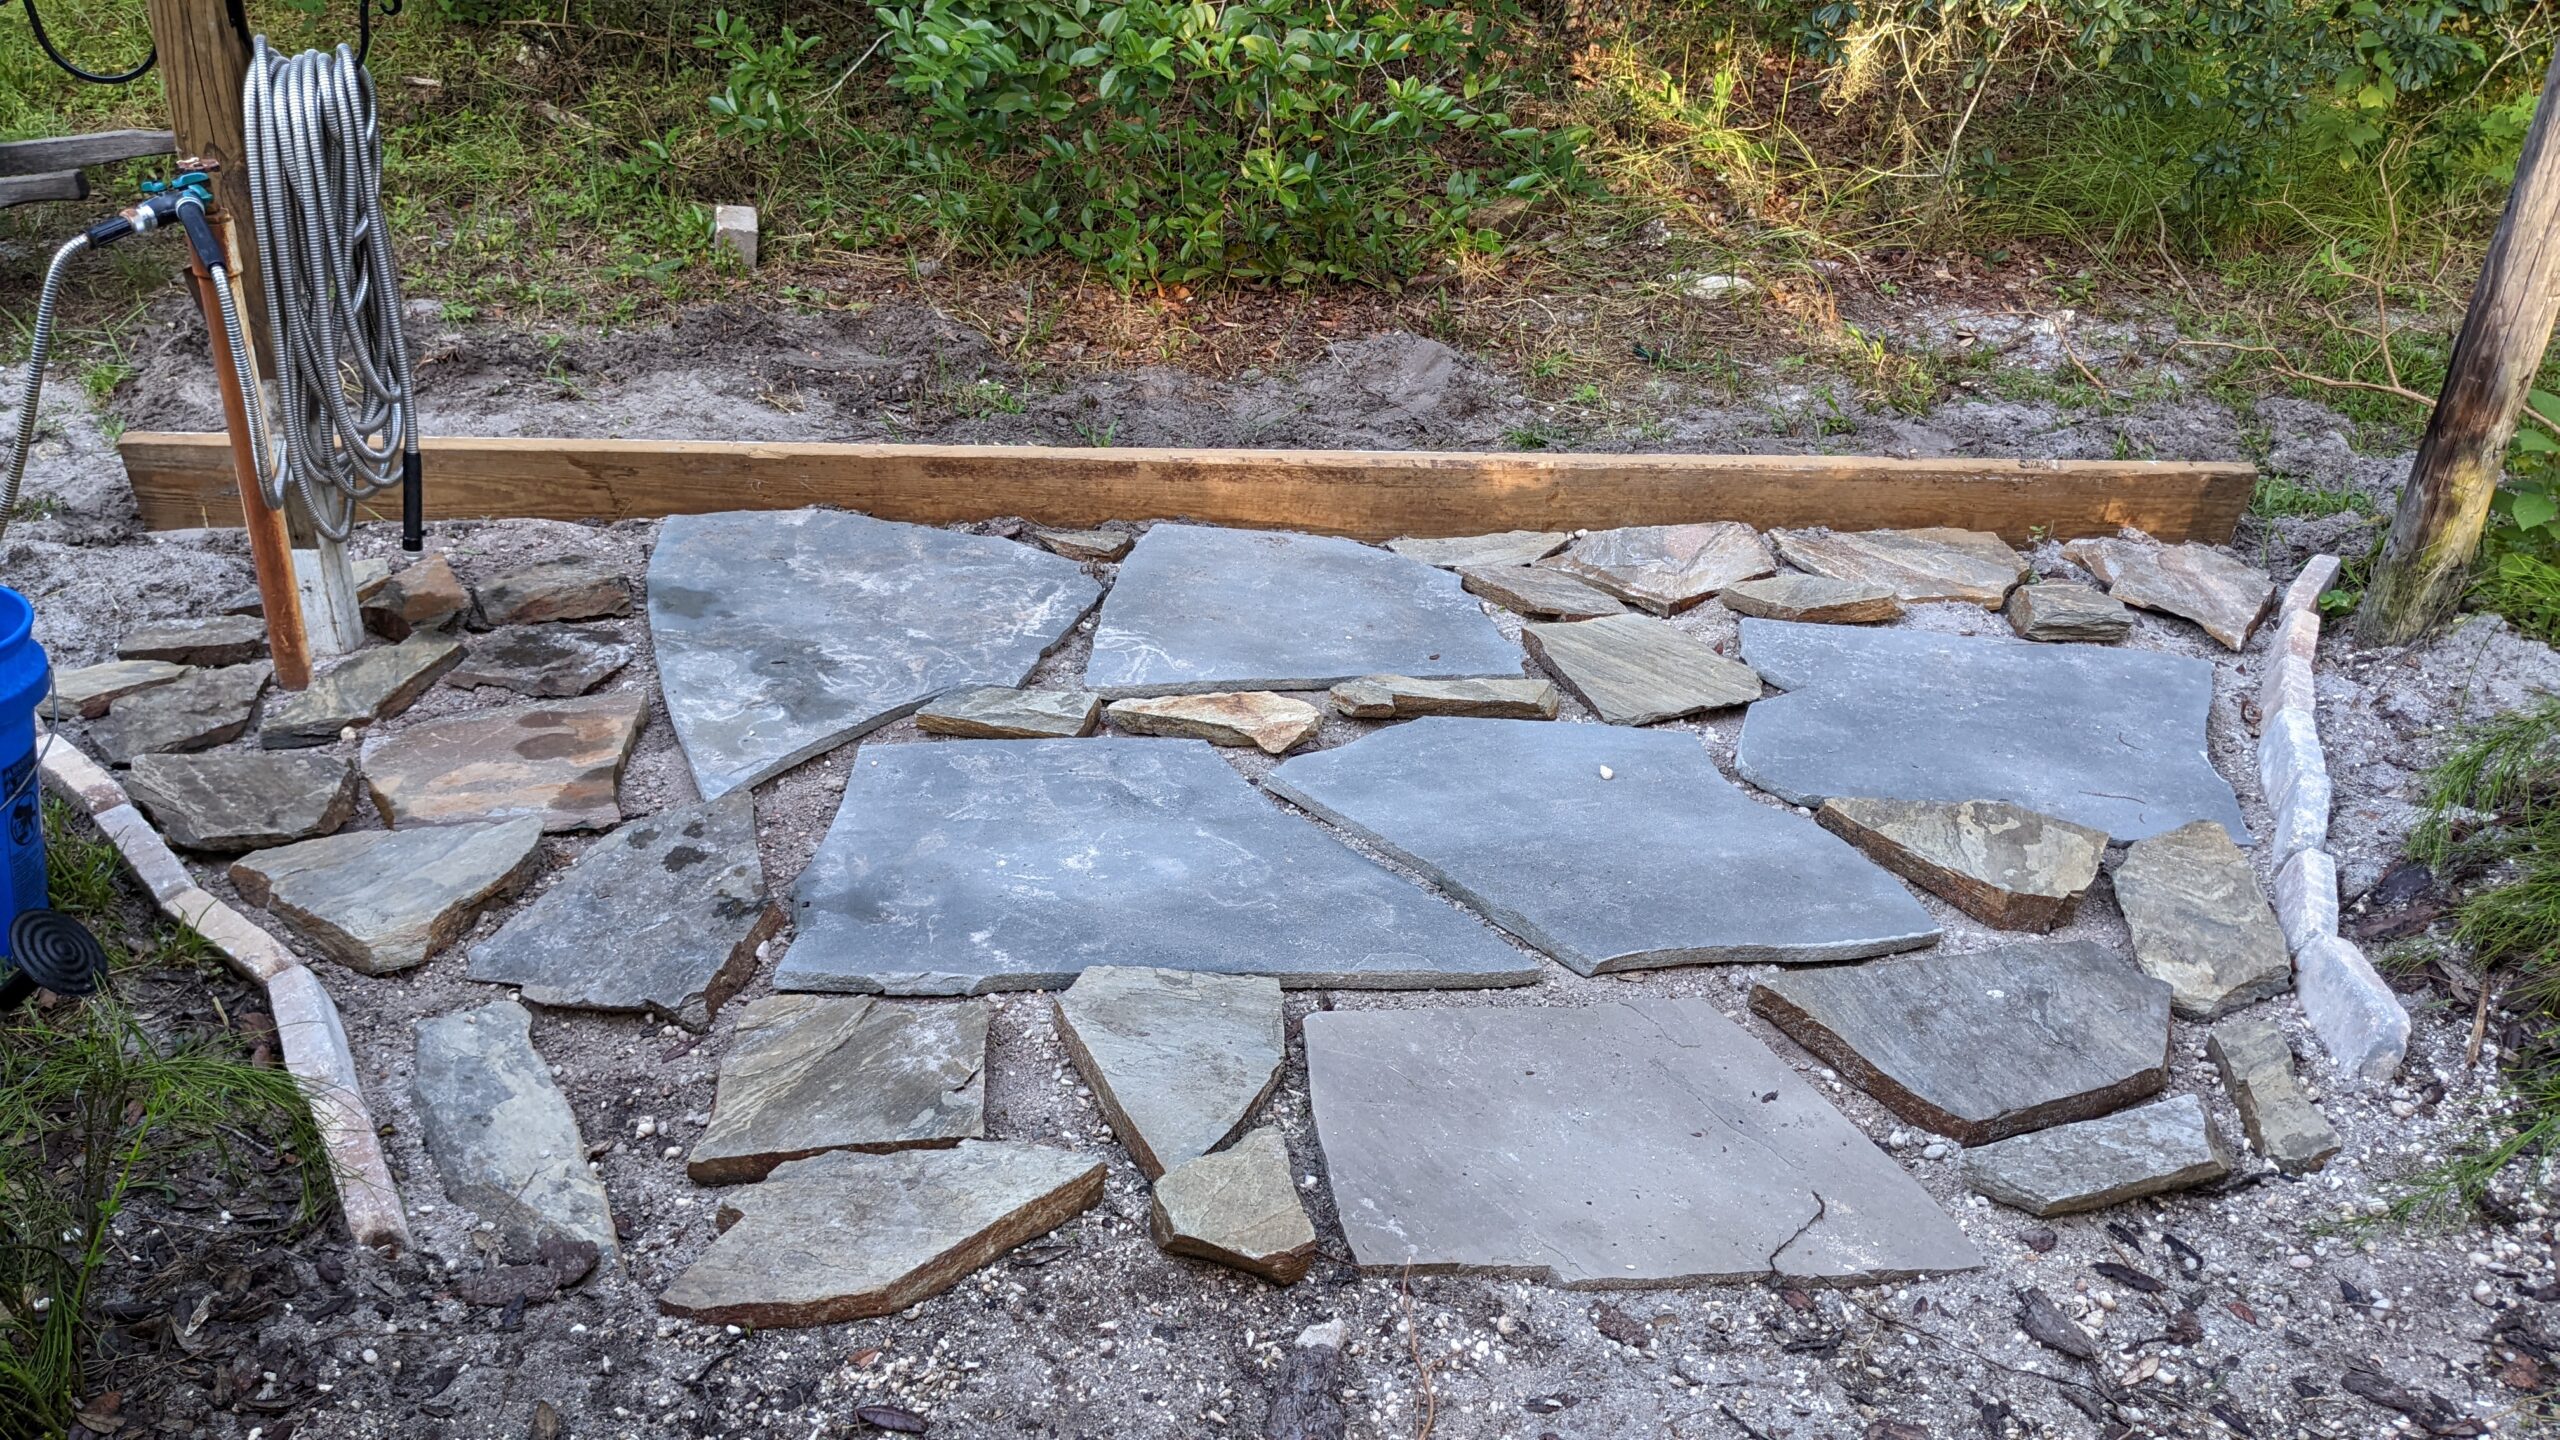
I figured it would be easier to dig thicker pieces into the ground on an individual basis, rather than removing all of the pieces at once and putting them back after spreading concrete. As you can see, some of the rocks are thinner and some are much thicker. So, I removed one thick piece, dug under it, and returned it back to assure it was level and solid before progressing on to the next.
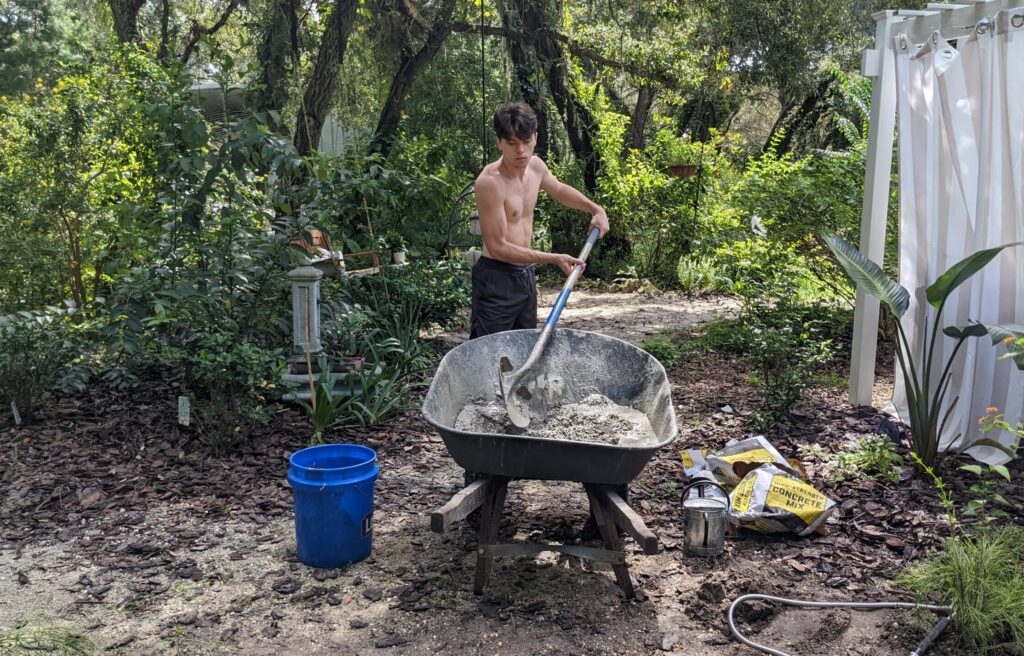
I mixed the first two bags of concrete, but once I started to get going cementing in the flagstone, I called Dakota over to help mix new bags so I could keep troweling. We just dumped concrete mix into the wheelbarrow and mixed in enough water so that it wasn’t soupy, yet all of the mix was wet and of the proper consistency. I transferred the cement from the wheelbarrow to a bucket so that I could use a smaller garden trowel to help fill cement into the crevices.
Cementing between the pavers was a dirty job but it wasn’t particularly difficult. I basically slapped enough down to reach the top of the stone without flowing over. Then, I smoothed the surface of the concrete as best as I could.
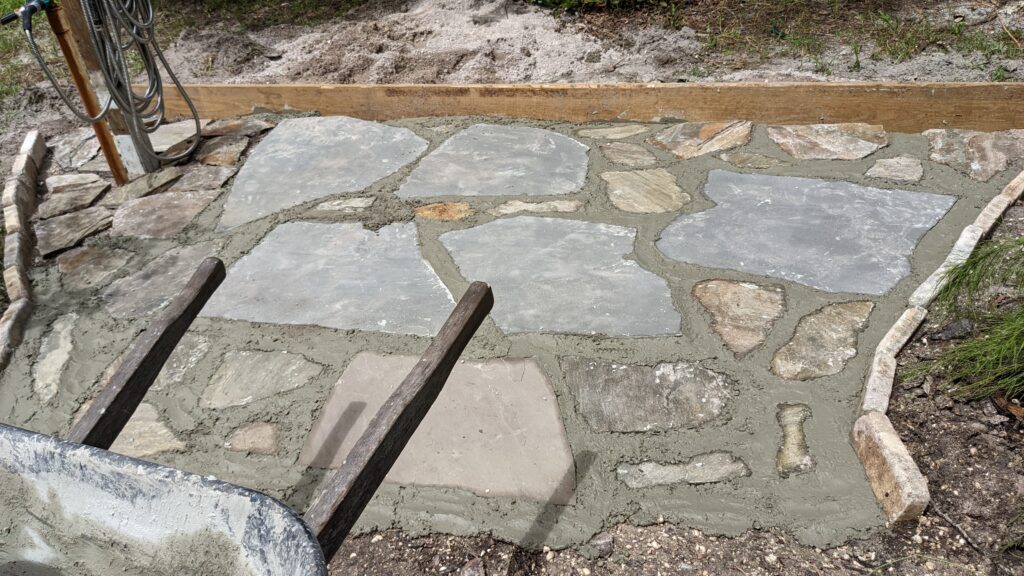
The toughest part was down around the spigot. It was hot. I was tired, sweaty and dirty. There were biting bugs. And, this area was the most uneven with many small pieces of rock that needed to be cemented in.
Well, I finally finished the job! I would guess this cementing part took five hours. When done, I wheeled the tools over to another spigot and hosed and scrubbed all the equipment down to remove the concrete. Once the pavers set, I removed the wood board, and leveled the dirt on the backside closest to the woods. And, voila! The finished product.
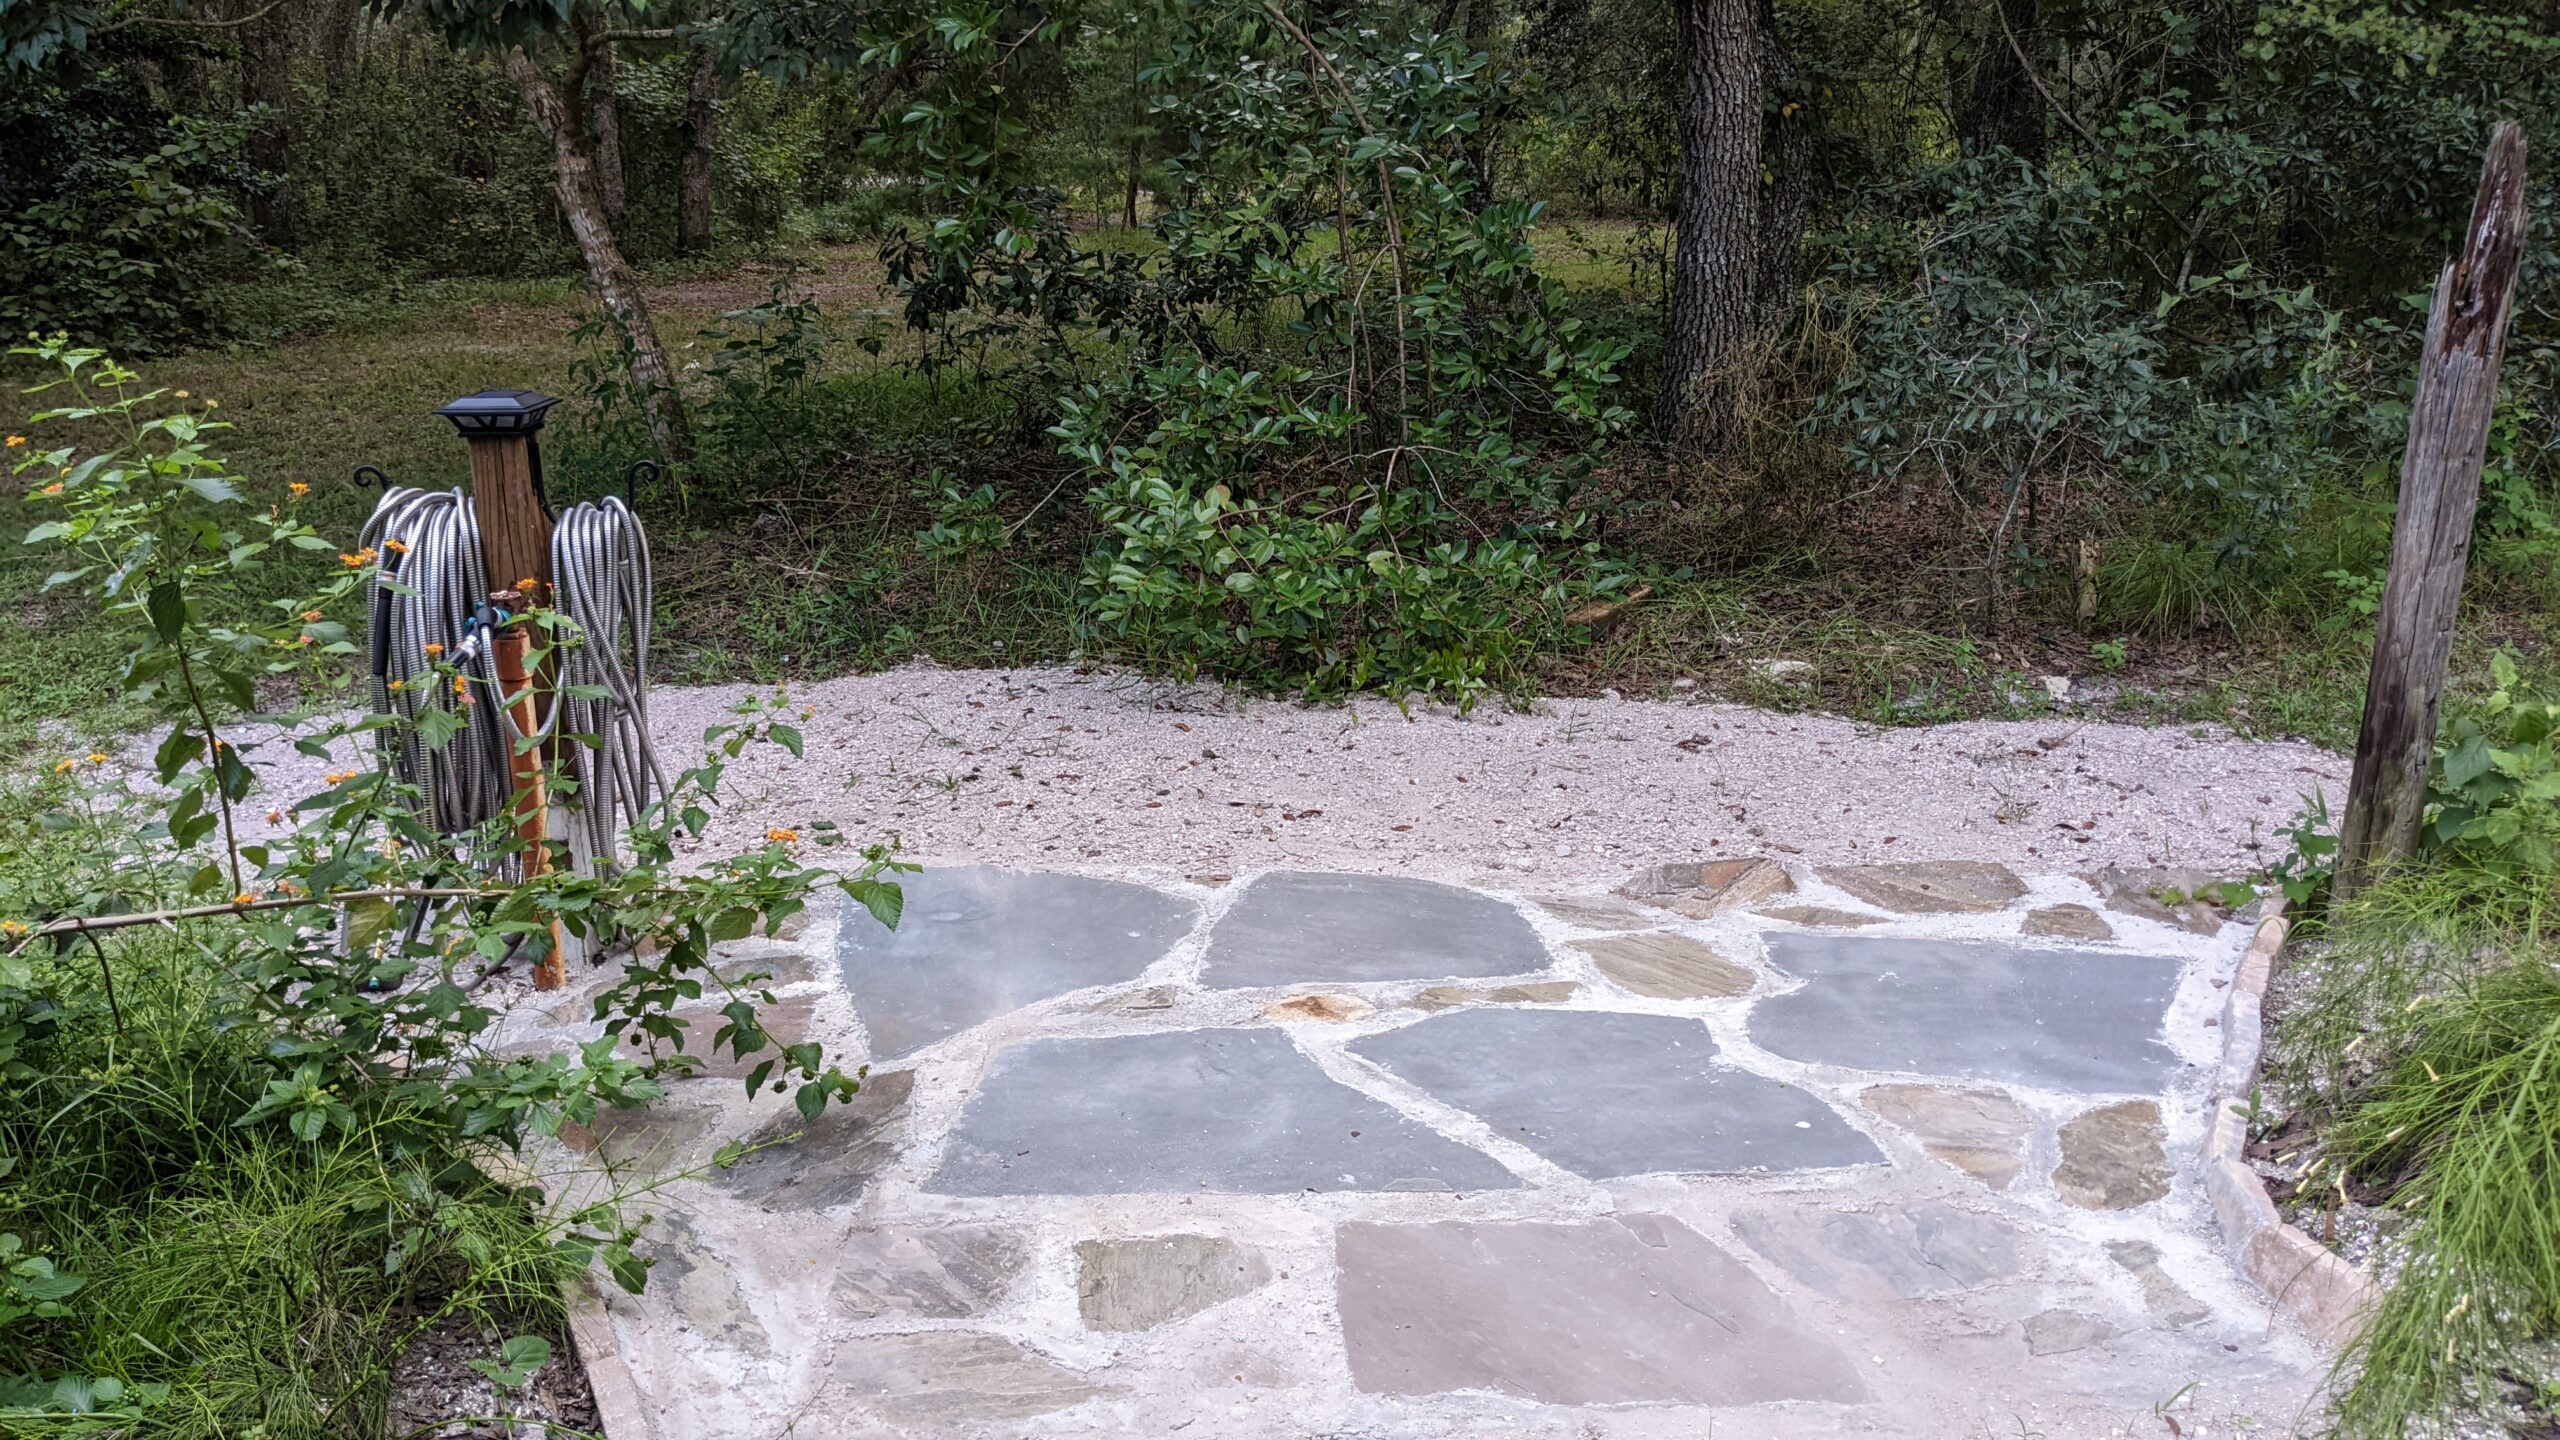
Well, finished for now… until the next project! Now I want to edge and pave the entire garden path…or hire a team to do it!
Happy gardening.