My biggest garden renovation used to be my horse pasture. Since I no longer own horses, the field is full of weeds. The horse stalls have been taken down. Several of the trees died due to horses chewing on them. It really is nice to look out at the pasture. However, it takes a lot to mow, it’s blazing hot, and unusable in the summer, actually most of the year.
My son and I planted a sun island bed a year and a half ago, which has been quite the challenge keeping out the weeds. We wanted more privacy from the road after the electric company had trimmers cut back the trees.
Then we put in a cedar garden bed that just pops up out of nowhere like a sore thumb.
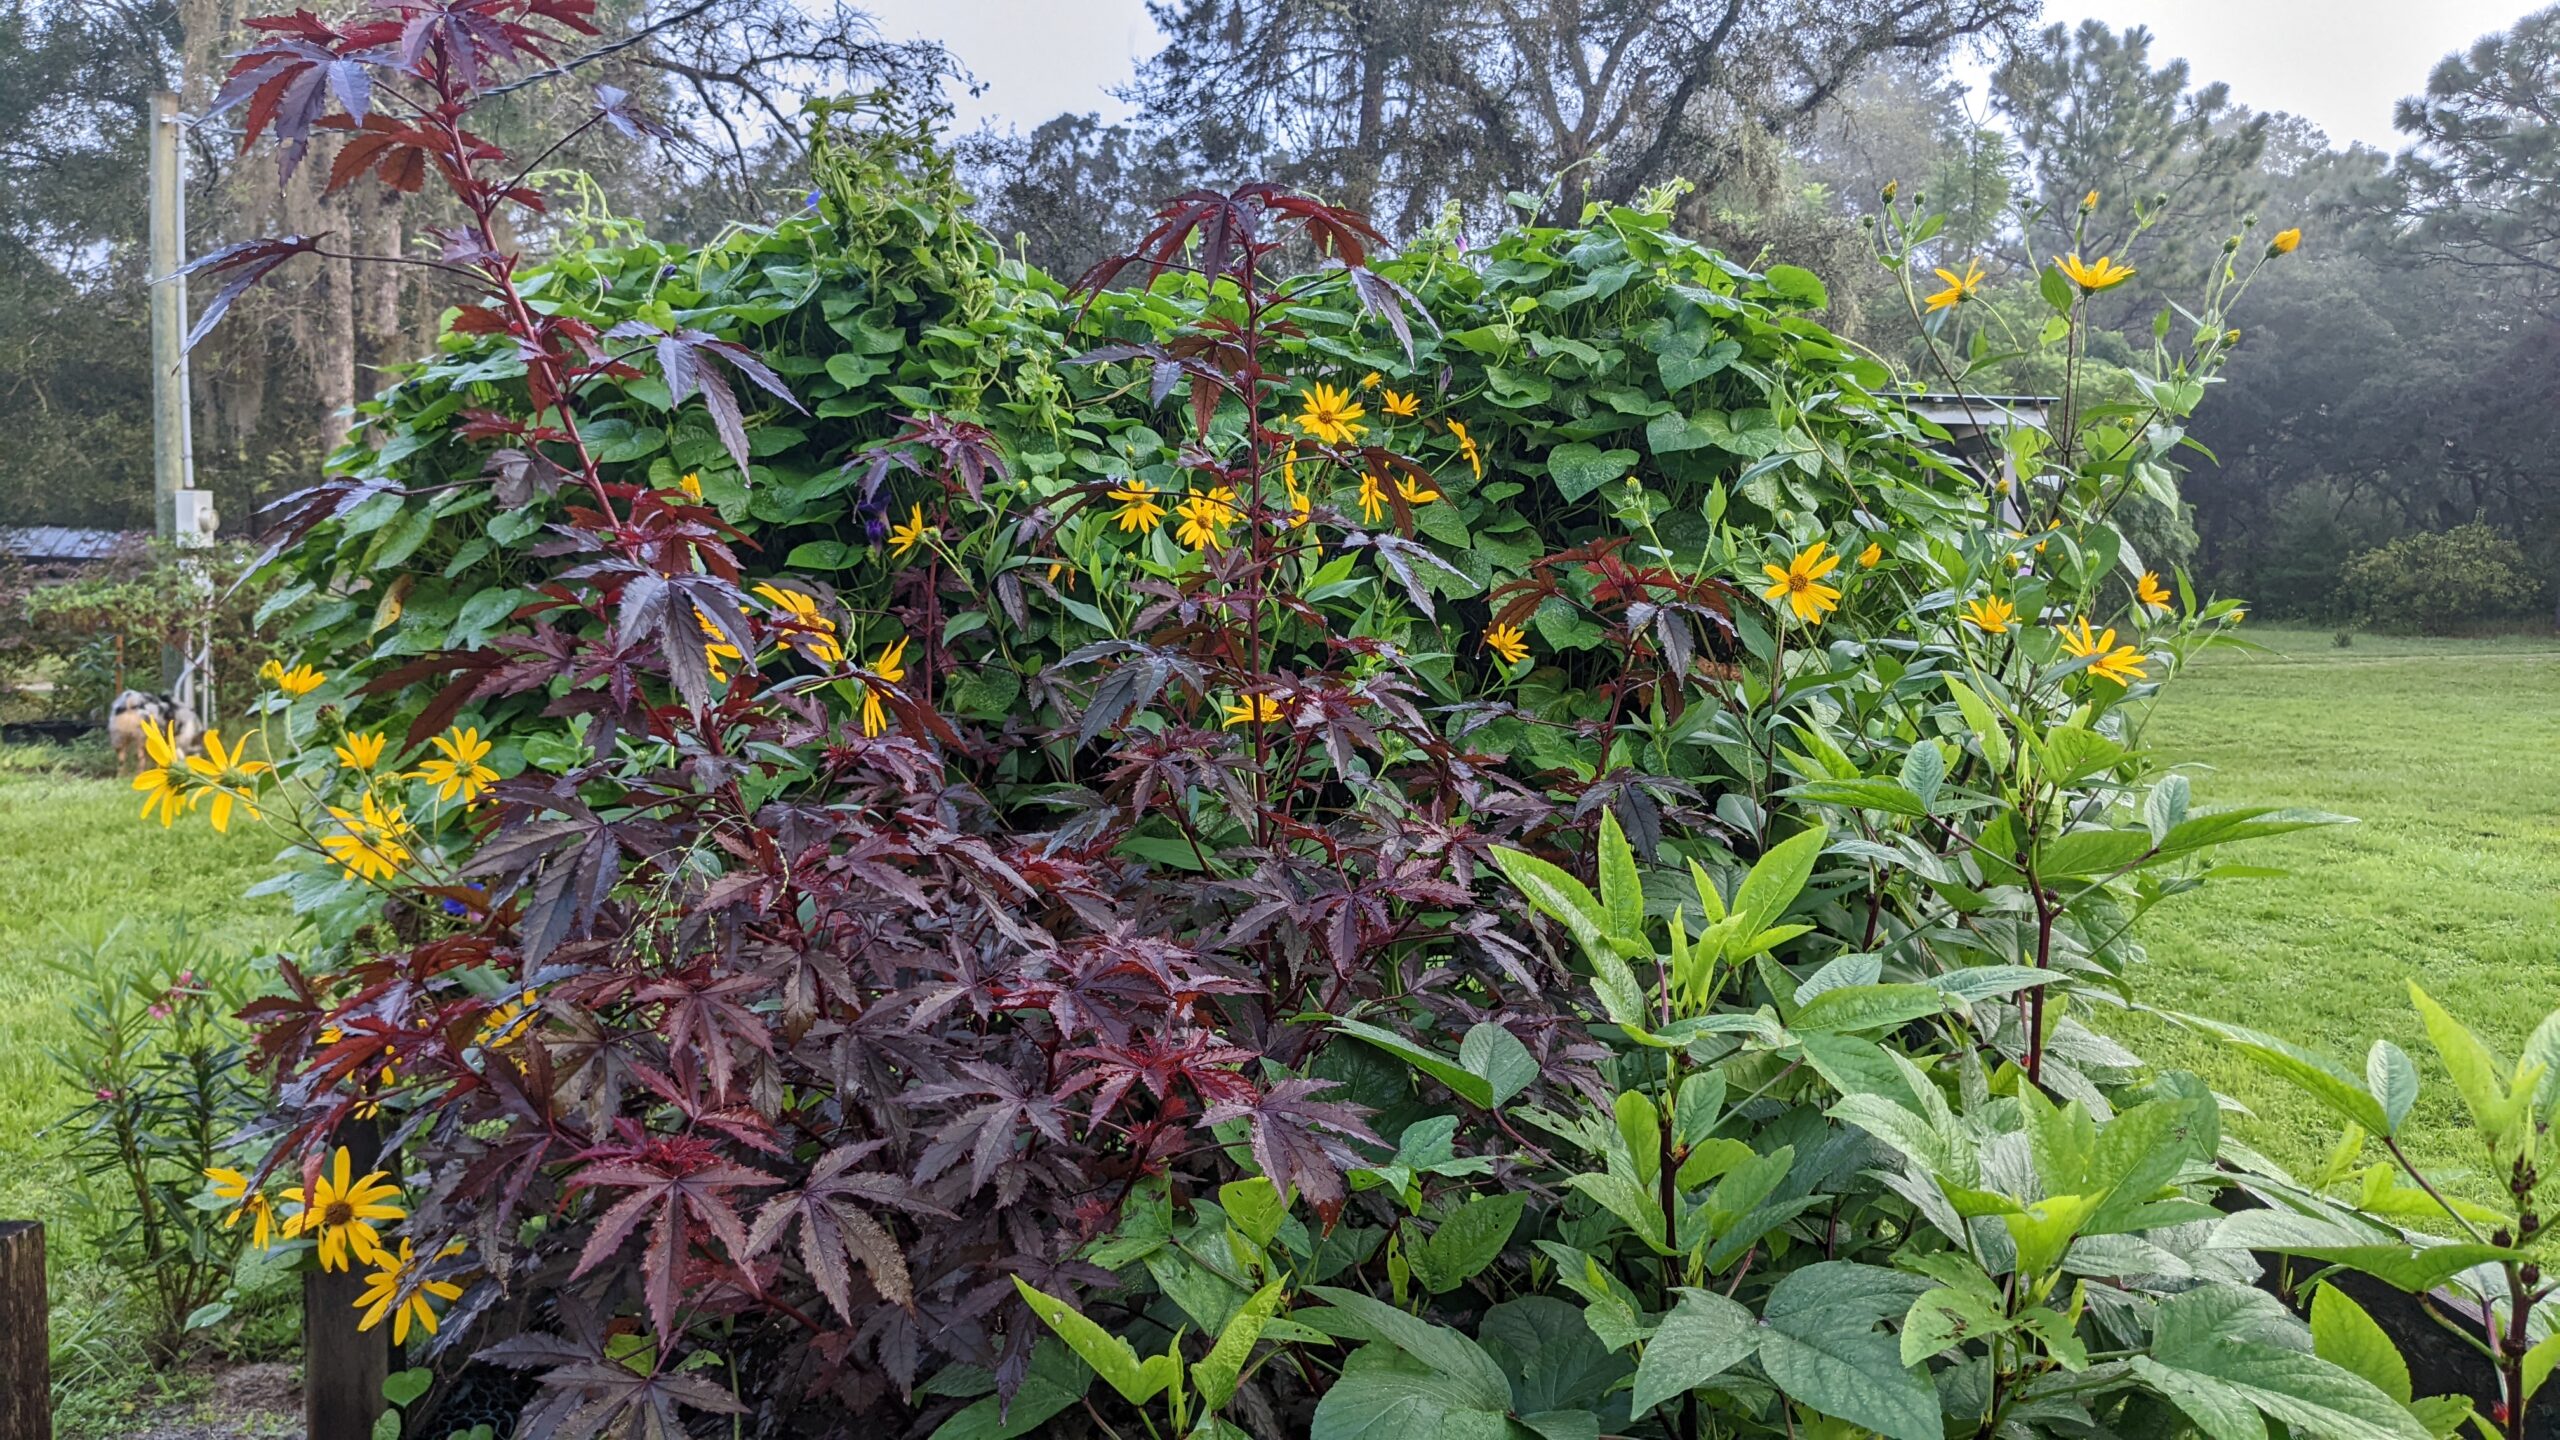
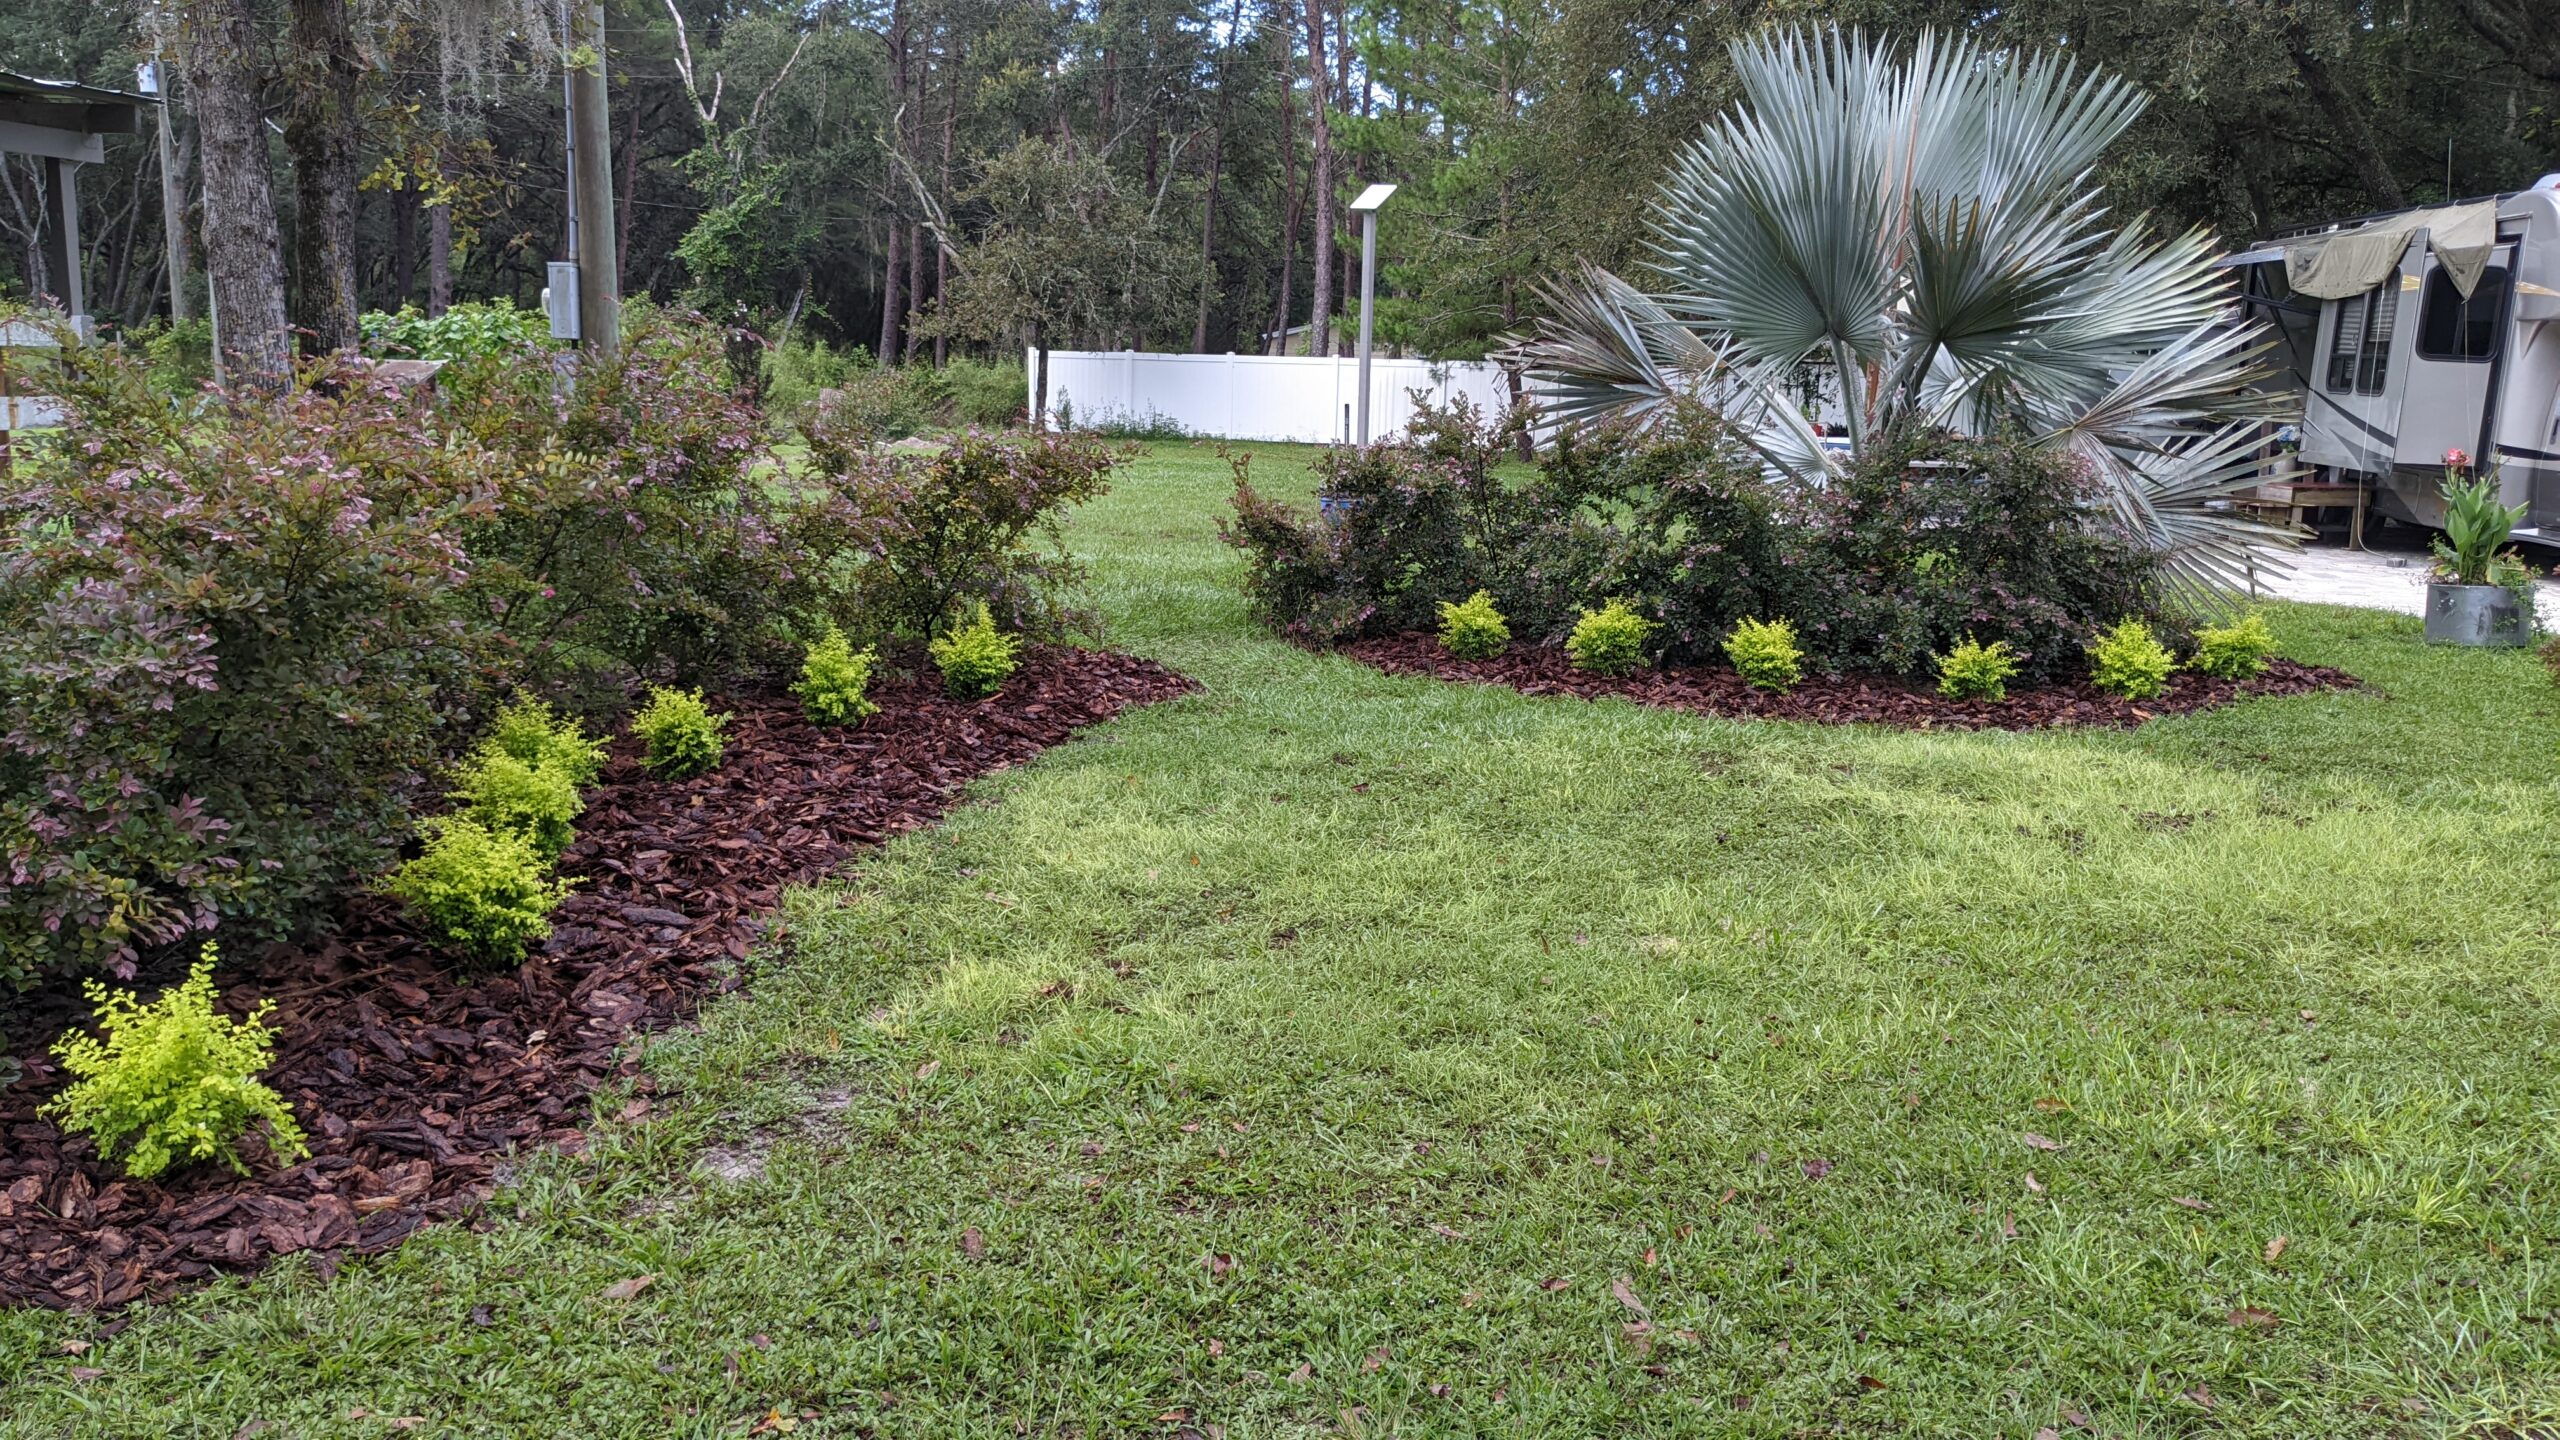
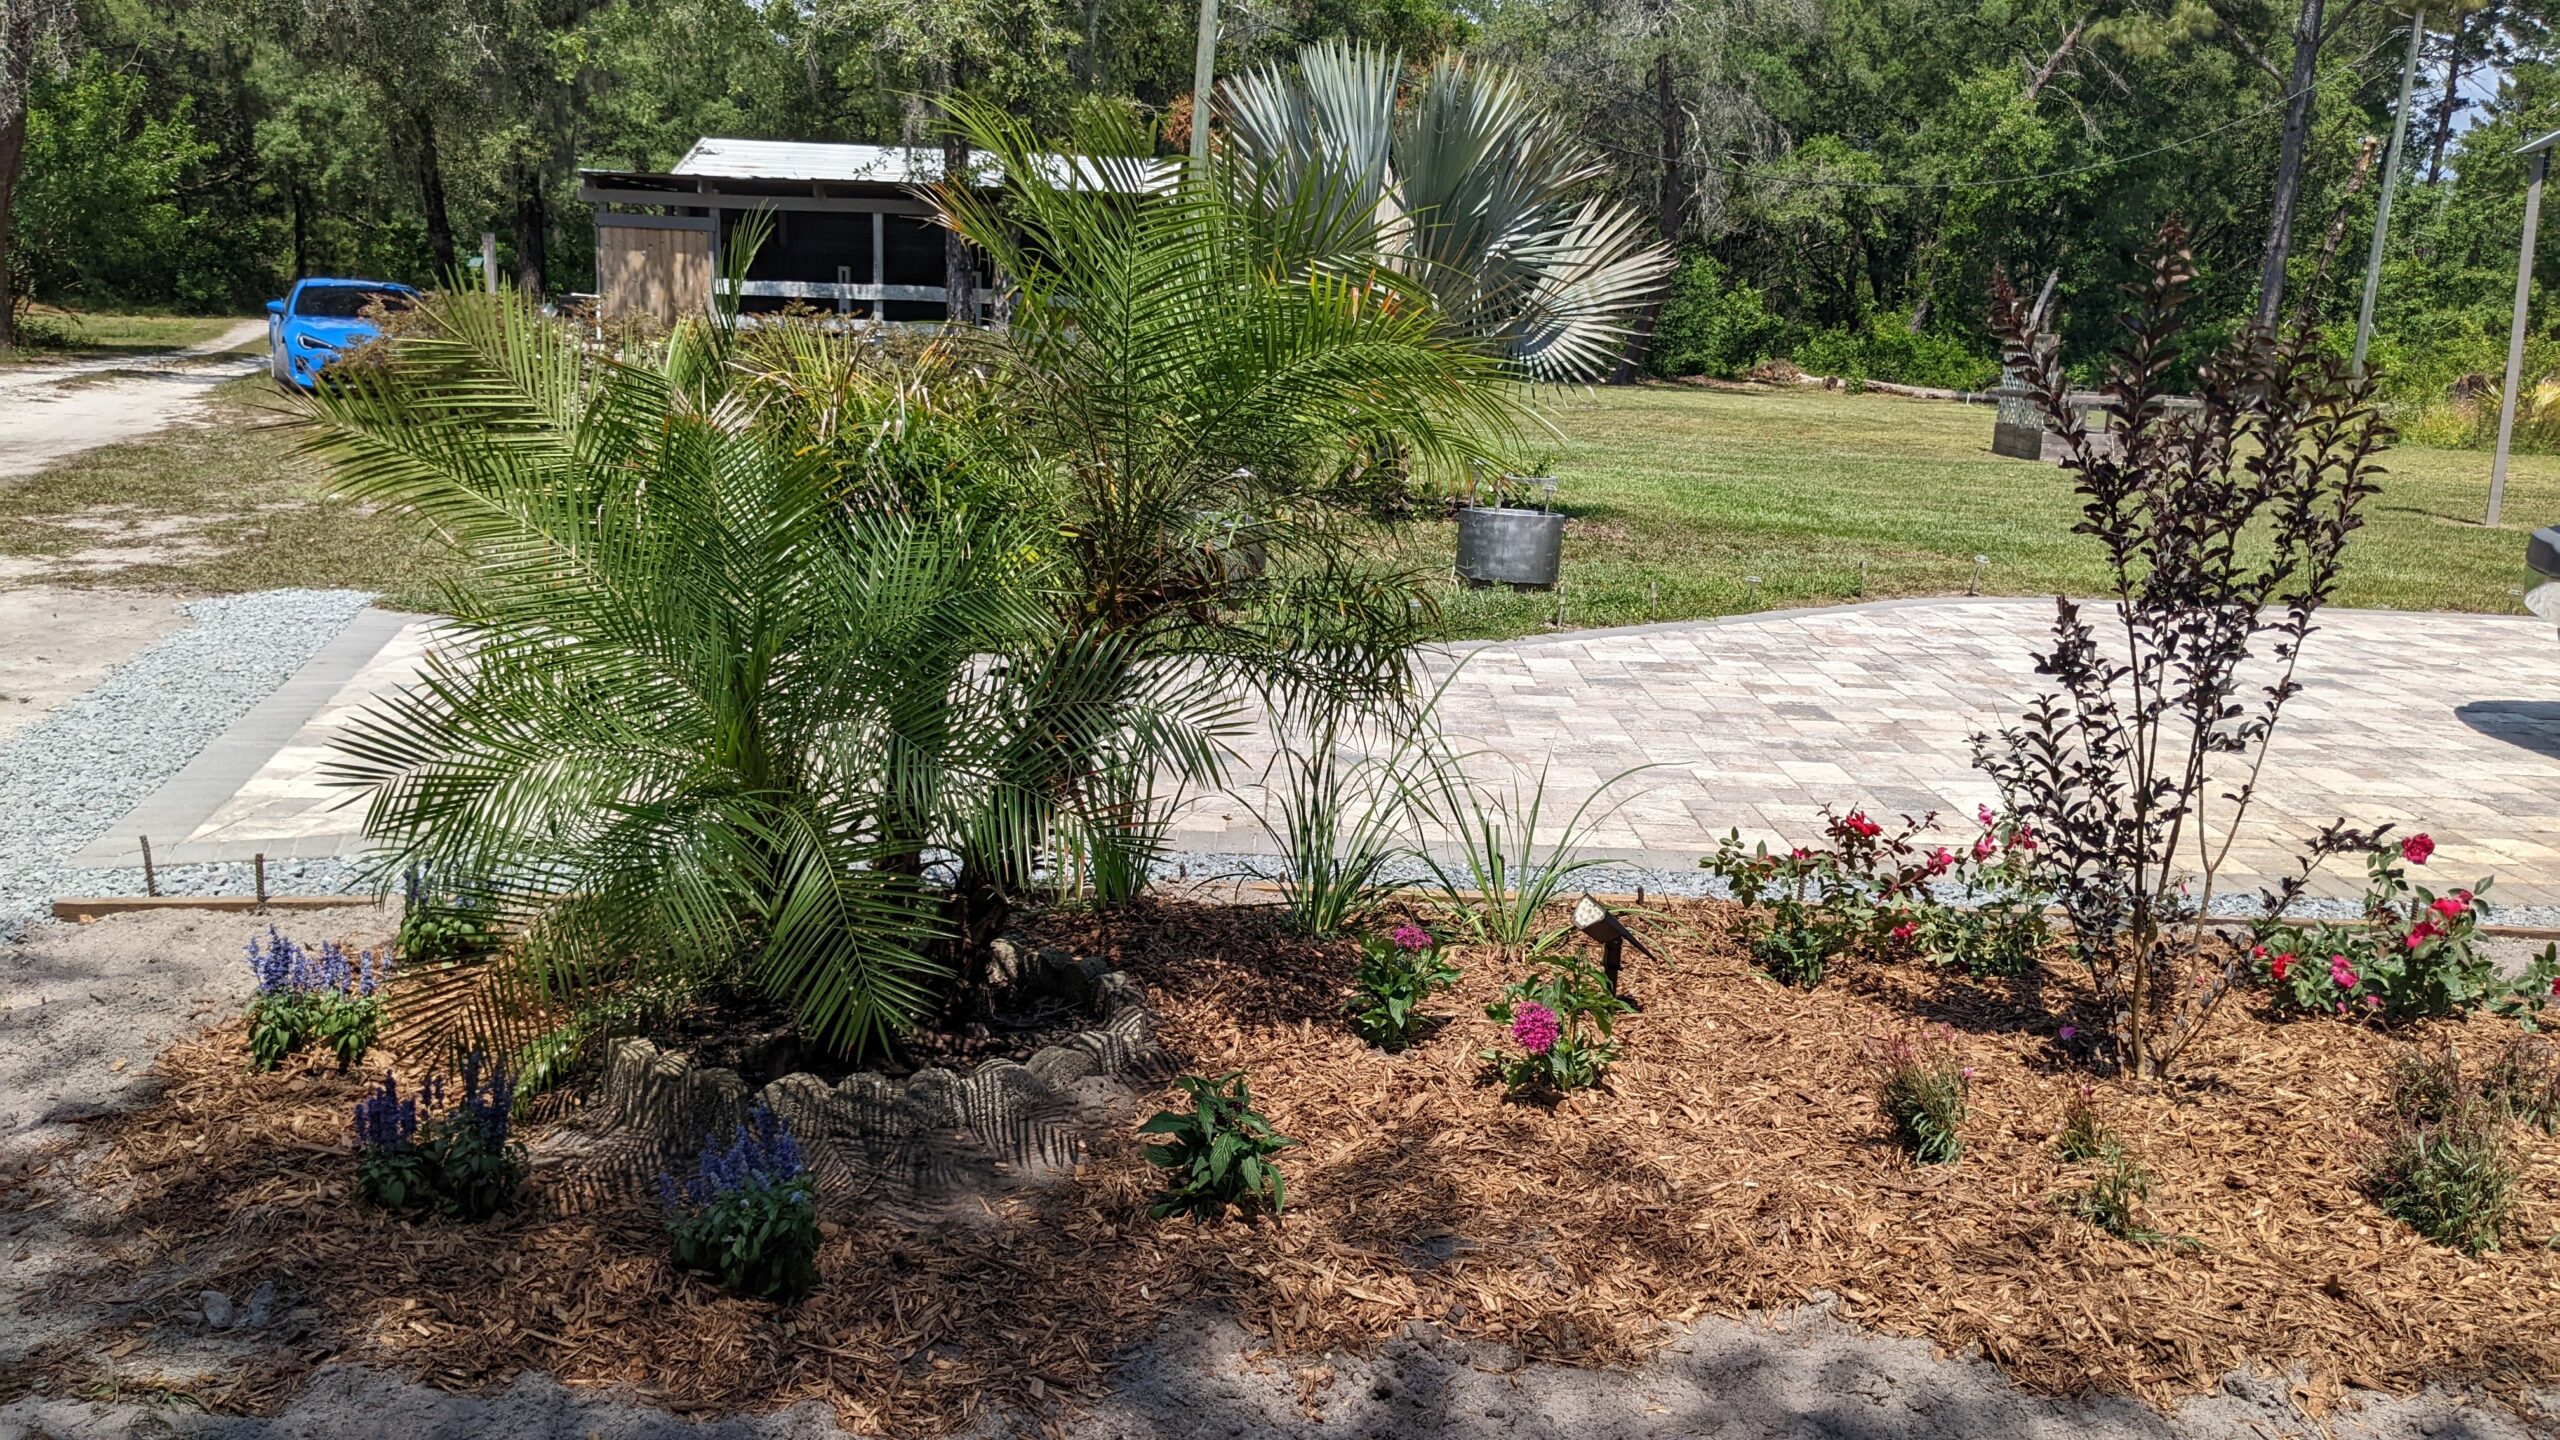
I did create a really beautiful hedge of loropetalums and added chartreuse sunshine ligustrums. I also love the huge bismarck palm underplanted with daylilies and zinnias (on the other side).
I even relandscaped the sides of the RV pad, digging out weeds, adding new plants, mulch and even an arch.
Still, the space has too much wide-open grass, lacks intimacy, and needs comfortable, and unfolding, destination spots. I really want it to feel like a nurturing womb that envelops you with serene beauty and scintillating fragrances. Would be nice to have enticing focal points that draw you in and hidden spots that create a sense of mystery.
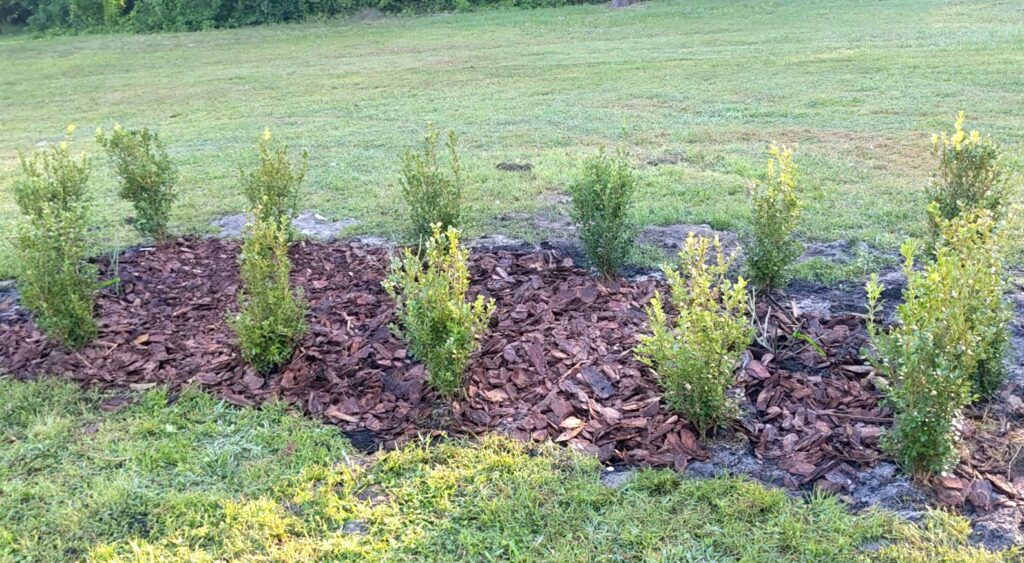
I decided to plant two rose beds which are nearly completed. This is a little more formal planting, as the boxwoods are in straight lines. Nice contrast to the informal sun garden border.
Behind the sun garden, along the property line was a wild jungle consisting mostly of grape vines, beauty berries, an invasive grass, and bidens alba. So I cut those back and made room for an oakleaf holly privacy border.

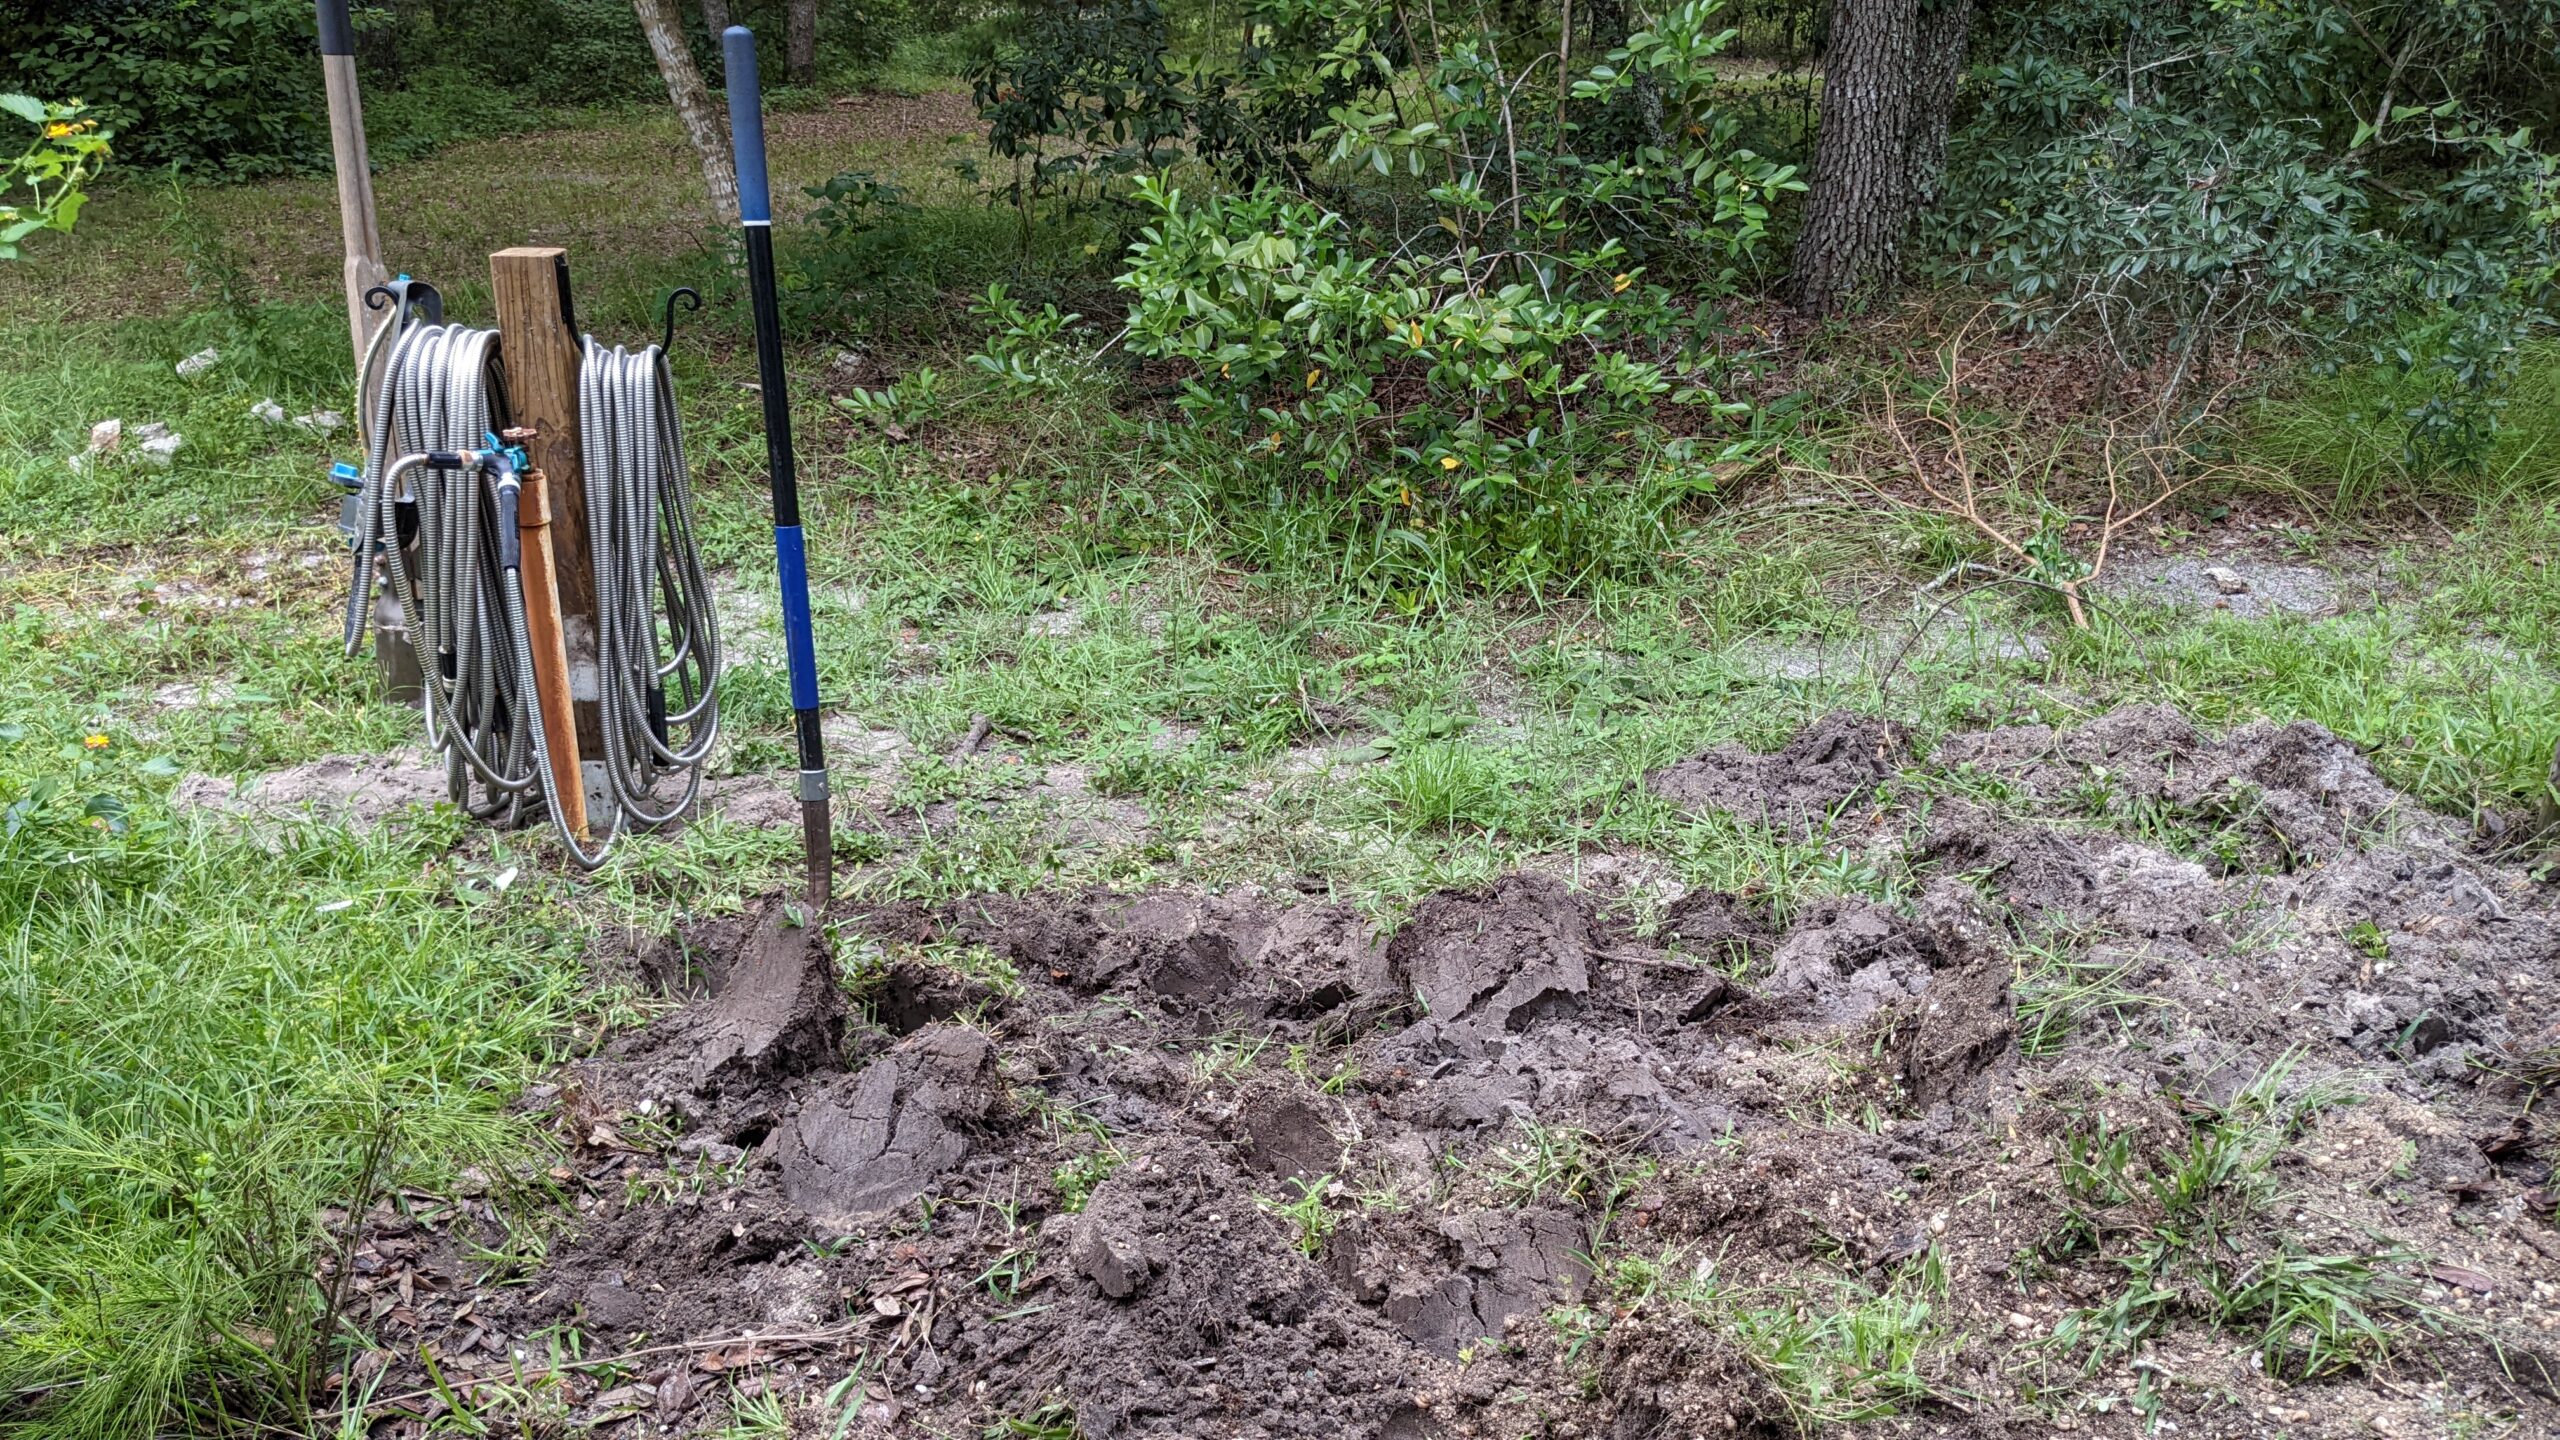
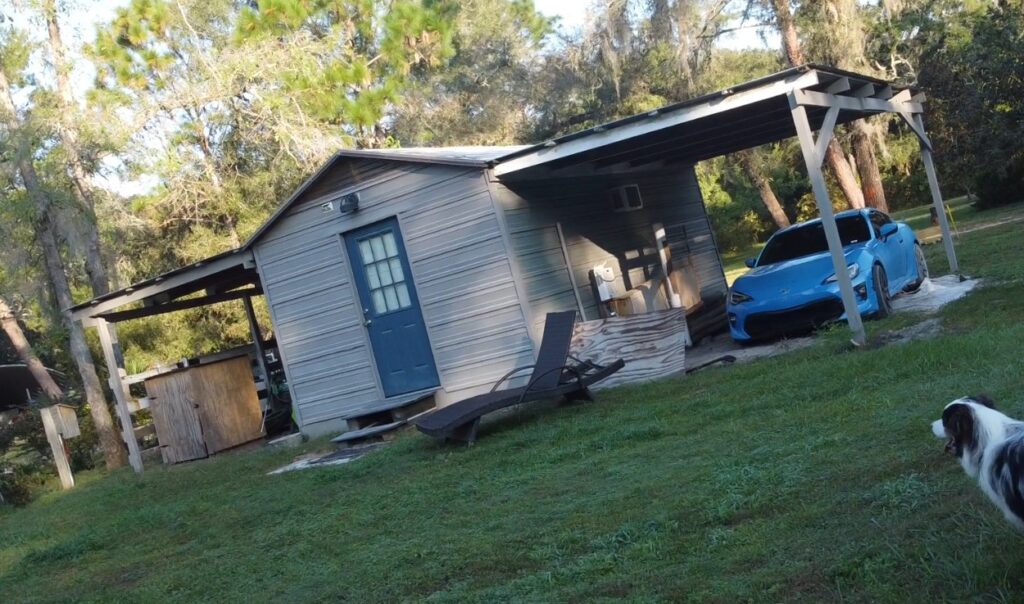
Since I want to make a more enclosed space, with plants encroaching on all sides, I needed to tackle the tack room area. Each time I look over to the shed, I am struck by how ugly the old horse stalls are. A big part of that is the sandy floor. The other thing is that my stepfather uses both sides for storing junk (he is a hoarder) … one of which is his RV poop cart!
There, I said it. He keeps his cart that he uses to dump the waste from his RV. To make matters worse, he tries to hide it behind a disgusting board he leans up against it. I just needed to stop the madness. It actually serves a purpose there since we don’t have septic in this area… it drains the commode that is used only occasionally, allowing us to have a half bath in the space.
It has taken awhile for me to research inspirational ideas and come up with a plant for the cozy outdoor rooms I am trying to envision. I am filled with ideas of growing cut flowers, having a cozy arbored bench area, and potentially erecting a nice garden shed. One can dream!
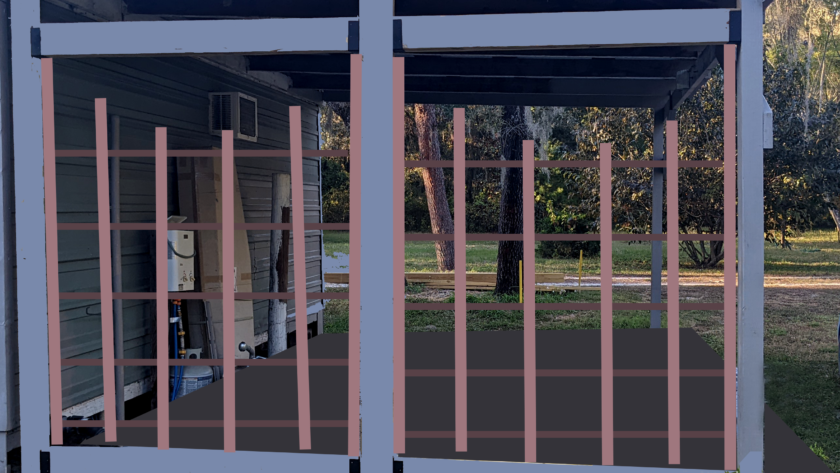
While researching trellises for heavy duty climbing roses, it hit me that I already have sturdy posts for massive rose bushes… the former horse stall where my son started parking his car.
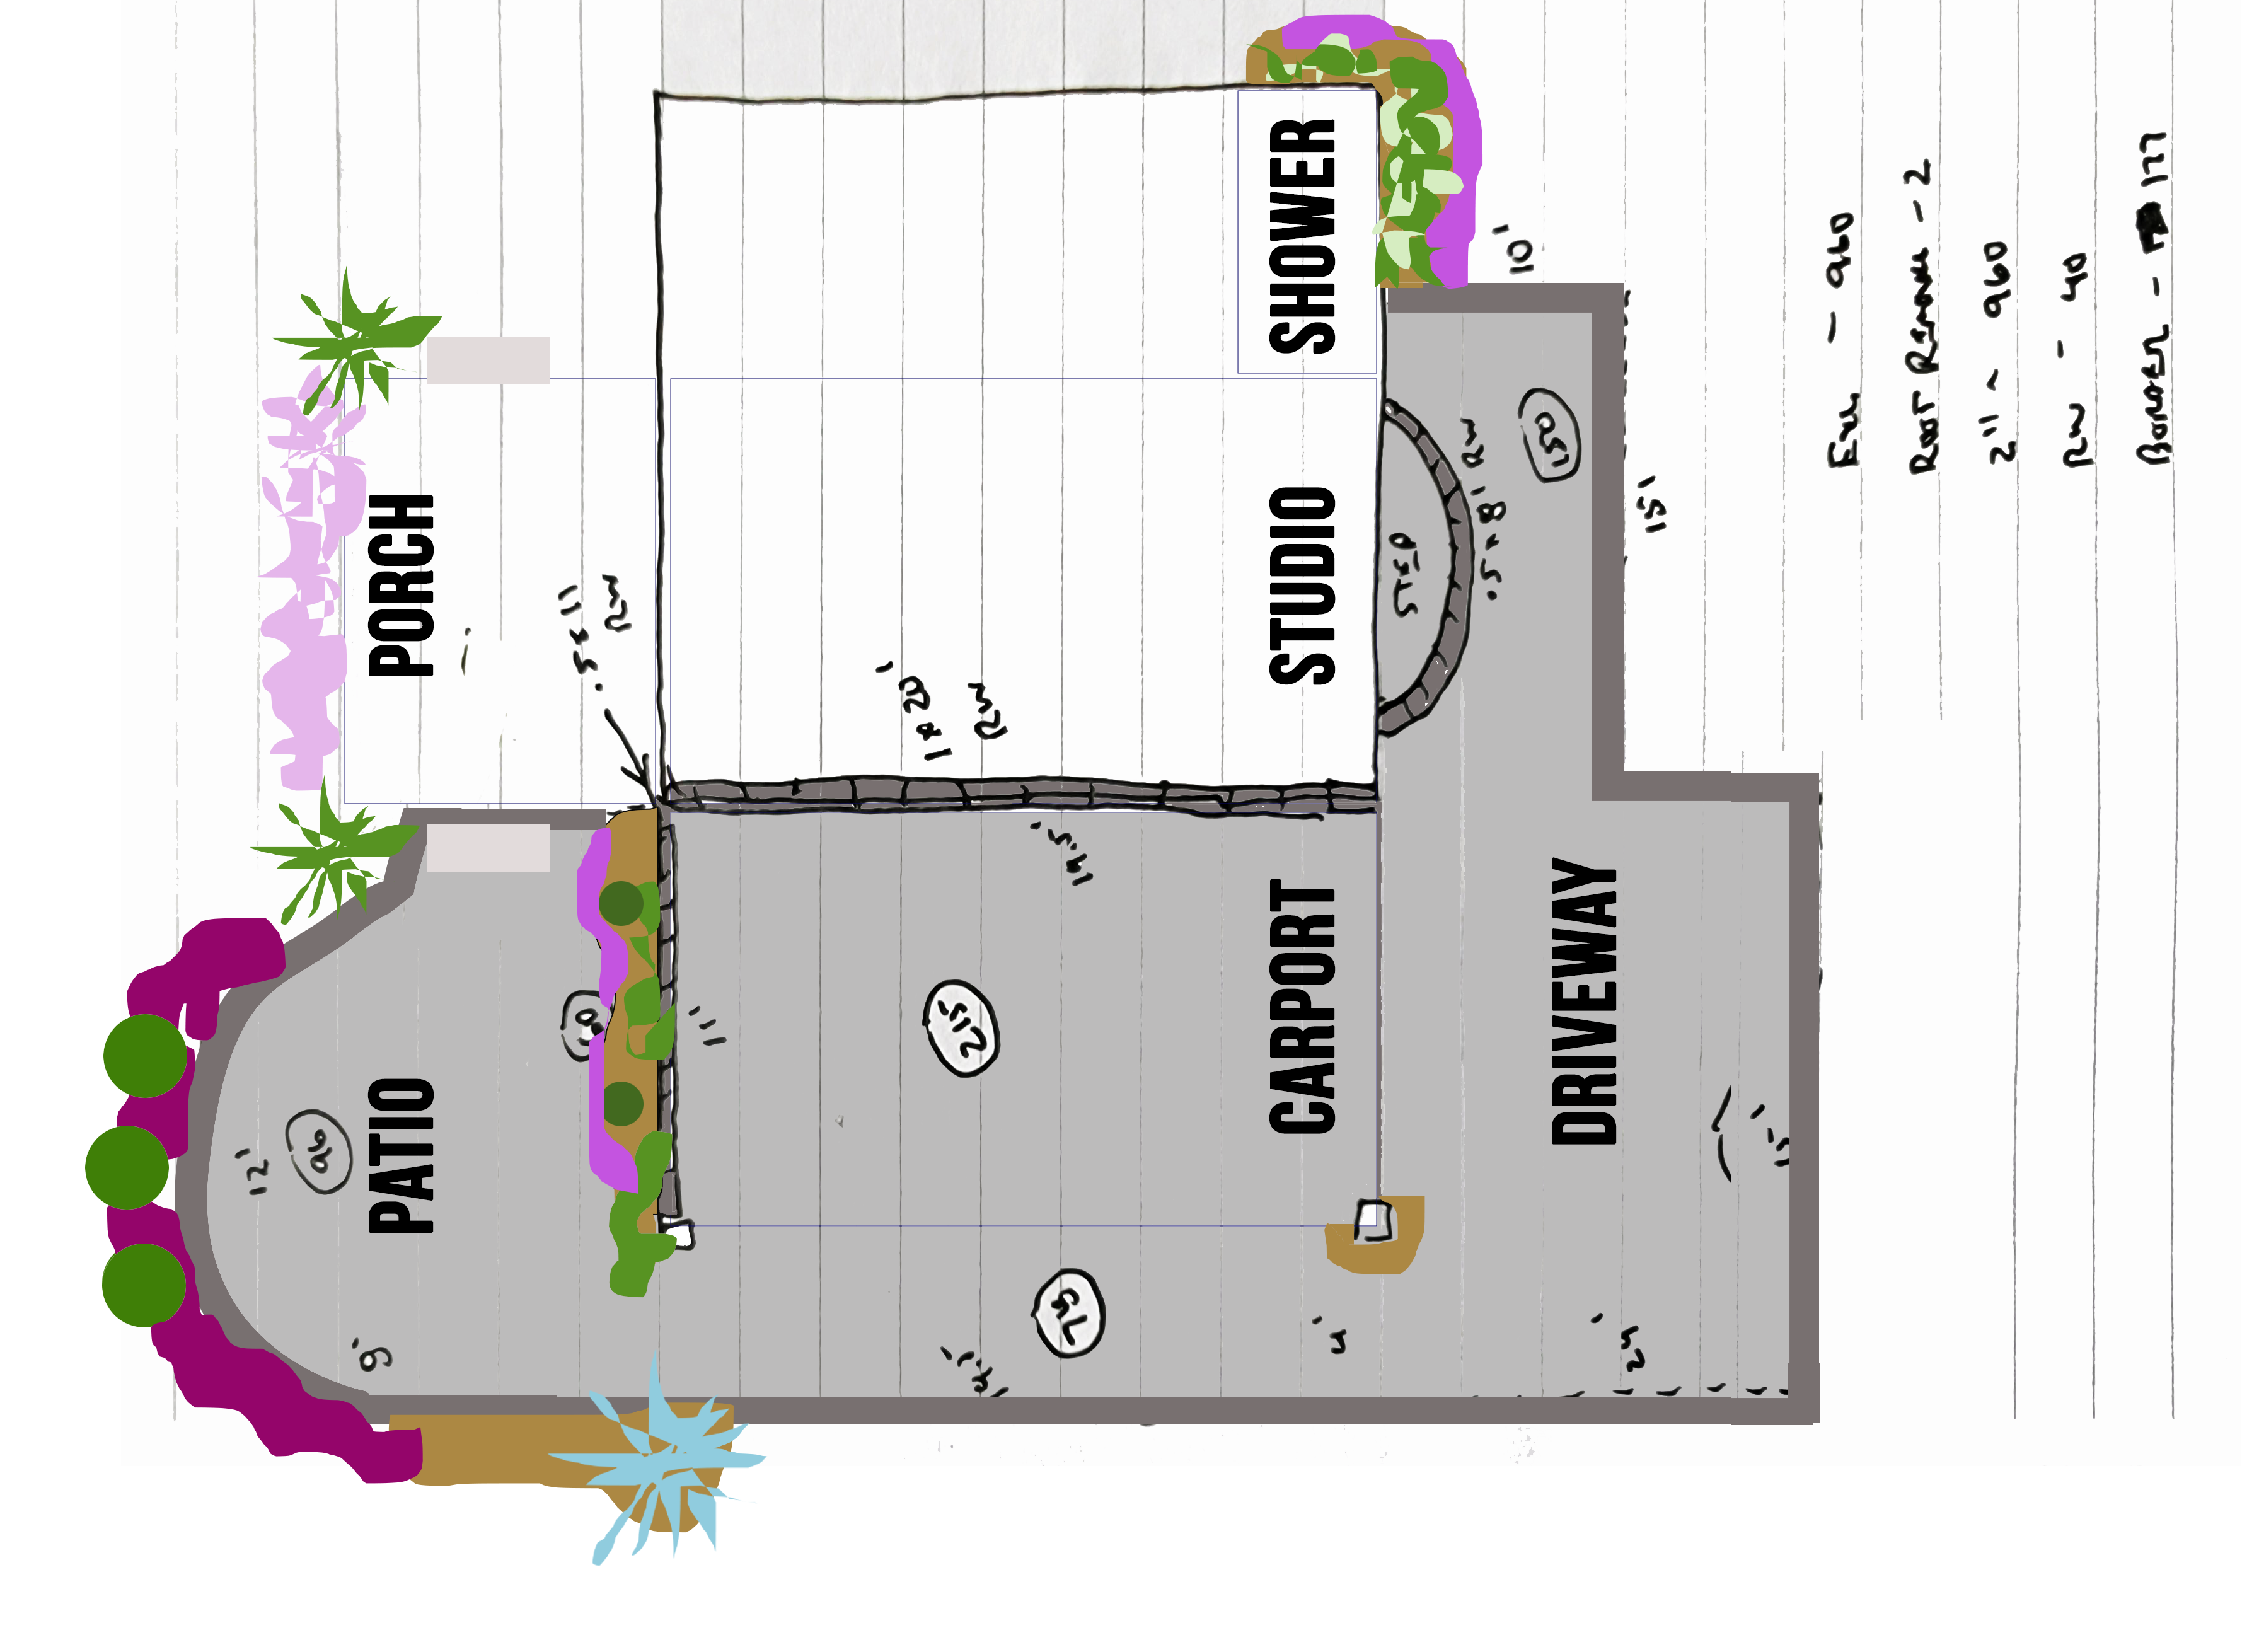
For years, my stepfather stored piles of wood under the tin roof. But I had to evict him since my son wanted a sheltered place to park. So, we cleaned up the stalls. My stepdad reconfigured the stall area, removing a post and adding roof support, so Dakota could drive in and pull-out going through the large side instead of pulling straight through. The renovated area is made of 4×6 posts, with reinforcement beams, a perfect place to grow my Peggy Martin rose. Once I decided to use it as a trellis, I was compelled to seek out pleasing designs to block the carport view from the garden.
The first trellis that caught my eye would be perfect for a “garden room” off the paved RV patio with two 3-foot-wide trellises, surrounded by boxwoods, and a small tree for shade. This is still a very viable concept I plant to seek to fruition. The trellis I want to DIY is so beautiful, I couldn’t wait to start on the project. However, the roses I thought I would plant there, need another month or two to percolate. No need in starting to dig the bed too soon.
Then, it dawned on me that I have a couple more climbers I can grow on the carport. I would carry over the exact same frame style, (enlarged) for repetition.

So, I sat down with Joe and spec’d the design out. We headed to Lowe’s and picked out enough supplies to get the minimum basic supports (the area of the drawing in gray). It was Sunday after all, and we knew we couldn’t squeeze the entire project in that day.
The first step was to install the left 4x4x10 post so that we could measure the center of the gap and place the 4×6 post. Once those were up and level, we could measure the distance between all the posts. It came out to leave an opening of 5-feet on both sides. Perfect. The copper pipe comes in 10-foot rods and can be divided in two.
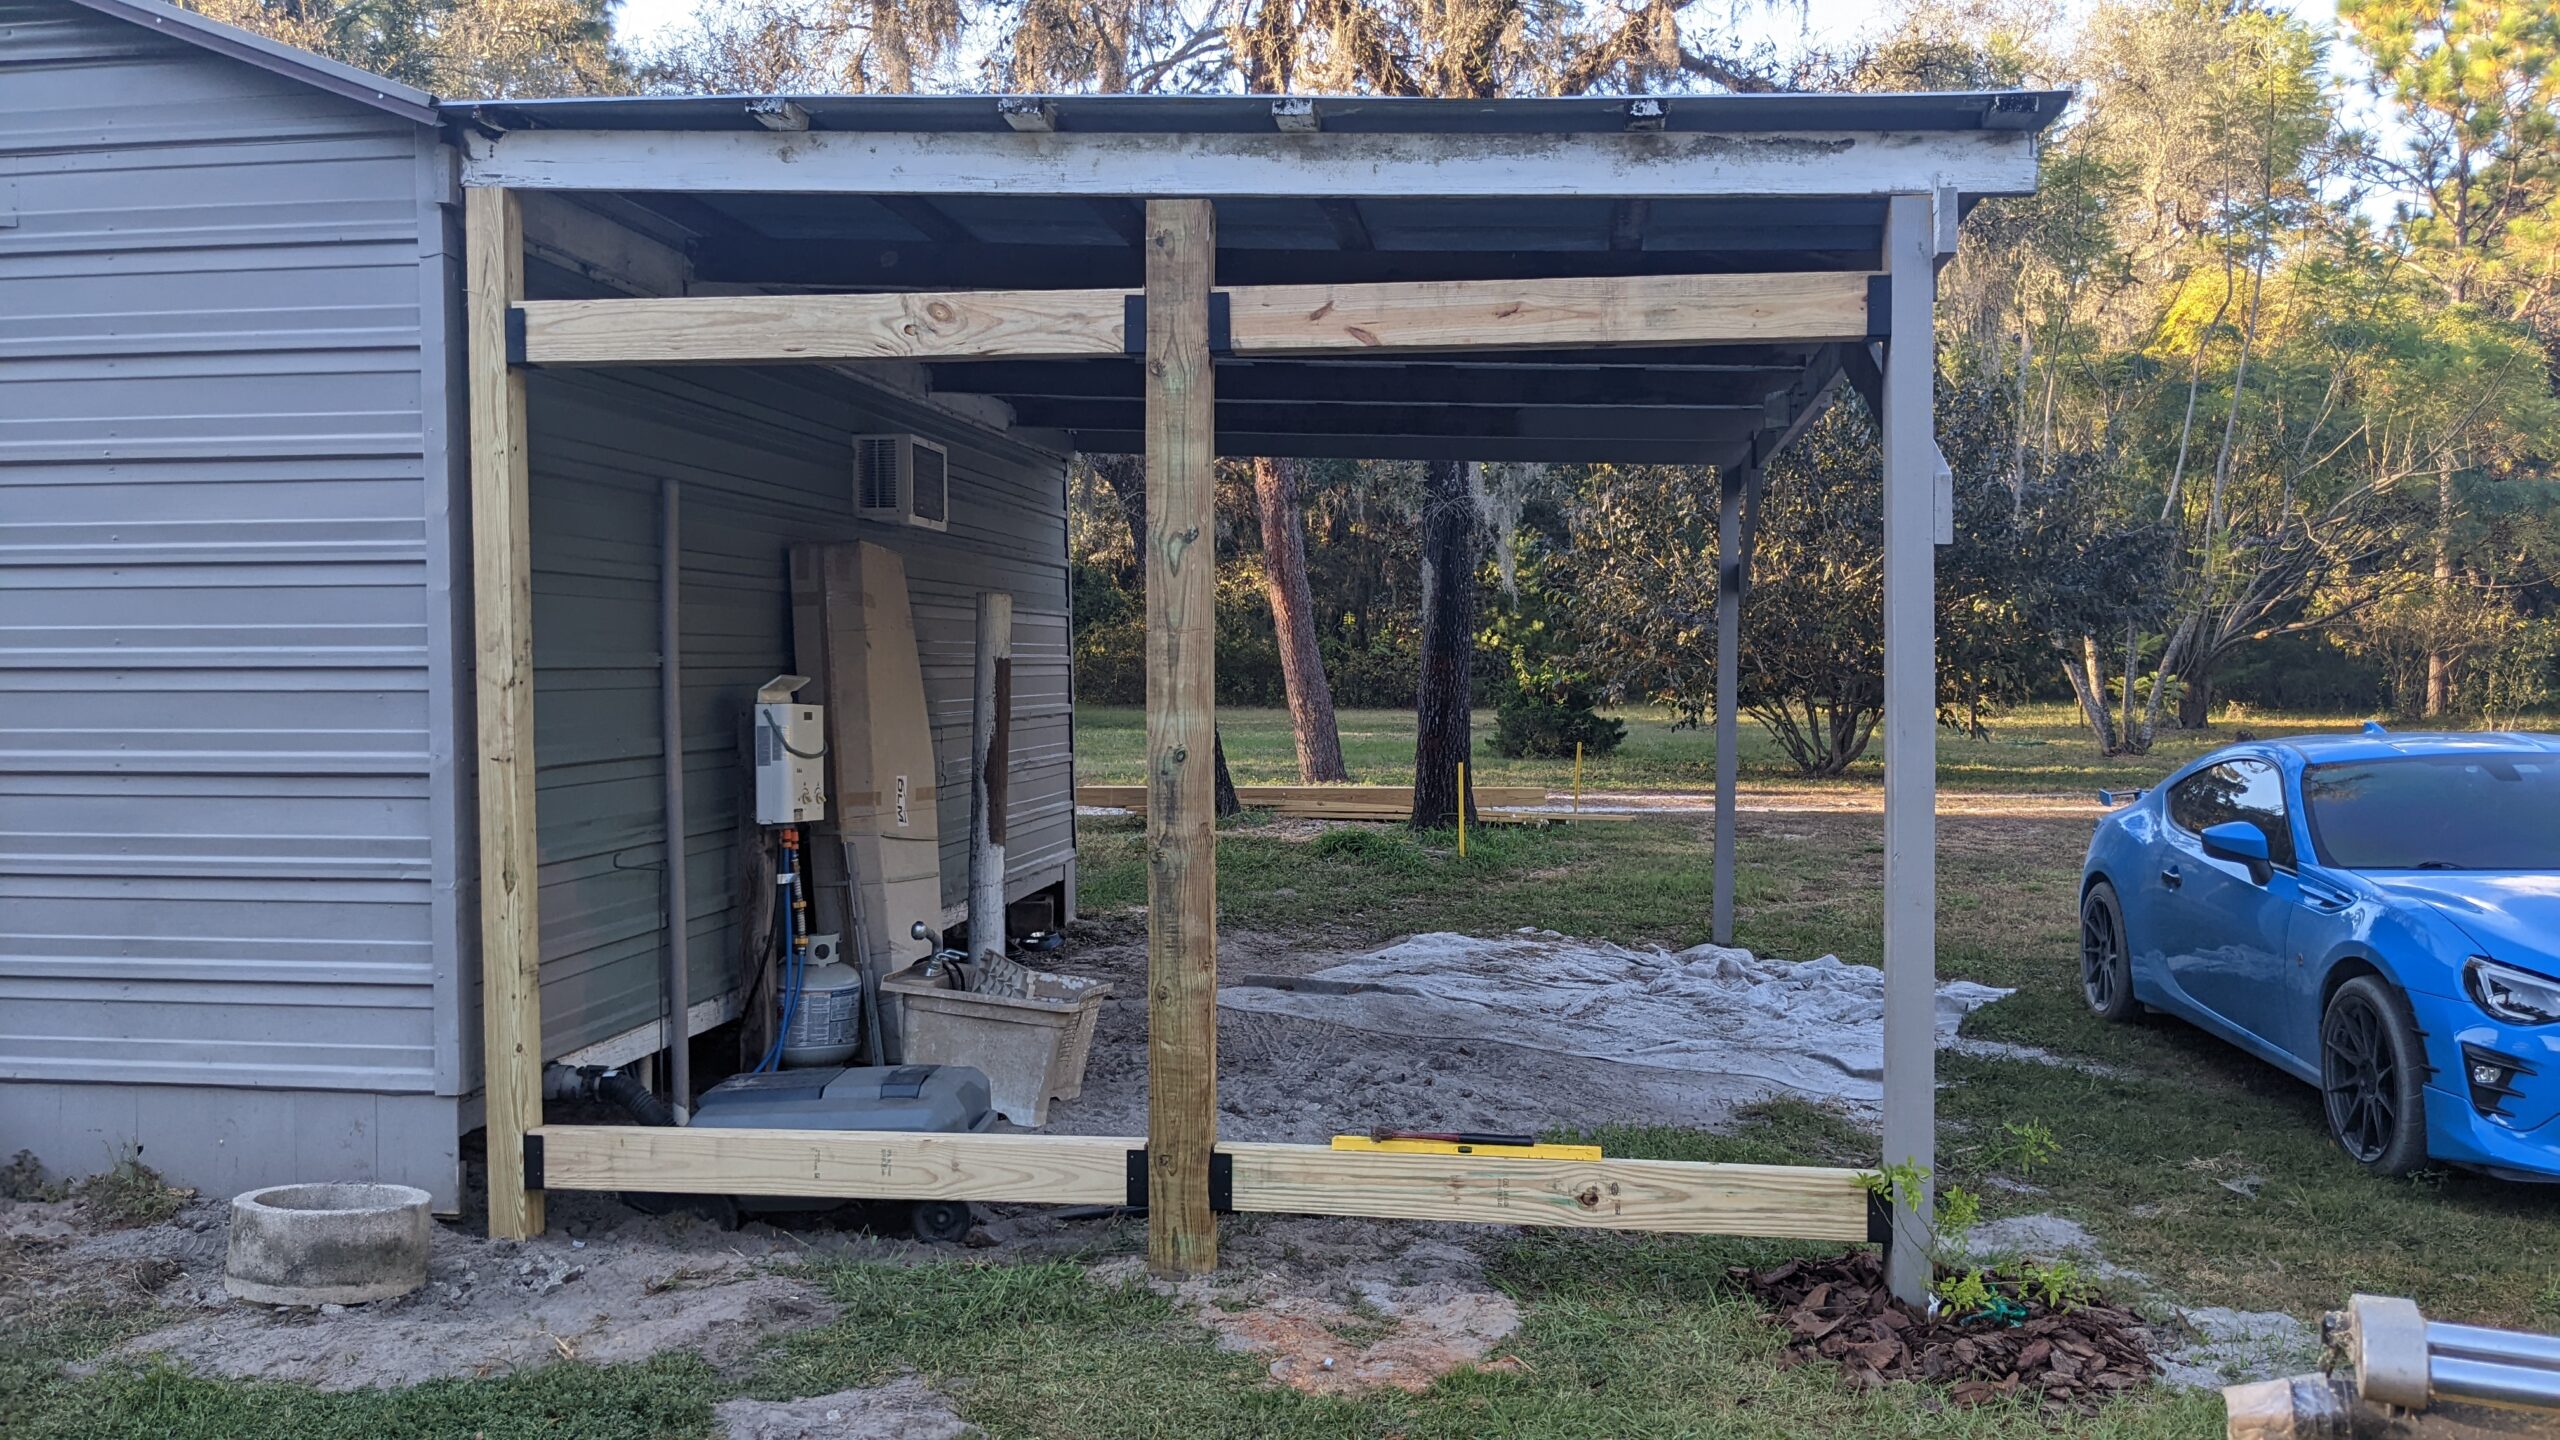
Next, we positioned the lower crossbeam up approximately 6 inches from the ground. Using the hanging bracket, we screwed them in level and placed the 2x6x5 foot timber into the brackets. Since the posts were 4x4s, and we wanted to use 2x3s for the vertical pieces, we doubled up the 2x6s on each side. This required 16 brackets and (8) boards that we cut down to 5-feet each. We accomplished what we set out to do day one for phase one.
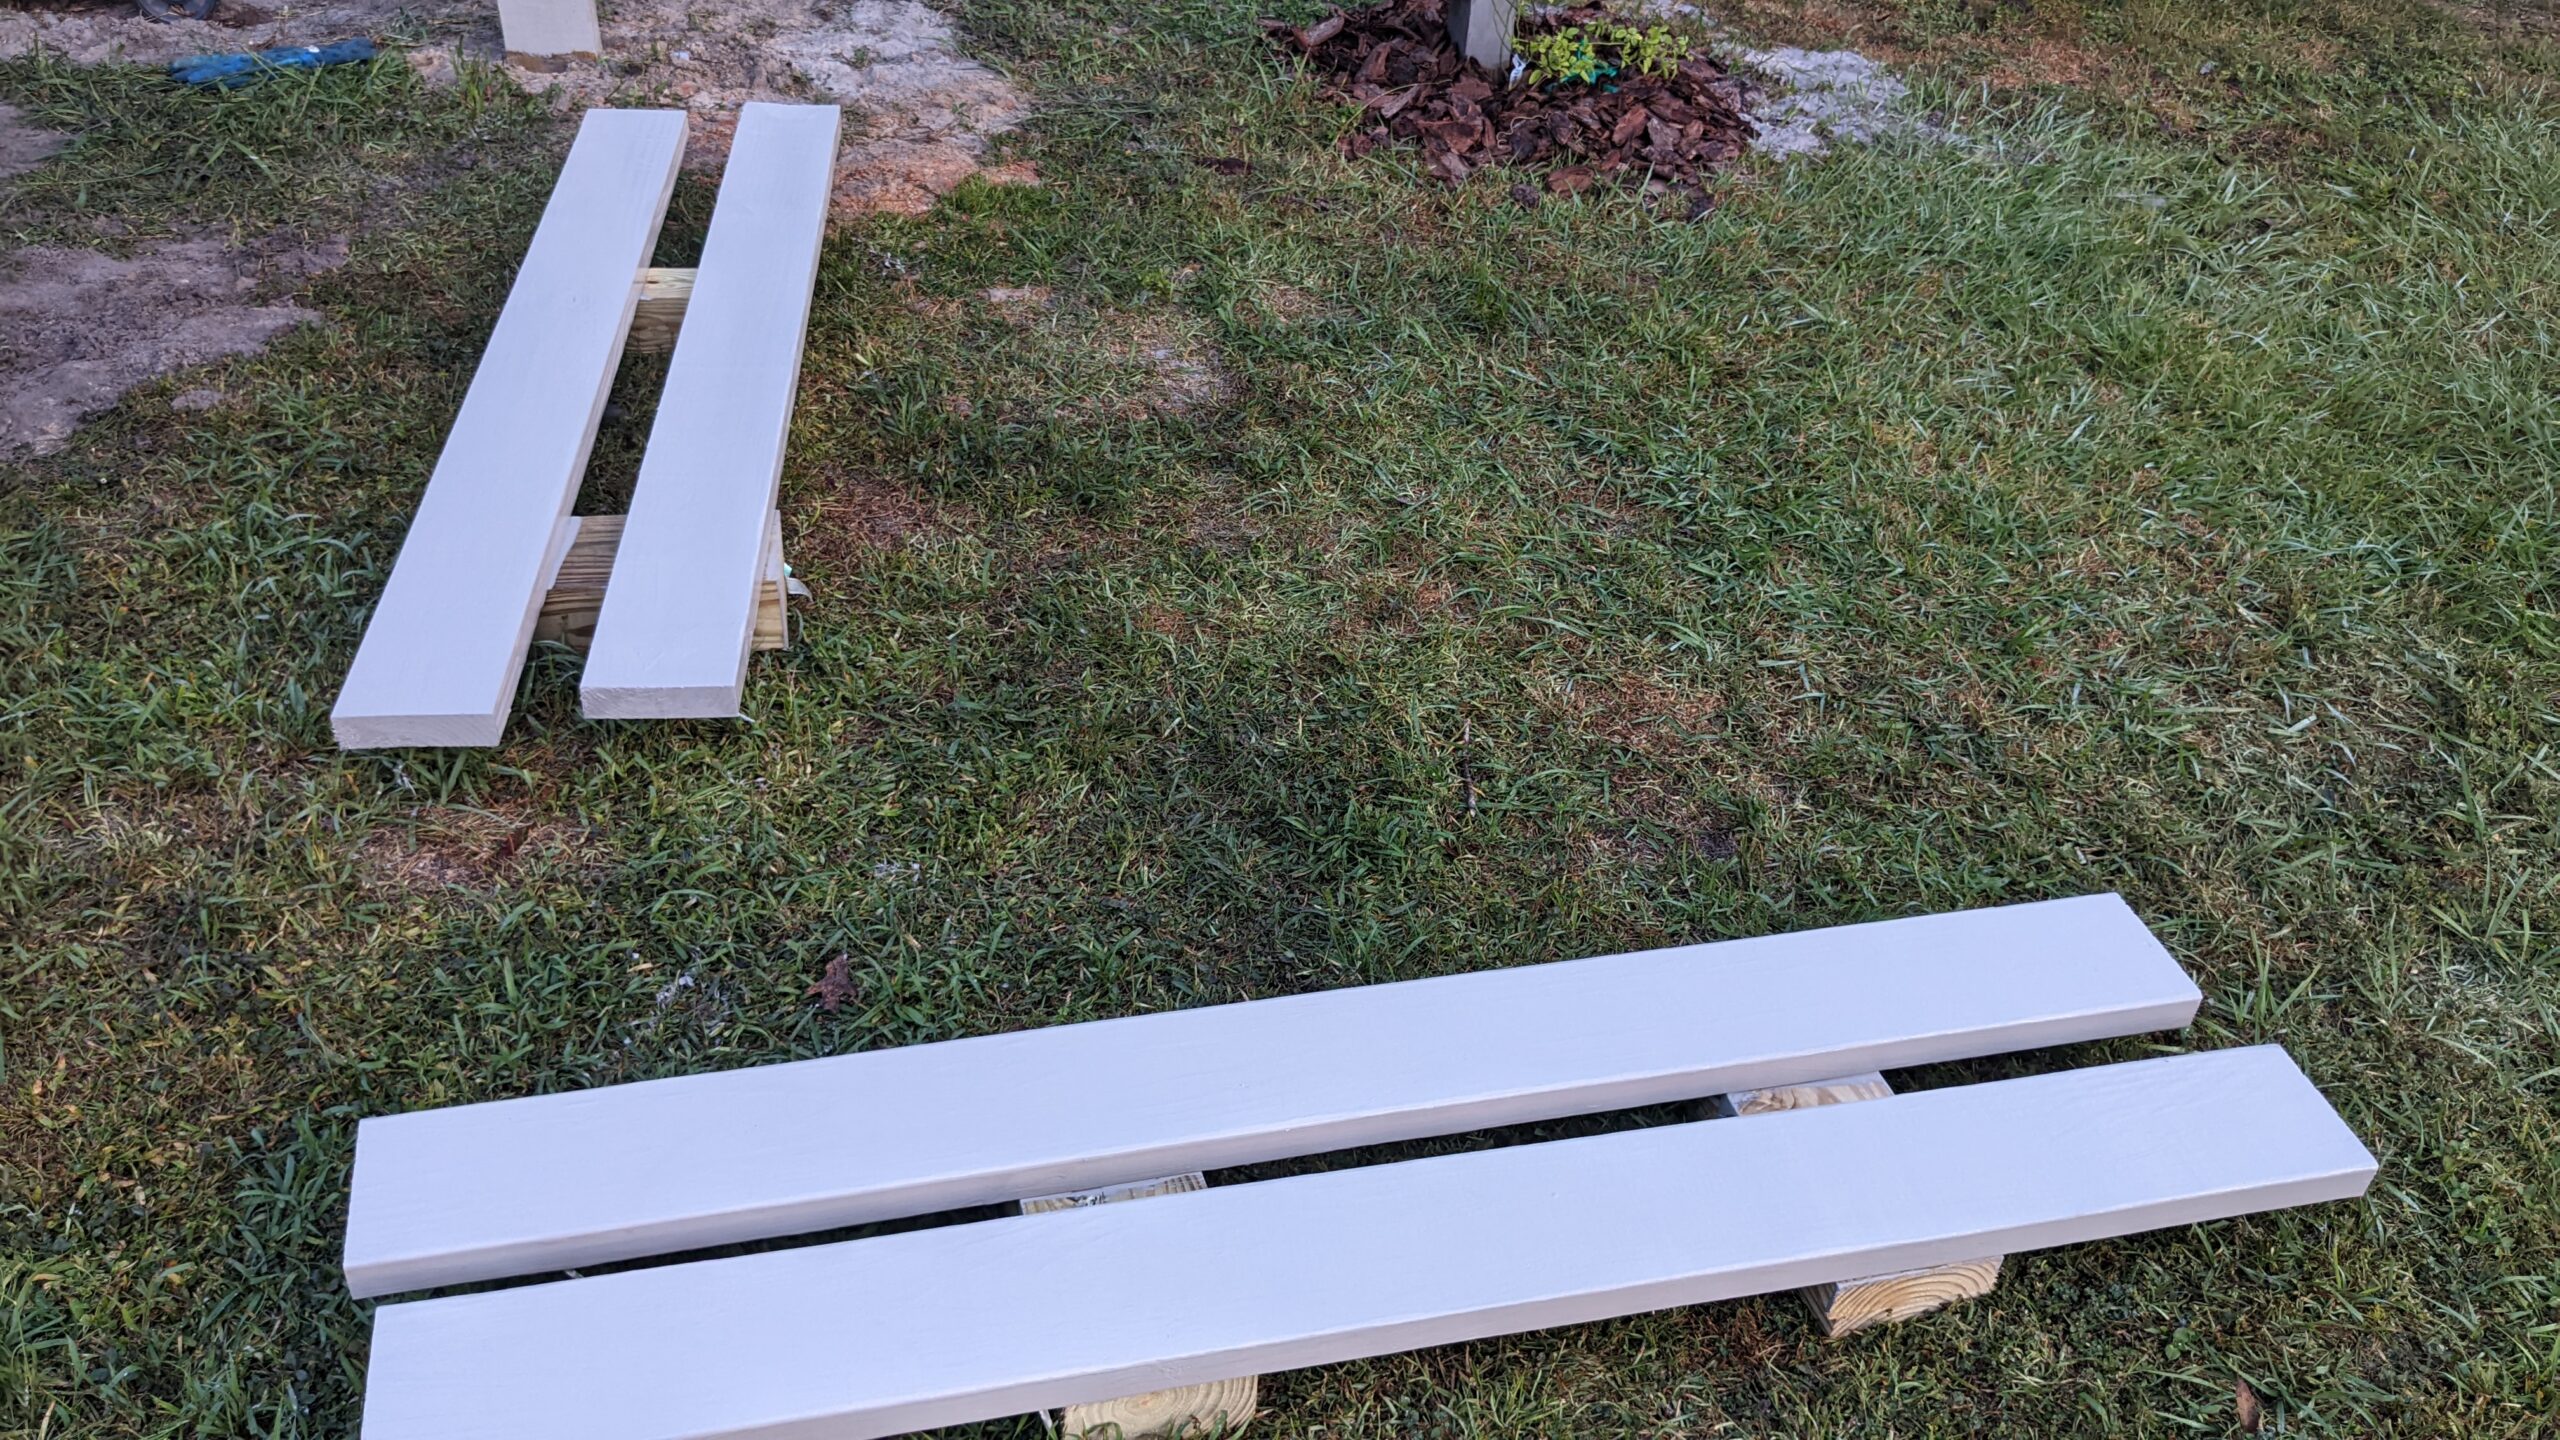
The next morning, I removed the cross beams and painted them the same color as the rest of the tack room. When they dried, I turned the over and painted the other side. A few more hours later, I was able to hang them back up. I do need to come in with a smaller brush and paint the areas close to the black brackets.
For phase 2 of the cedar and copper pipe carport rose trellis, we’ll have to make another trip to the store to purchase the cedar wood and copper pipe so we can finalize the construction. Very exciting! The sooner it’s completed, the sooner I can start landscaping out the sand and weeds to help give me that cozy womb feeling of flowers on all sides.
Stay tuned for more.
Happy gardening!