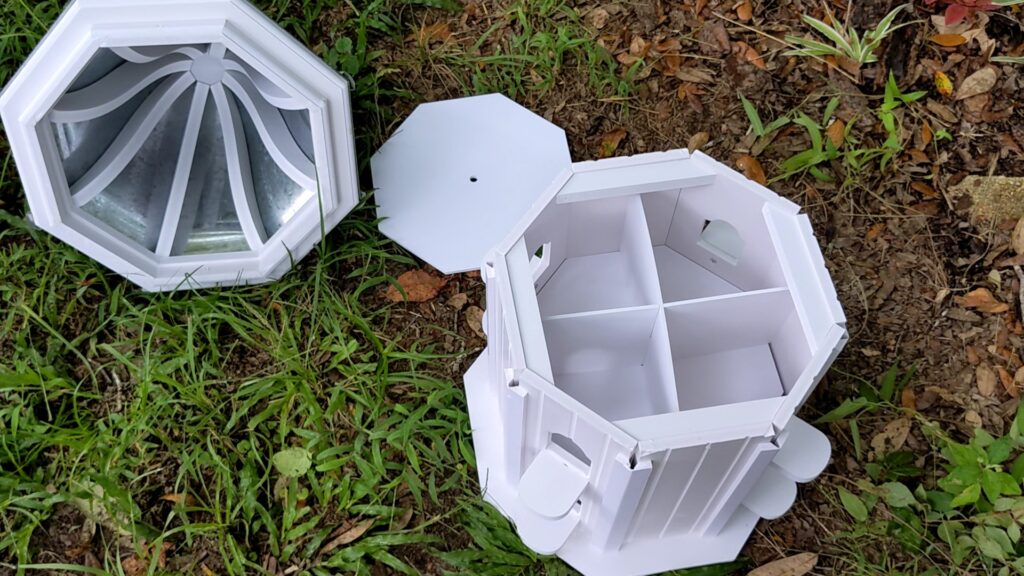
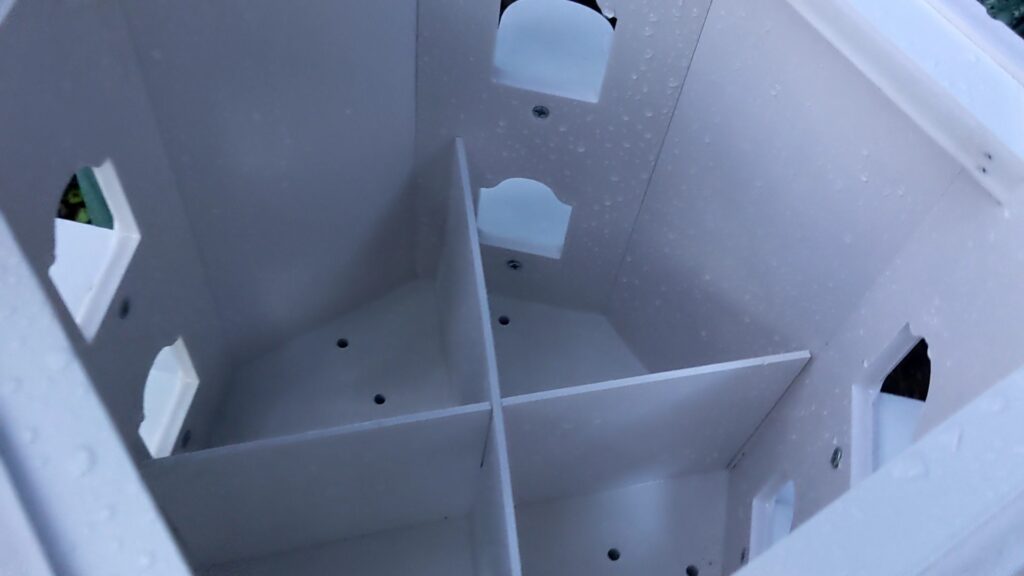
Yesterday, my new Goolsby 28 in x 14 in x 14 in Birdhouse by Tucker Murphy Pet™ from Wayfair was delivered. I know the dimensions are in the name but this birdhouse is SUBSTANTIAL! It’s light for its size because it is made of resin and not wood. The inside walls and ceiling/floor pieces are a tad on the flimsy side since it’s not made of 1/4″ plywood. But, as you’ll see in the video, its plastic surface cleans up easily.
It came in in perfect shape and was really easy to assemble once I figured out how to pull the guts out without breaking anything. It didn’t come with instructions. However, it did come with the decorative angle brackets so I was happy!
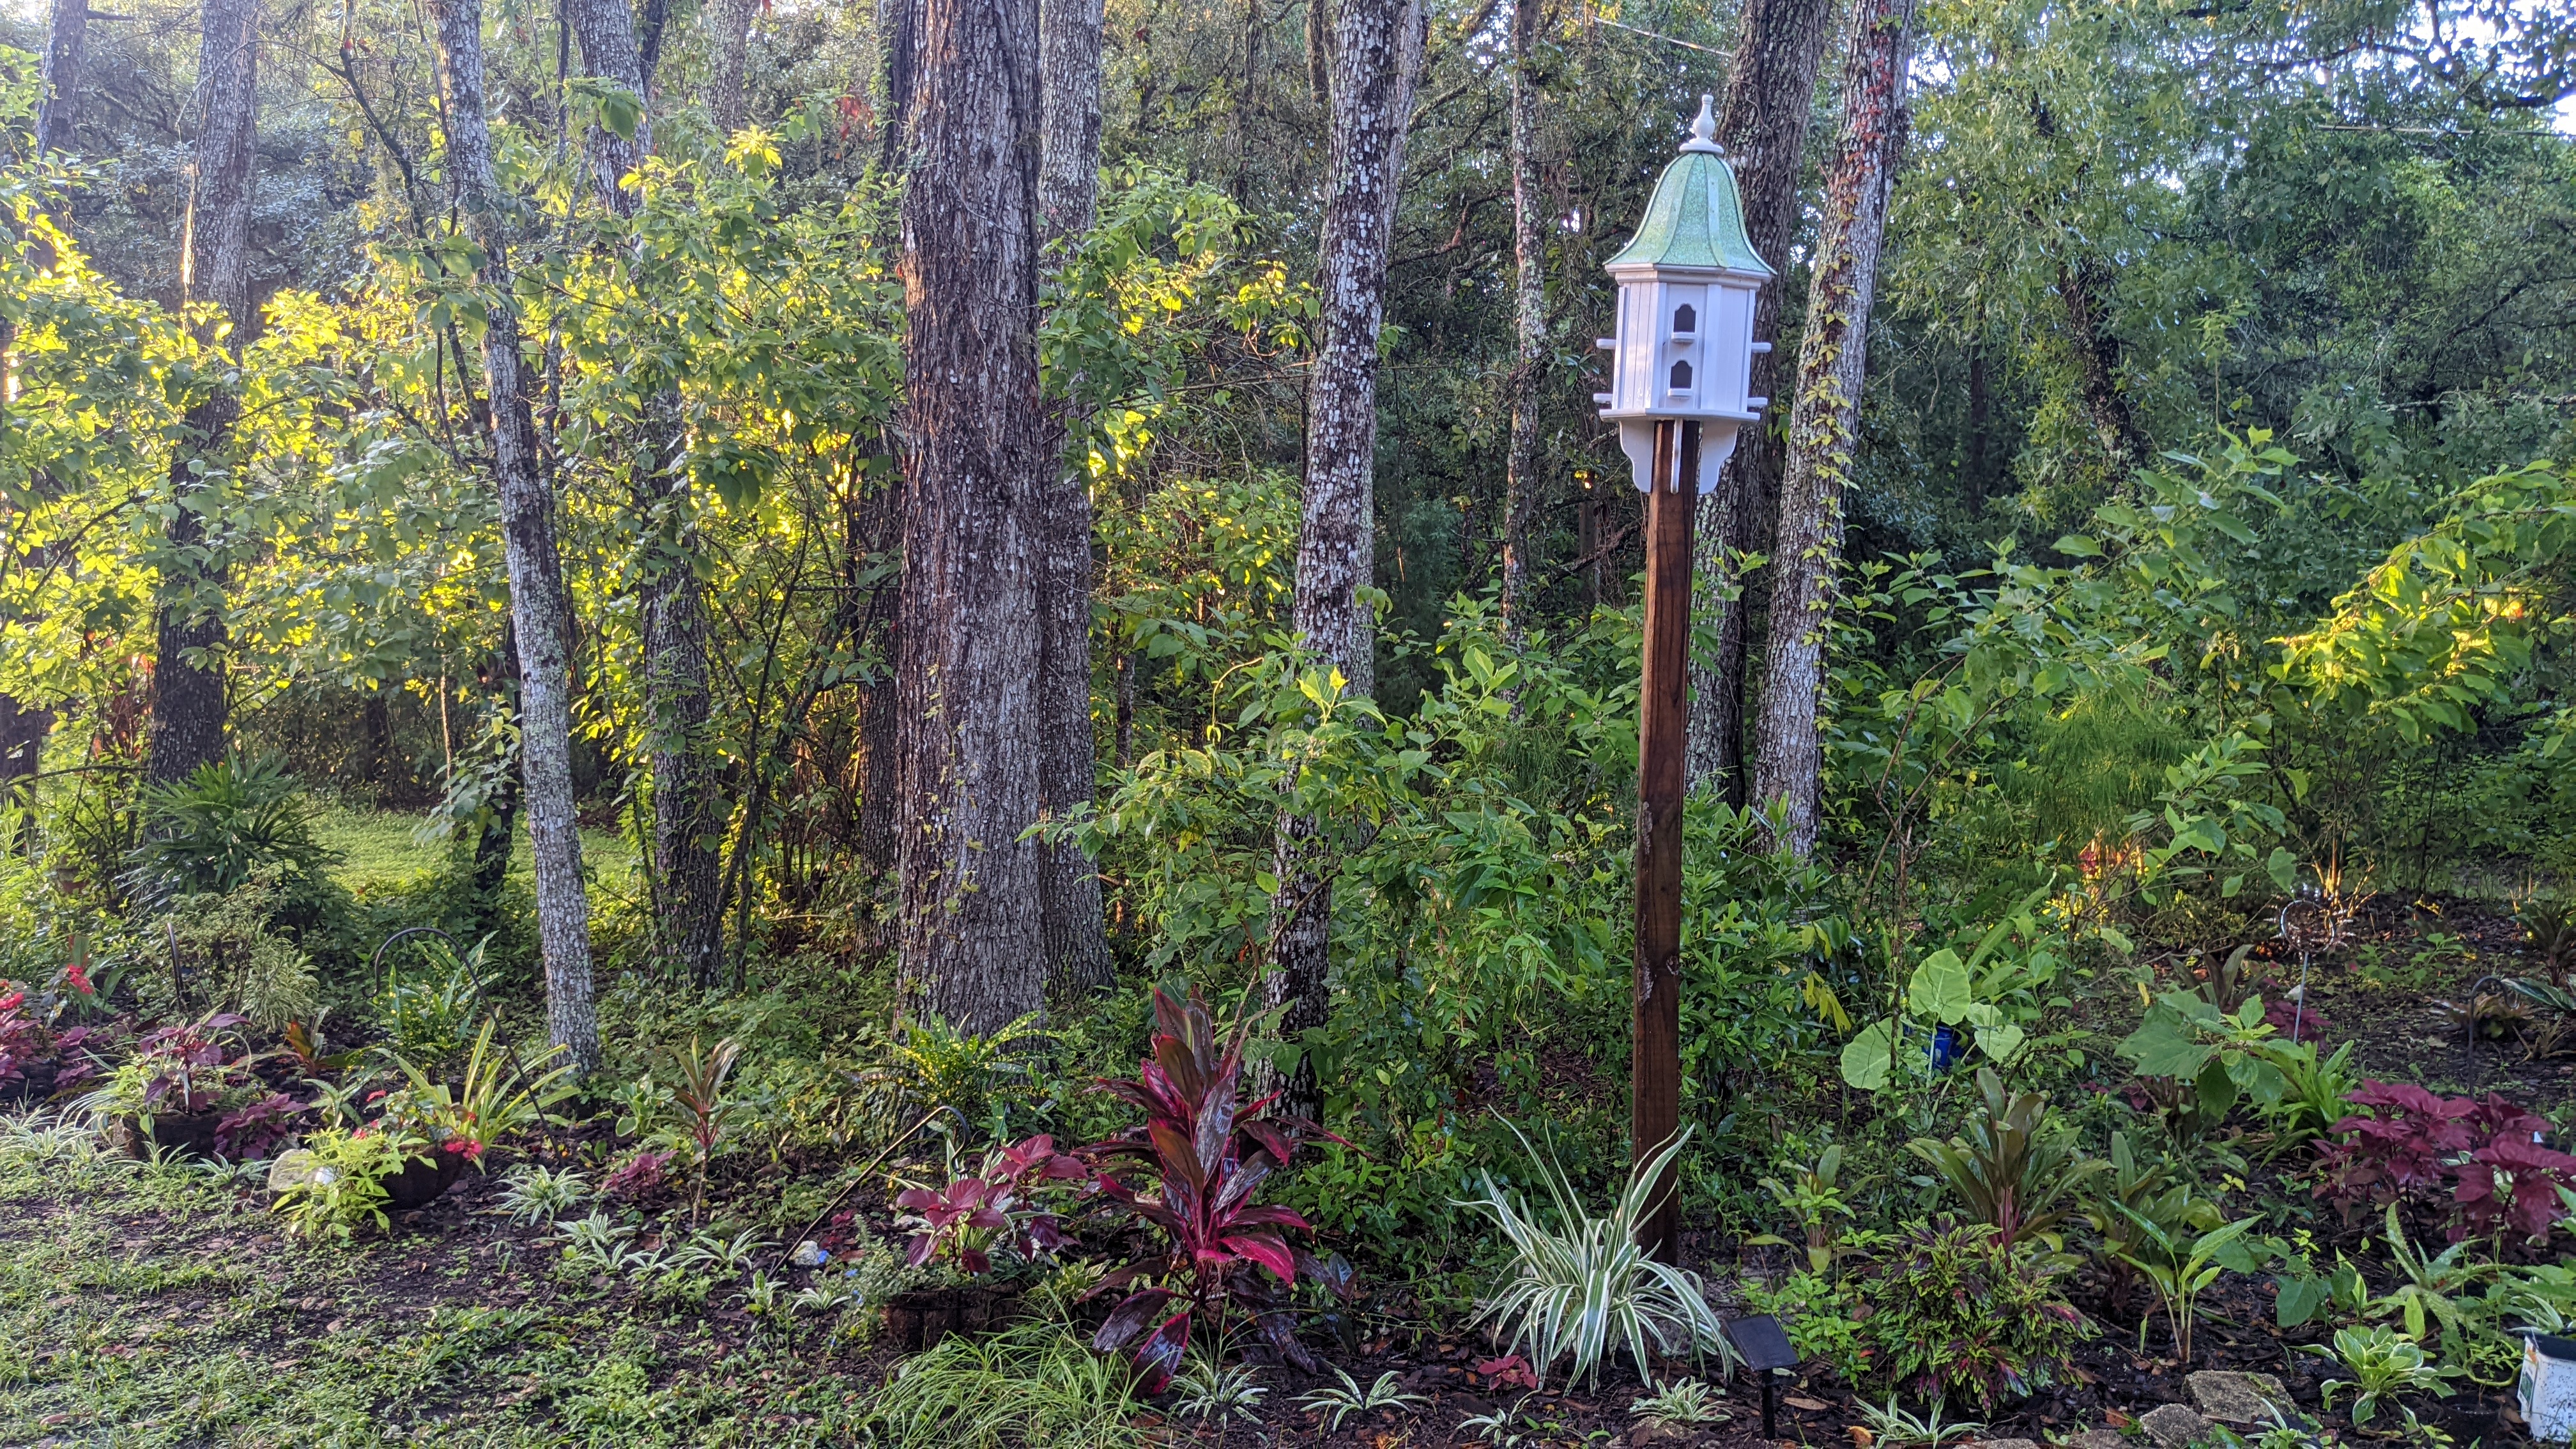
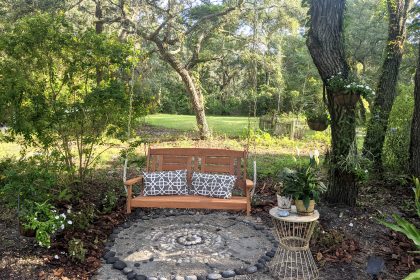
First, I selected a spot that receives only partial sun later in the day. It’s also just a few trees down from where I feed the robins, bluejays, woodpeckers and squirrels peanuts and sunflower seeds. This is now the focal point view when visitors leave the house on the circle drive.
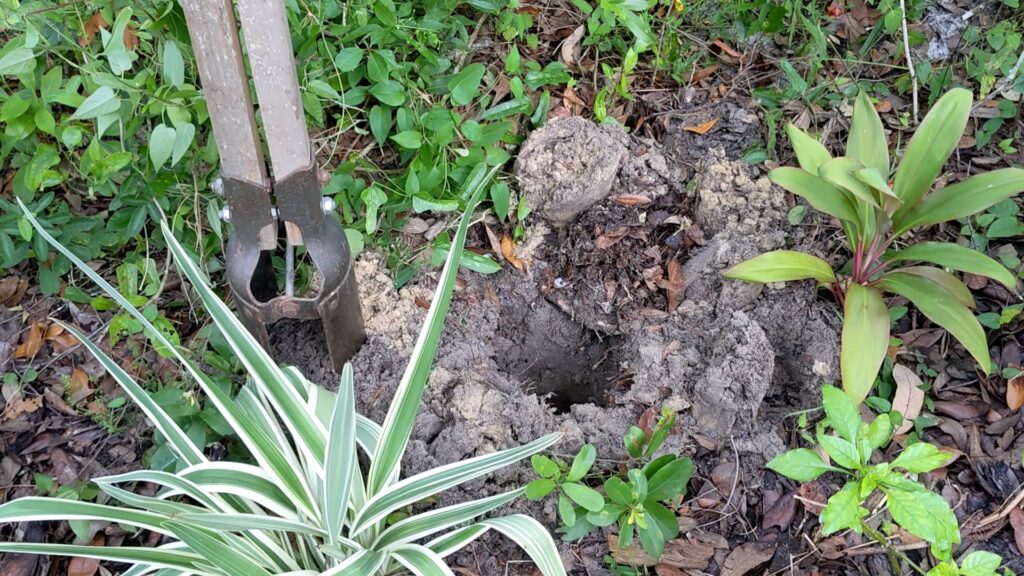
The soil is all sugar sand so it was easy to auger out. I recommend filling the hole with dry concrete and letting the rain harden it once the post is level on all sides. I found an old 4×4 post so I’m not sure how tall it is but I put it in the hole 1-1/2 feet deep and it’s at least 6 feet above the ground… so let’s go with “it’s an 8-foot post.”
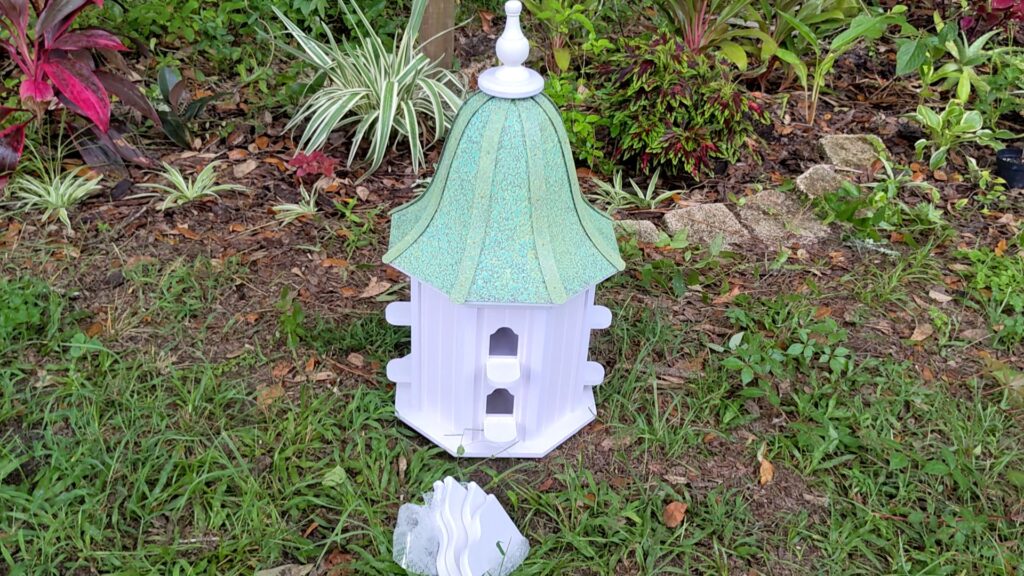
After screwing in the finial onto the roof, it was time to secure the decorative brackets to the base. Both the base and the braces have predrilled holes.
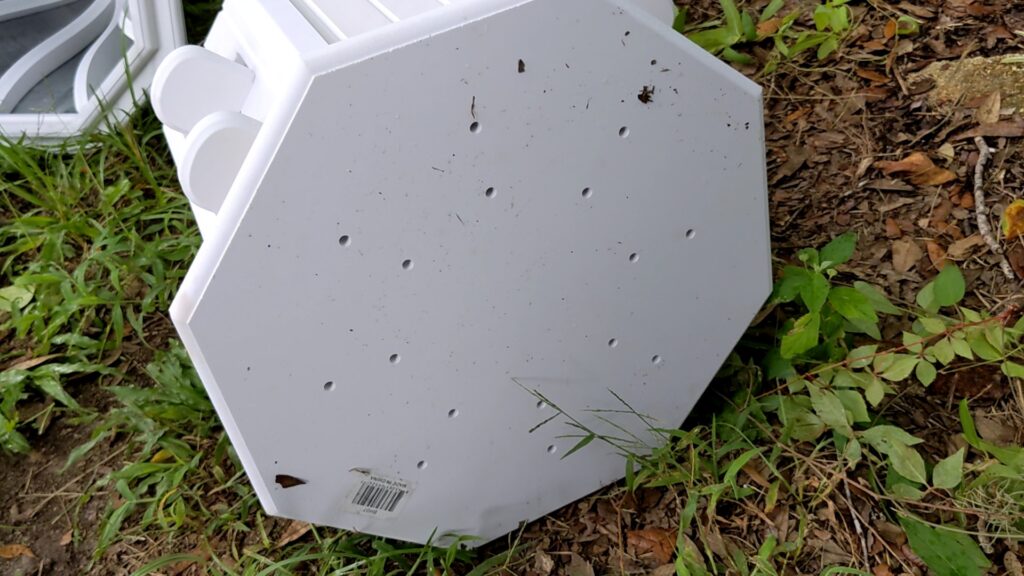
I set the birdhouse on its side, poked the screws through the predrilled holes of the base, then aligned them to the predrilled holes on the braces. Use the flat head screws for this part.

After all four base brackets are installed, place the contents back inside. Then, locate the holes on the roof and screw that to the base. Use the rounded head screws here.
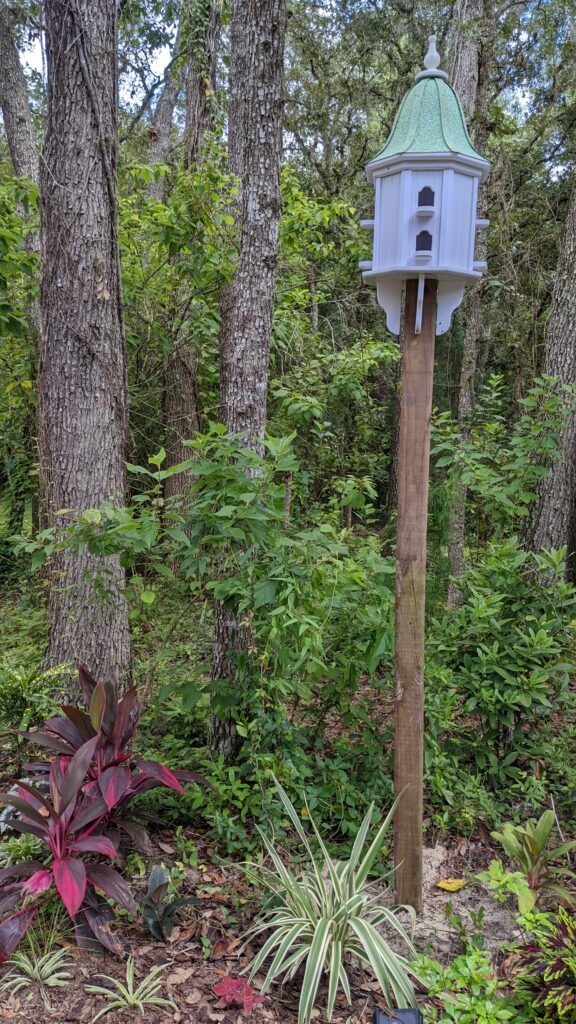
The only thing left to do is position it onto the post and wait for the tenants to arrive! We don’t feel that it’s secure enough, so we will cinch it down with additional metal brackets.
Looking forward to enjoying my new birdhouse for years to come!