When I create art, I aspire to draw interesting details as much as possible. Many artists use stamps and stencils that they purchase. For me, I’d prefer to make my own. I realize I don’t make the tape, or the painting surface, or the paint brushes, so I have no problem using multiple different objects for adding texture and intricate linework to my art pieces. I have used skewers, crumpled tissue paper, bubble wrap and combs, as well as alcohol, water, solvent, plastic netting, screwdrivers, buttons, my own clay/ceramic stamps, maker’s mark and rollers, toothpicks and more. Really, anything I think would add interest is fair game.
In one of my first projects, I drew art with a glue gun on my quartz countertop, that released from the table cleanly. It works pretty well but wasn’t exactly what I was looking for.
In one of my classes, I cut “masking stencils” from a manila folder, taped it down, and used it to negative paint around. This works nicely as well.
Today, I decided to try something different…linotype using linoleum and a carving tool with multiple blade types. It’s the first time I had ever done anything like this, and it was quite fun.
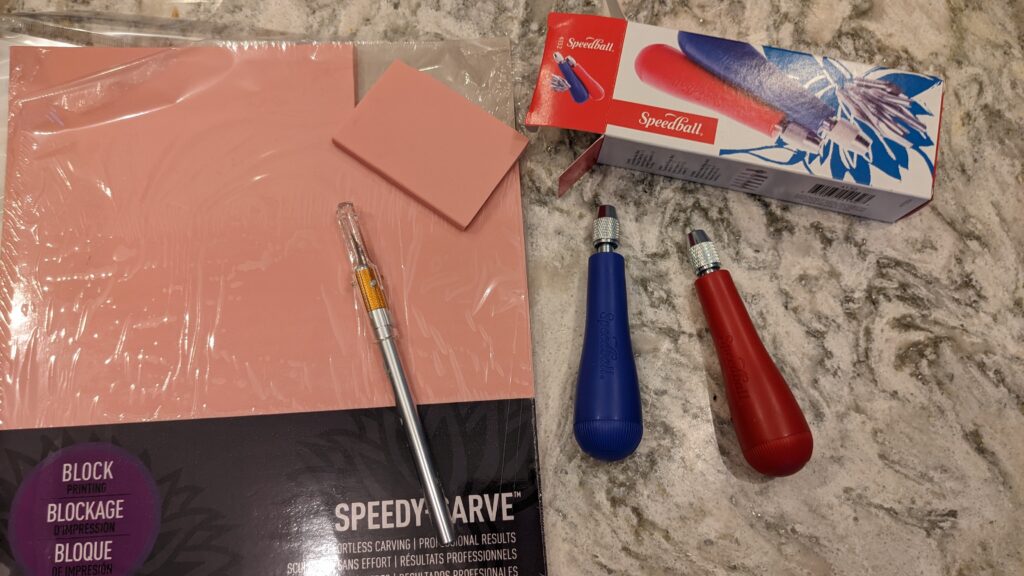
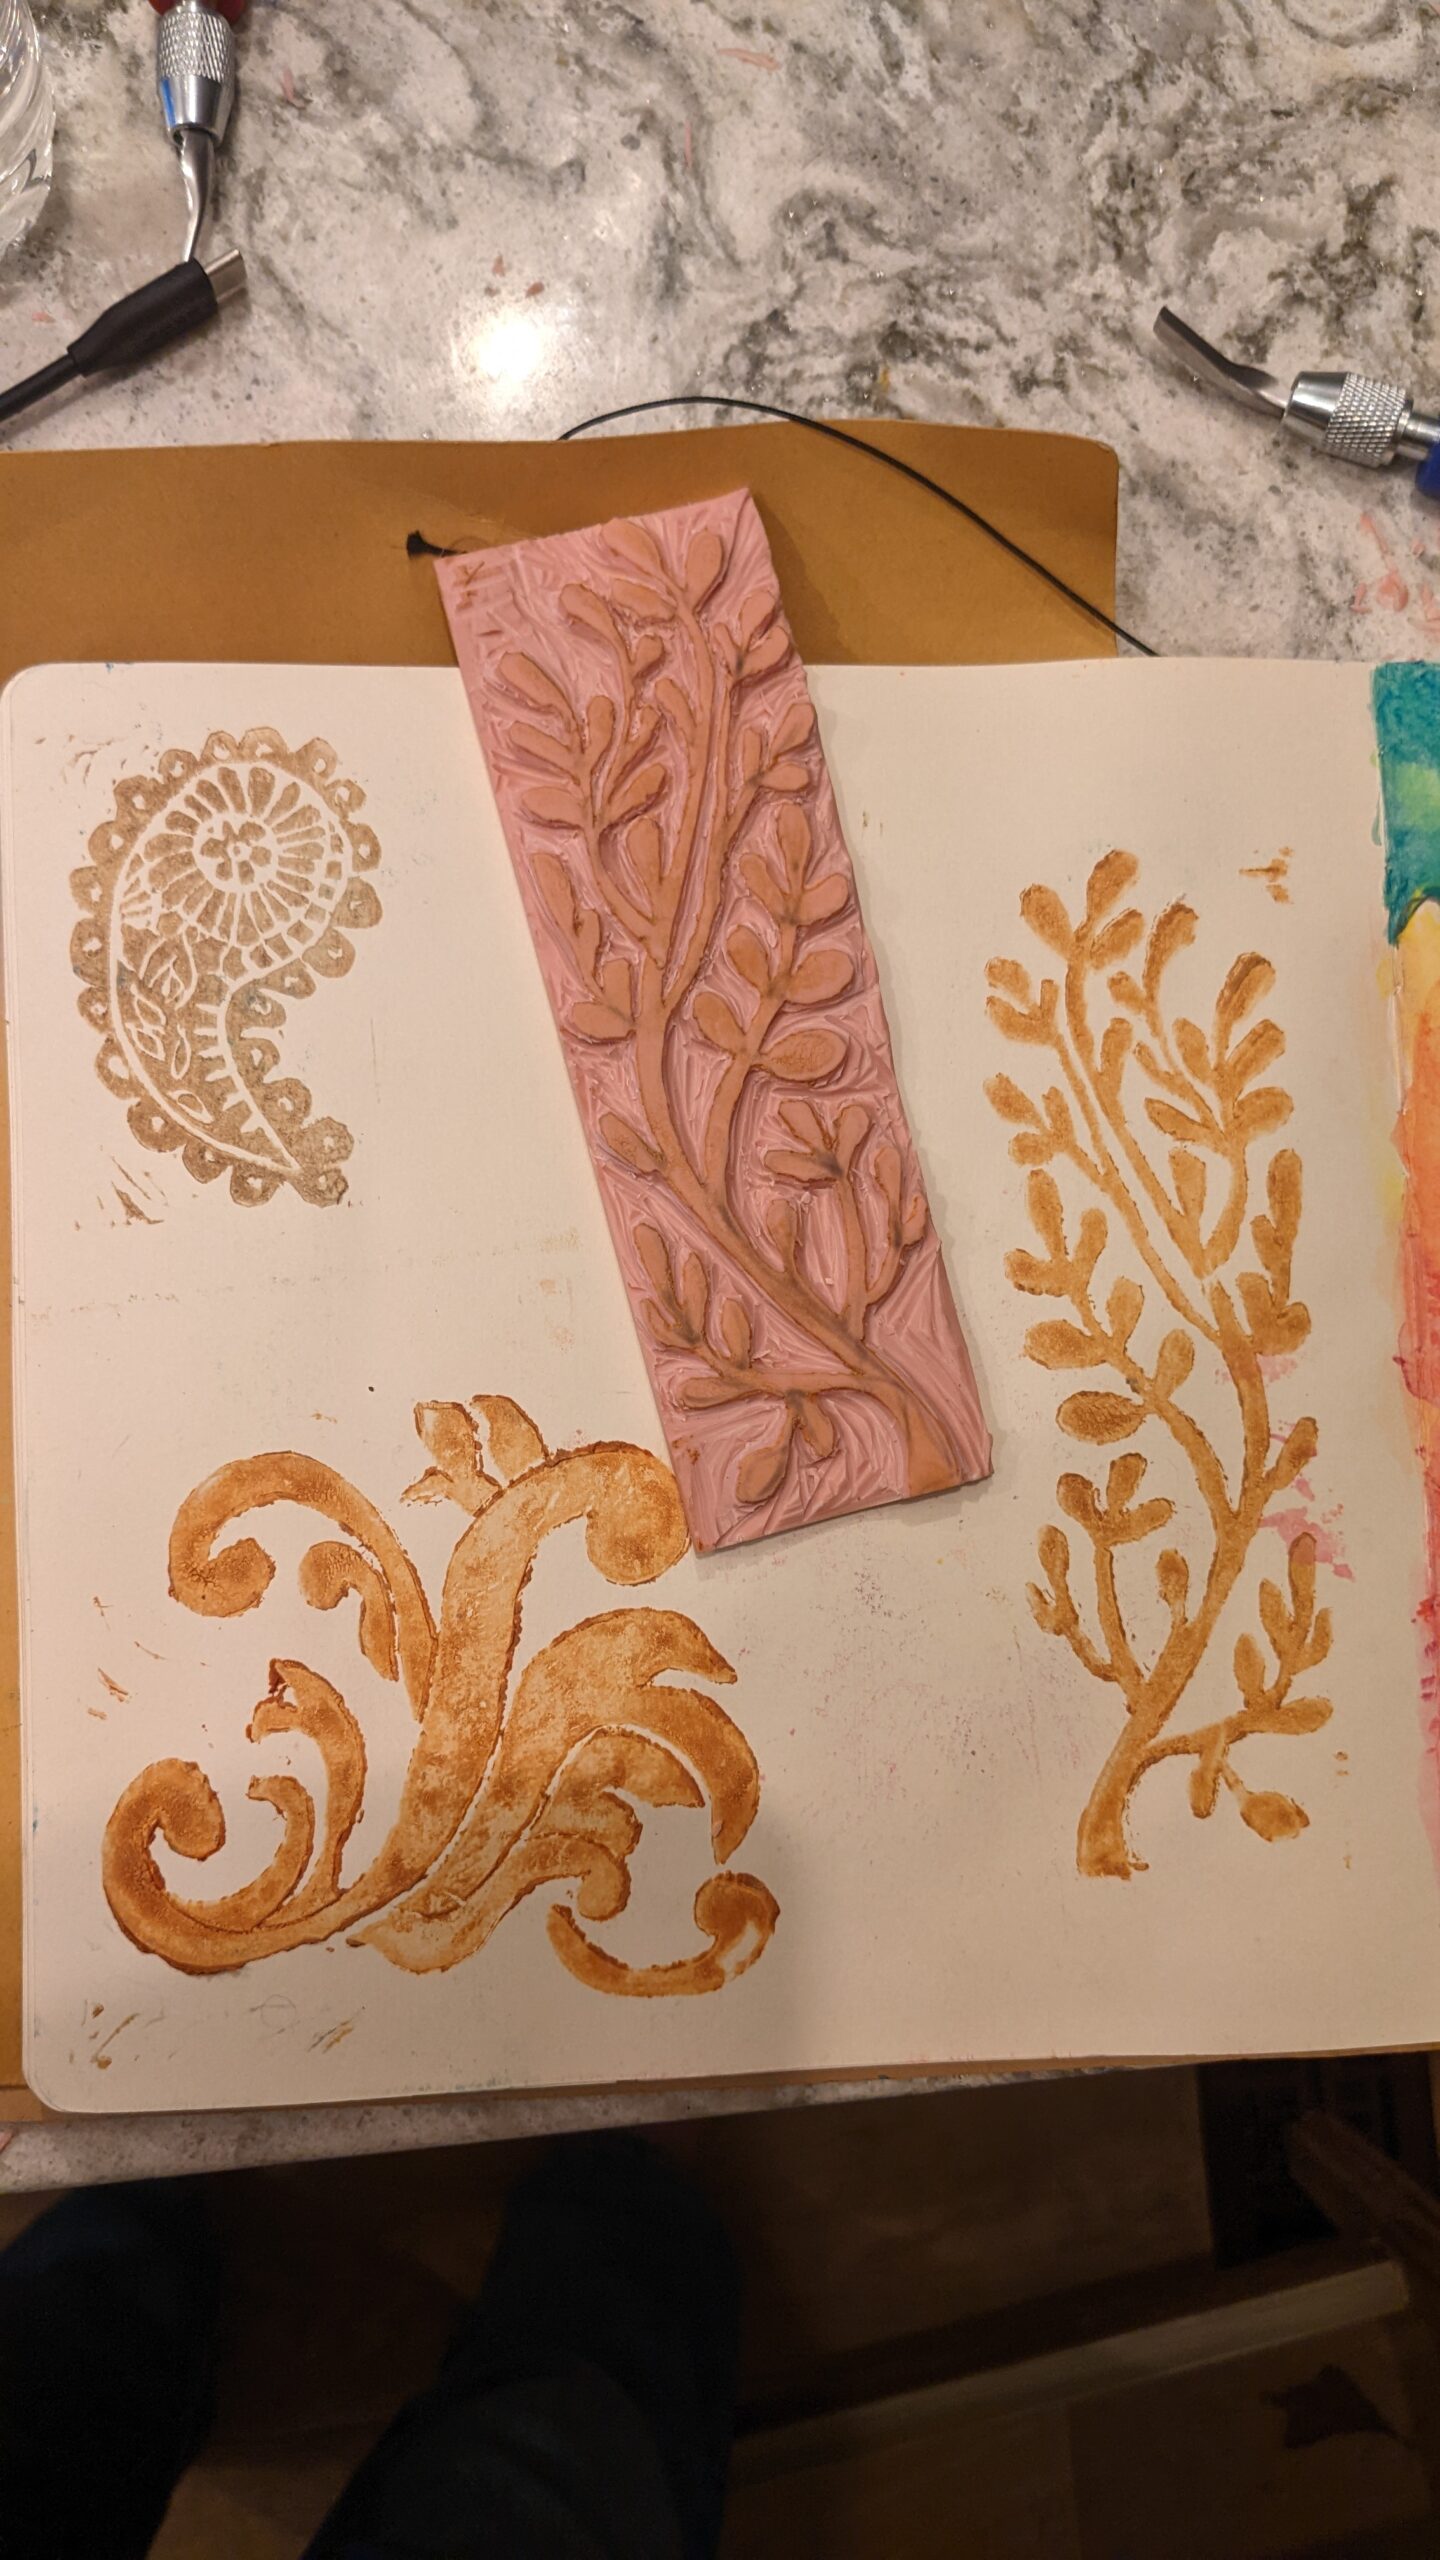
I cut out a small rectangle of the speedy-carve block for my first project.
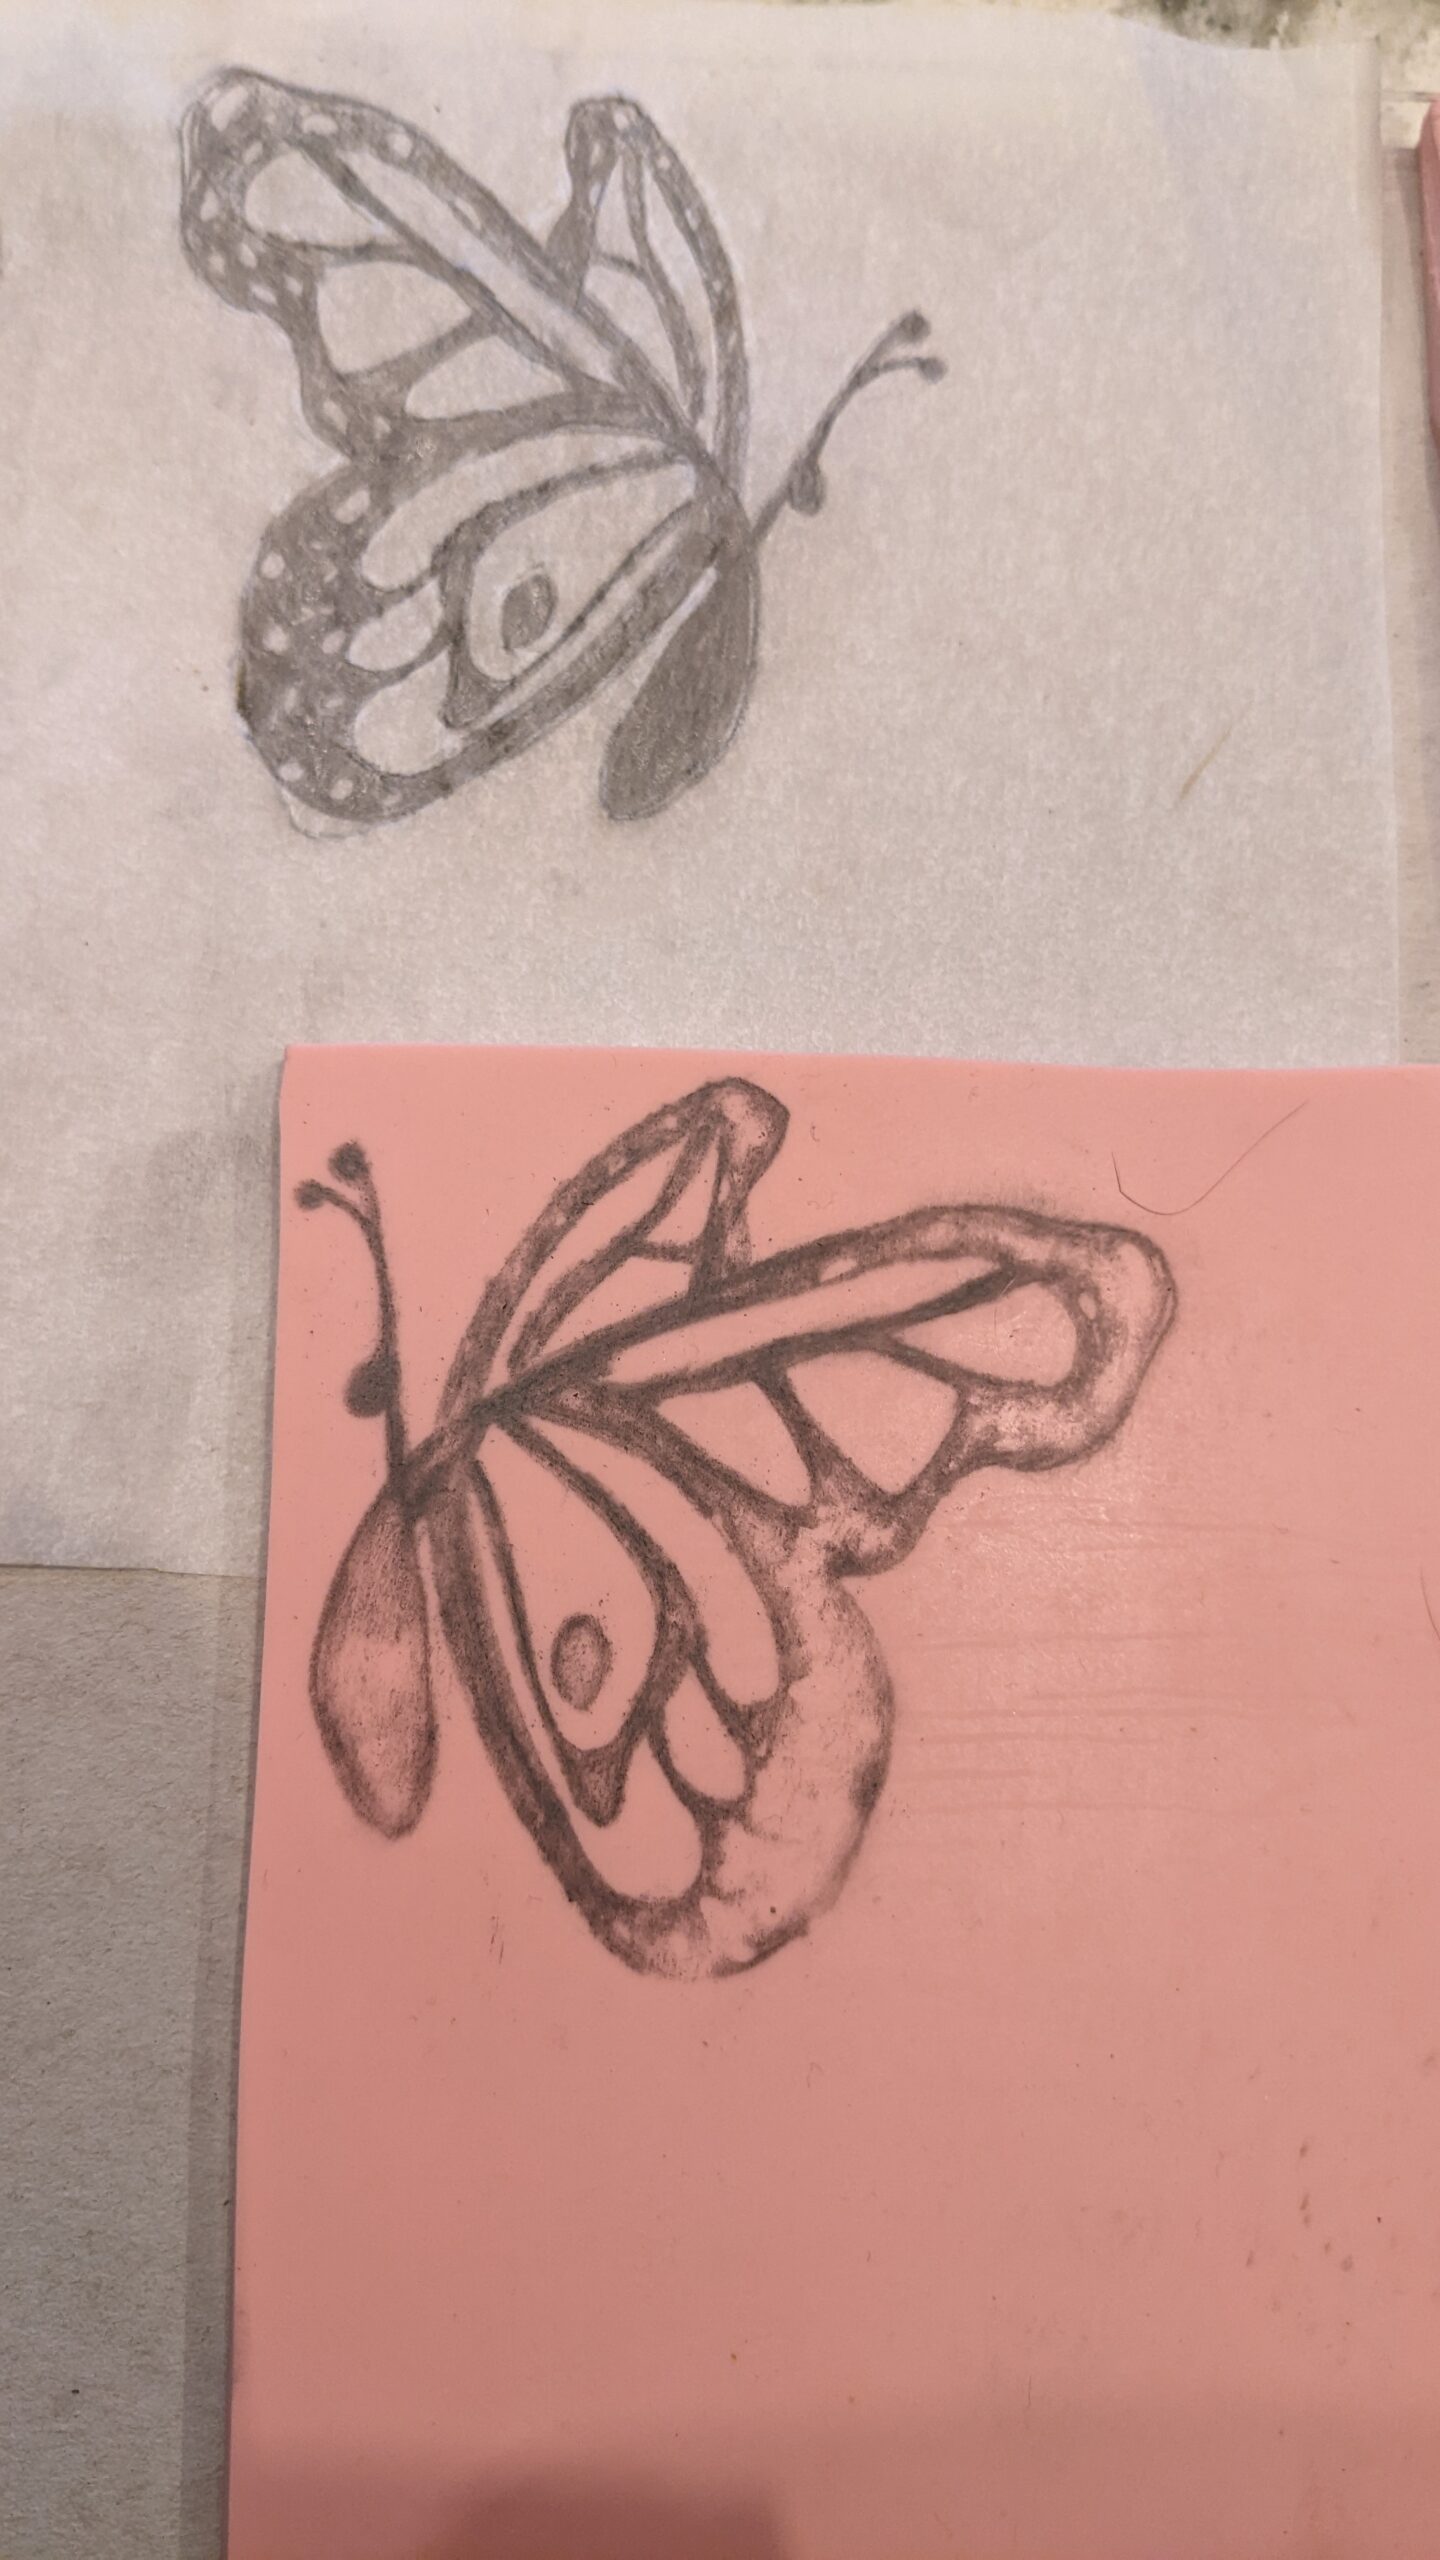
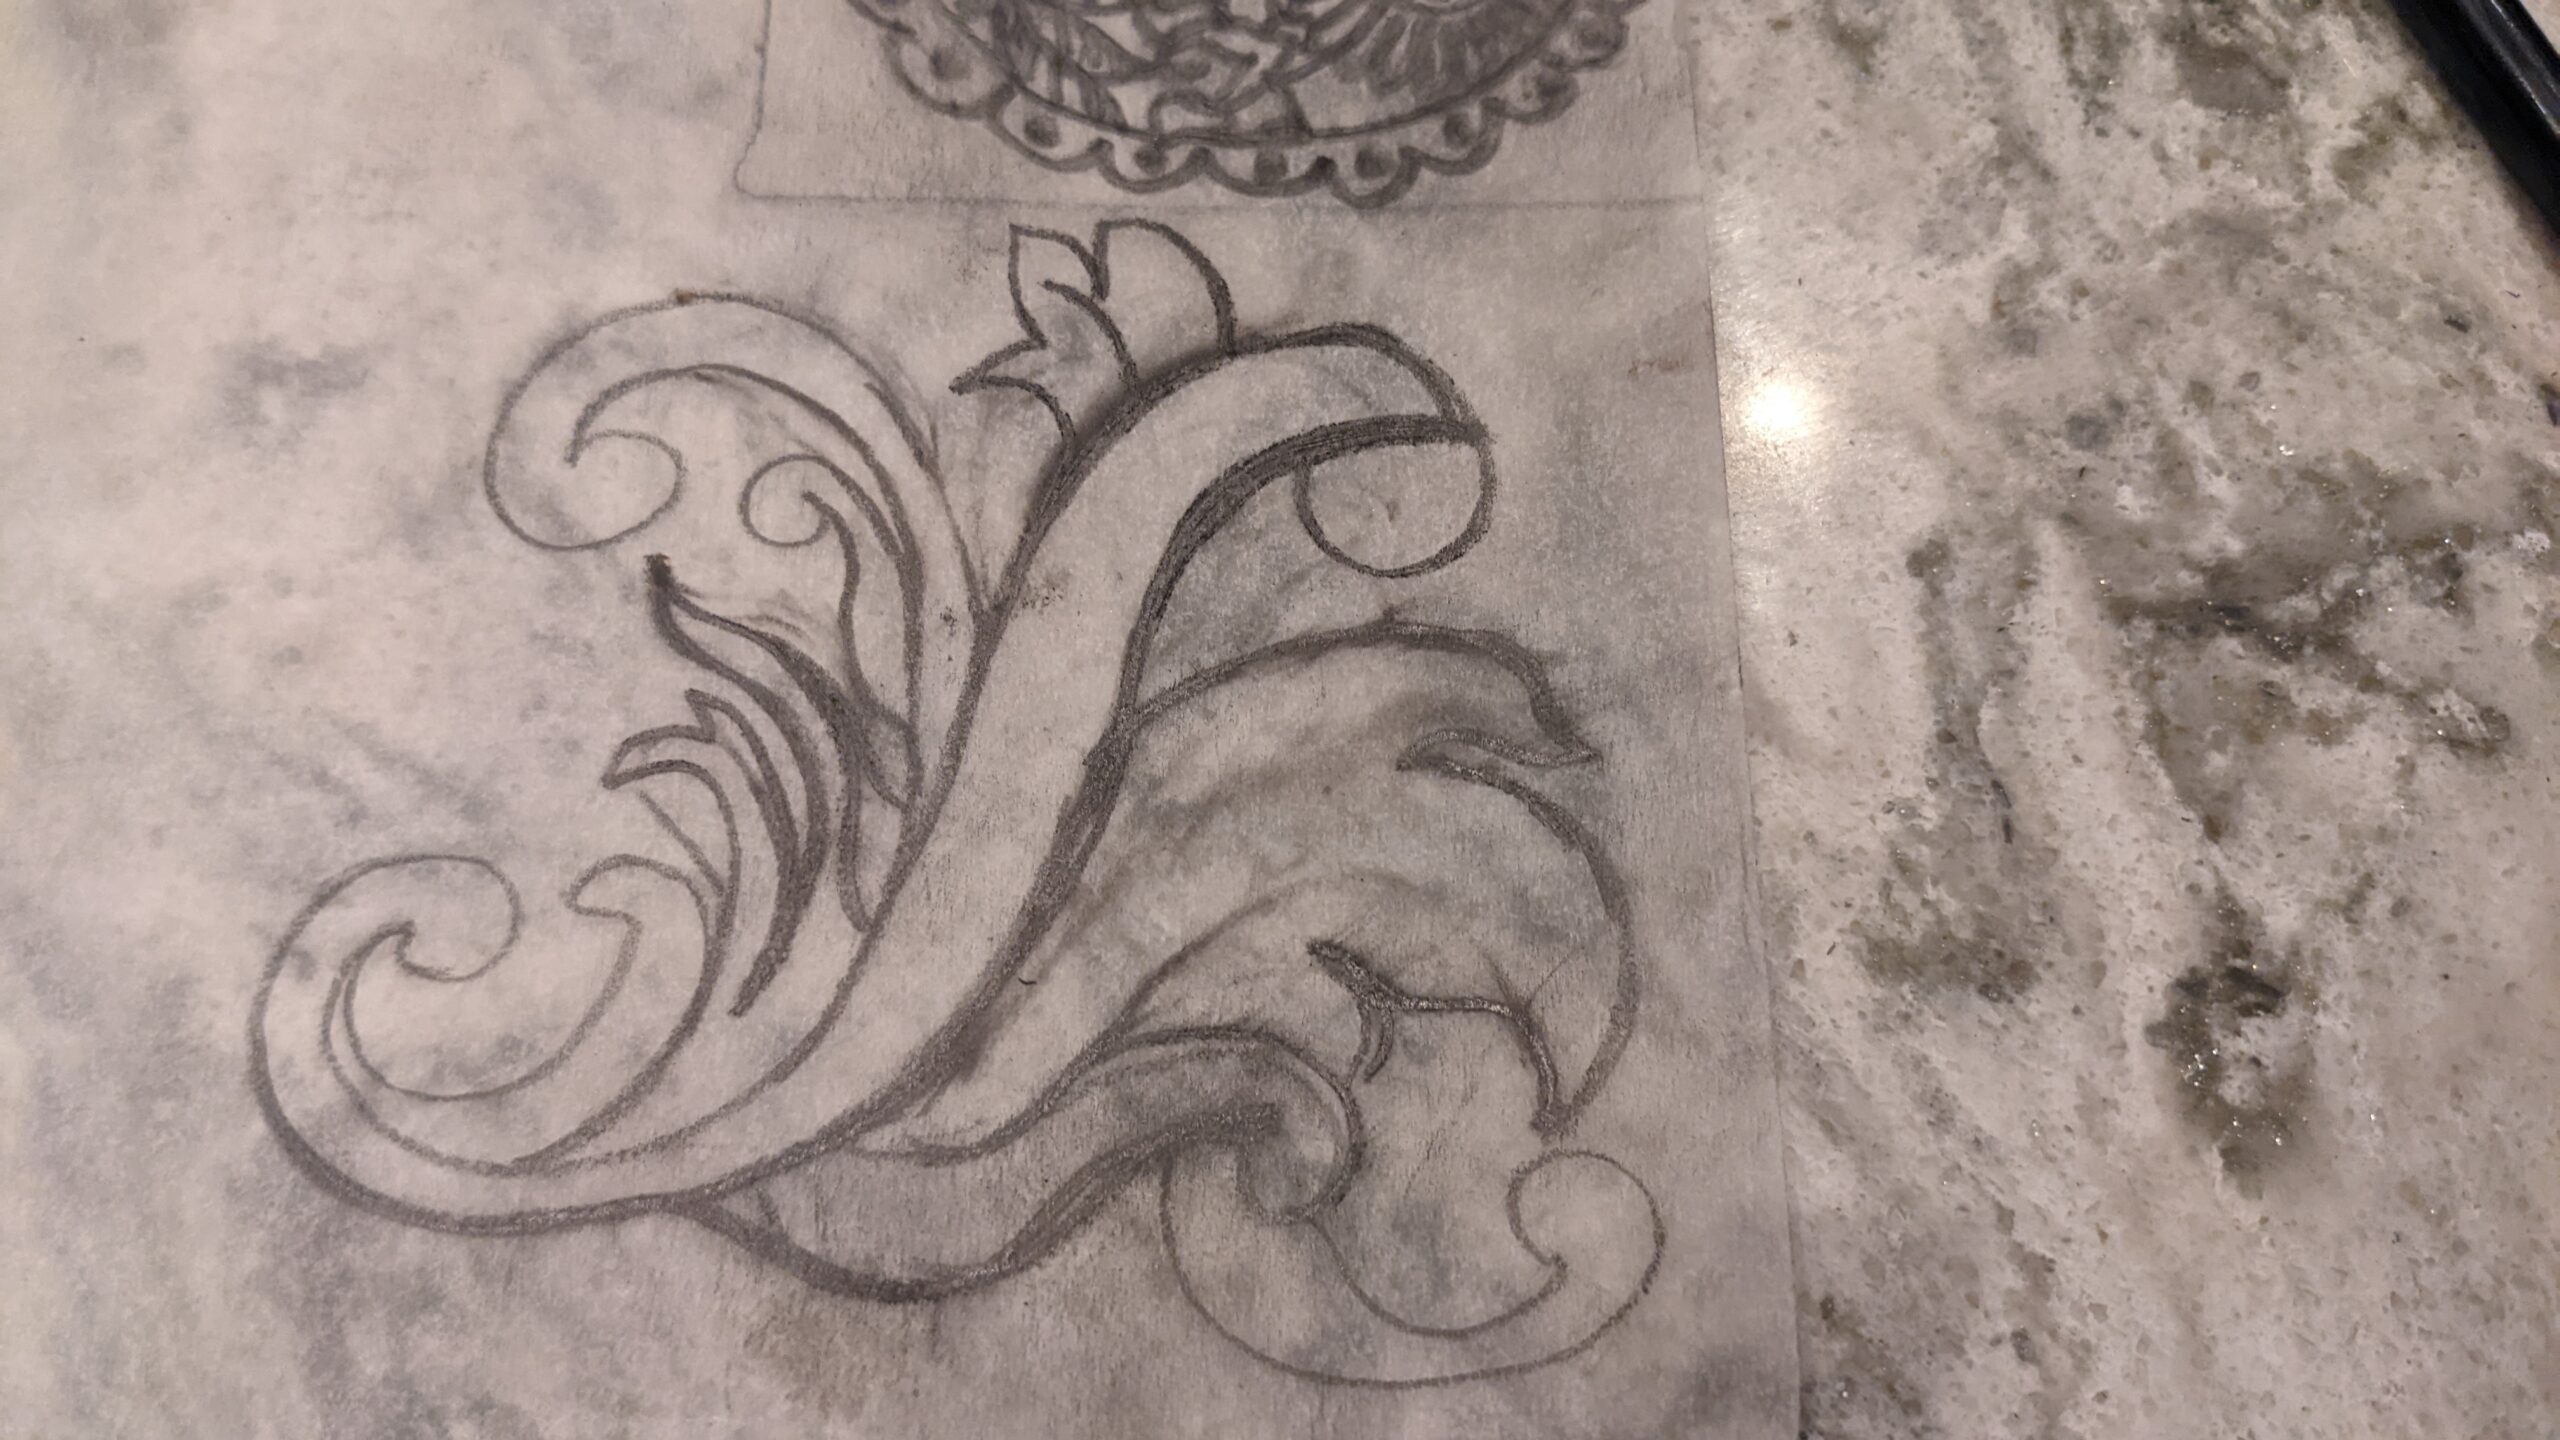
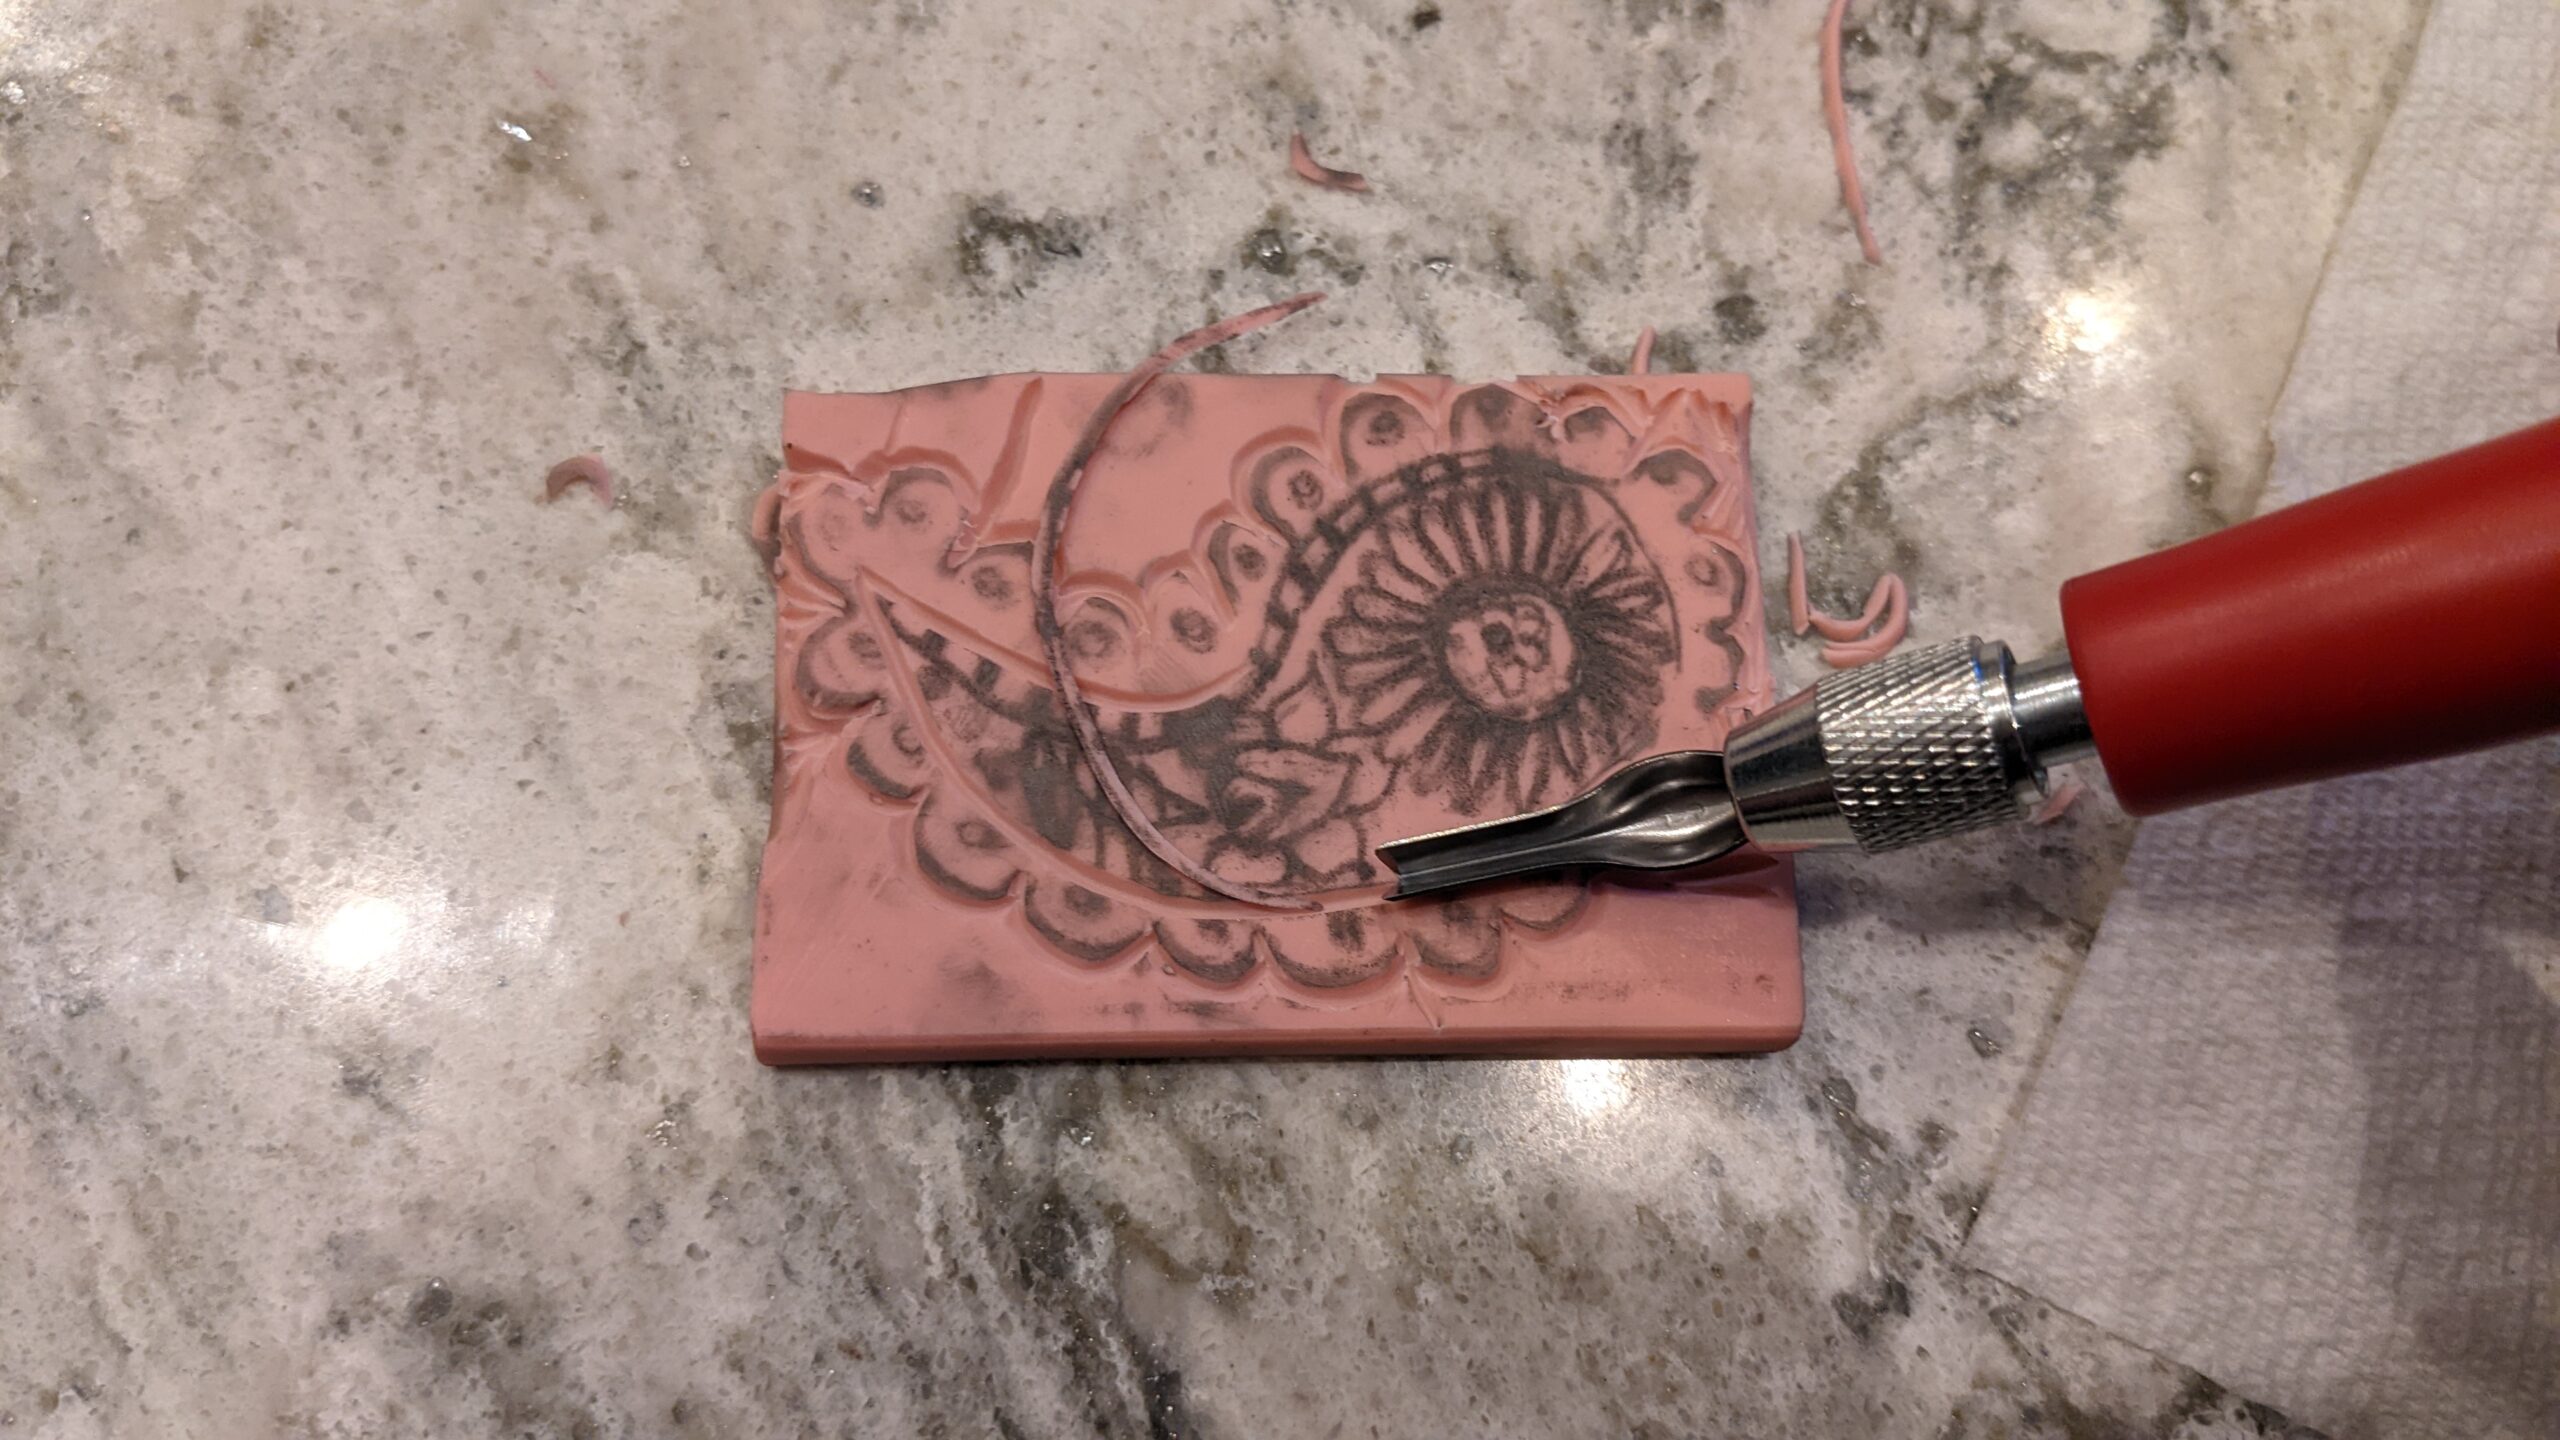
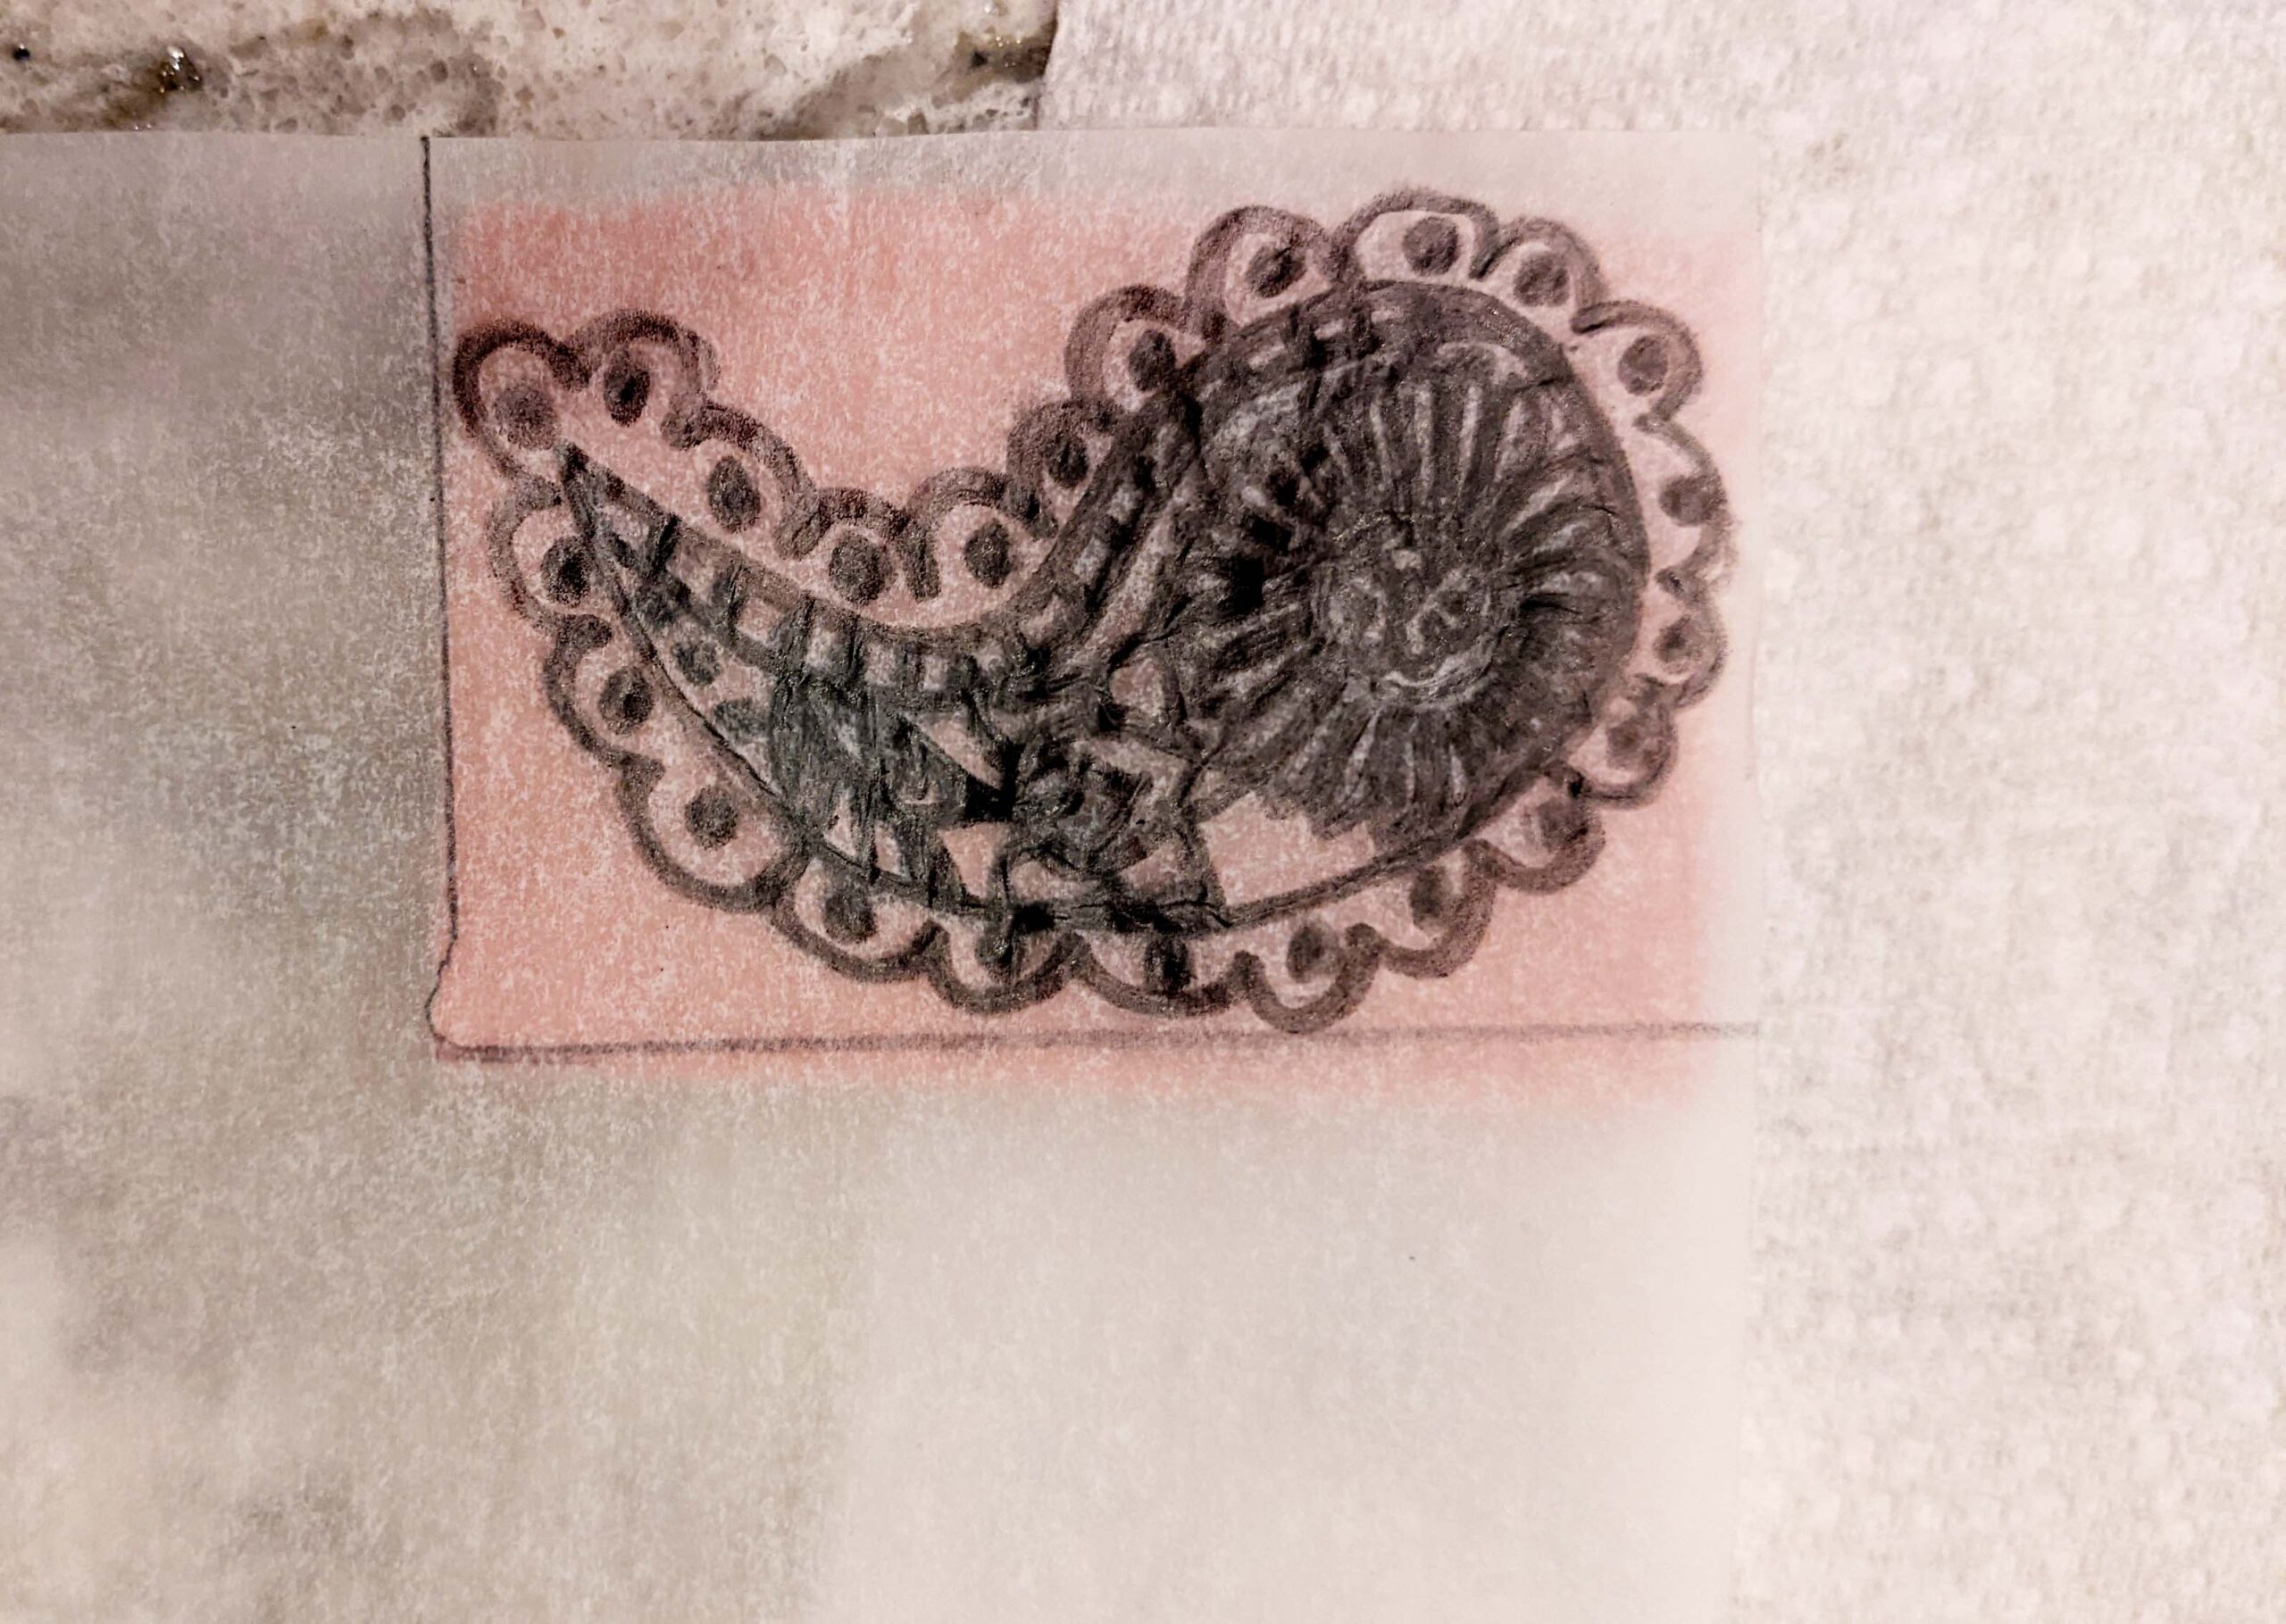
Then, I drew a sample paisley design on tracing paper. My thought is that I can practice on paper before committing to the linoleum. The other reason is that I can flip the design so that it’s mirrored on the block but will be the proper perspective when the design is transferred with paint.
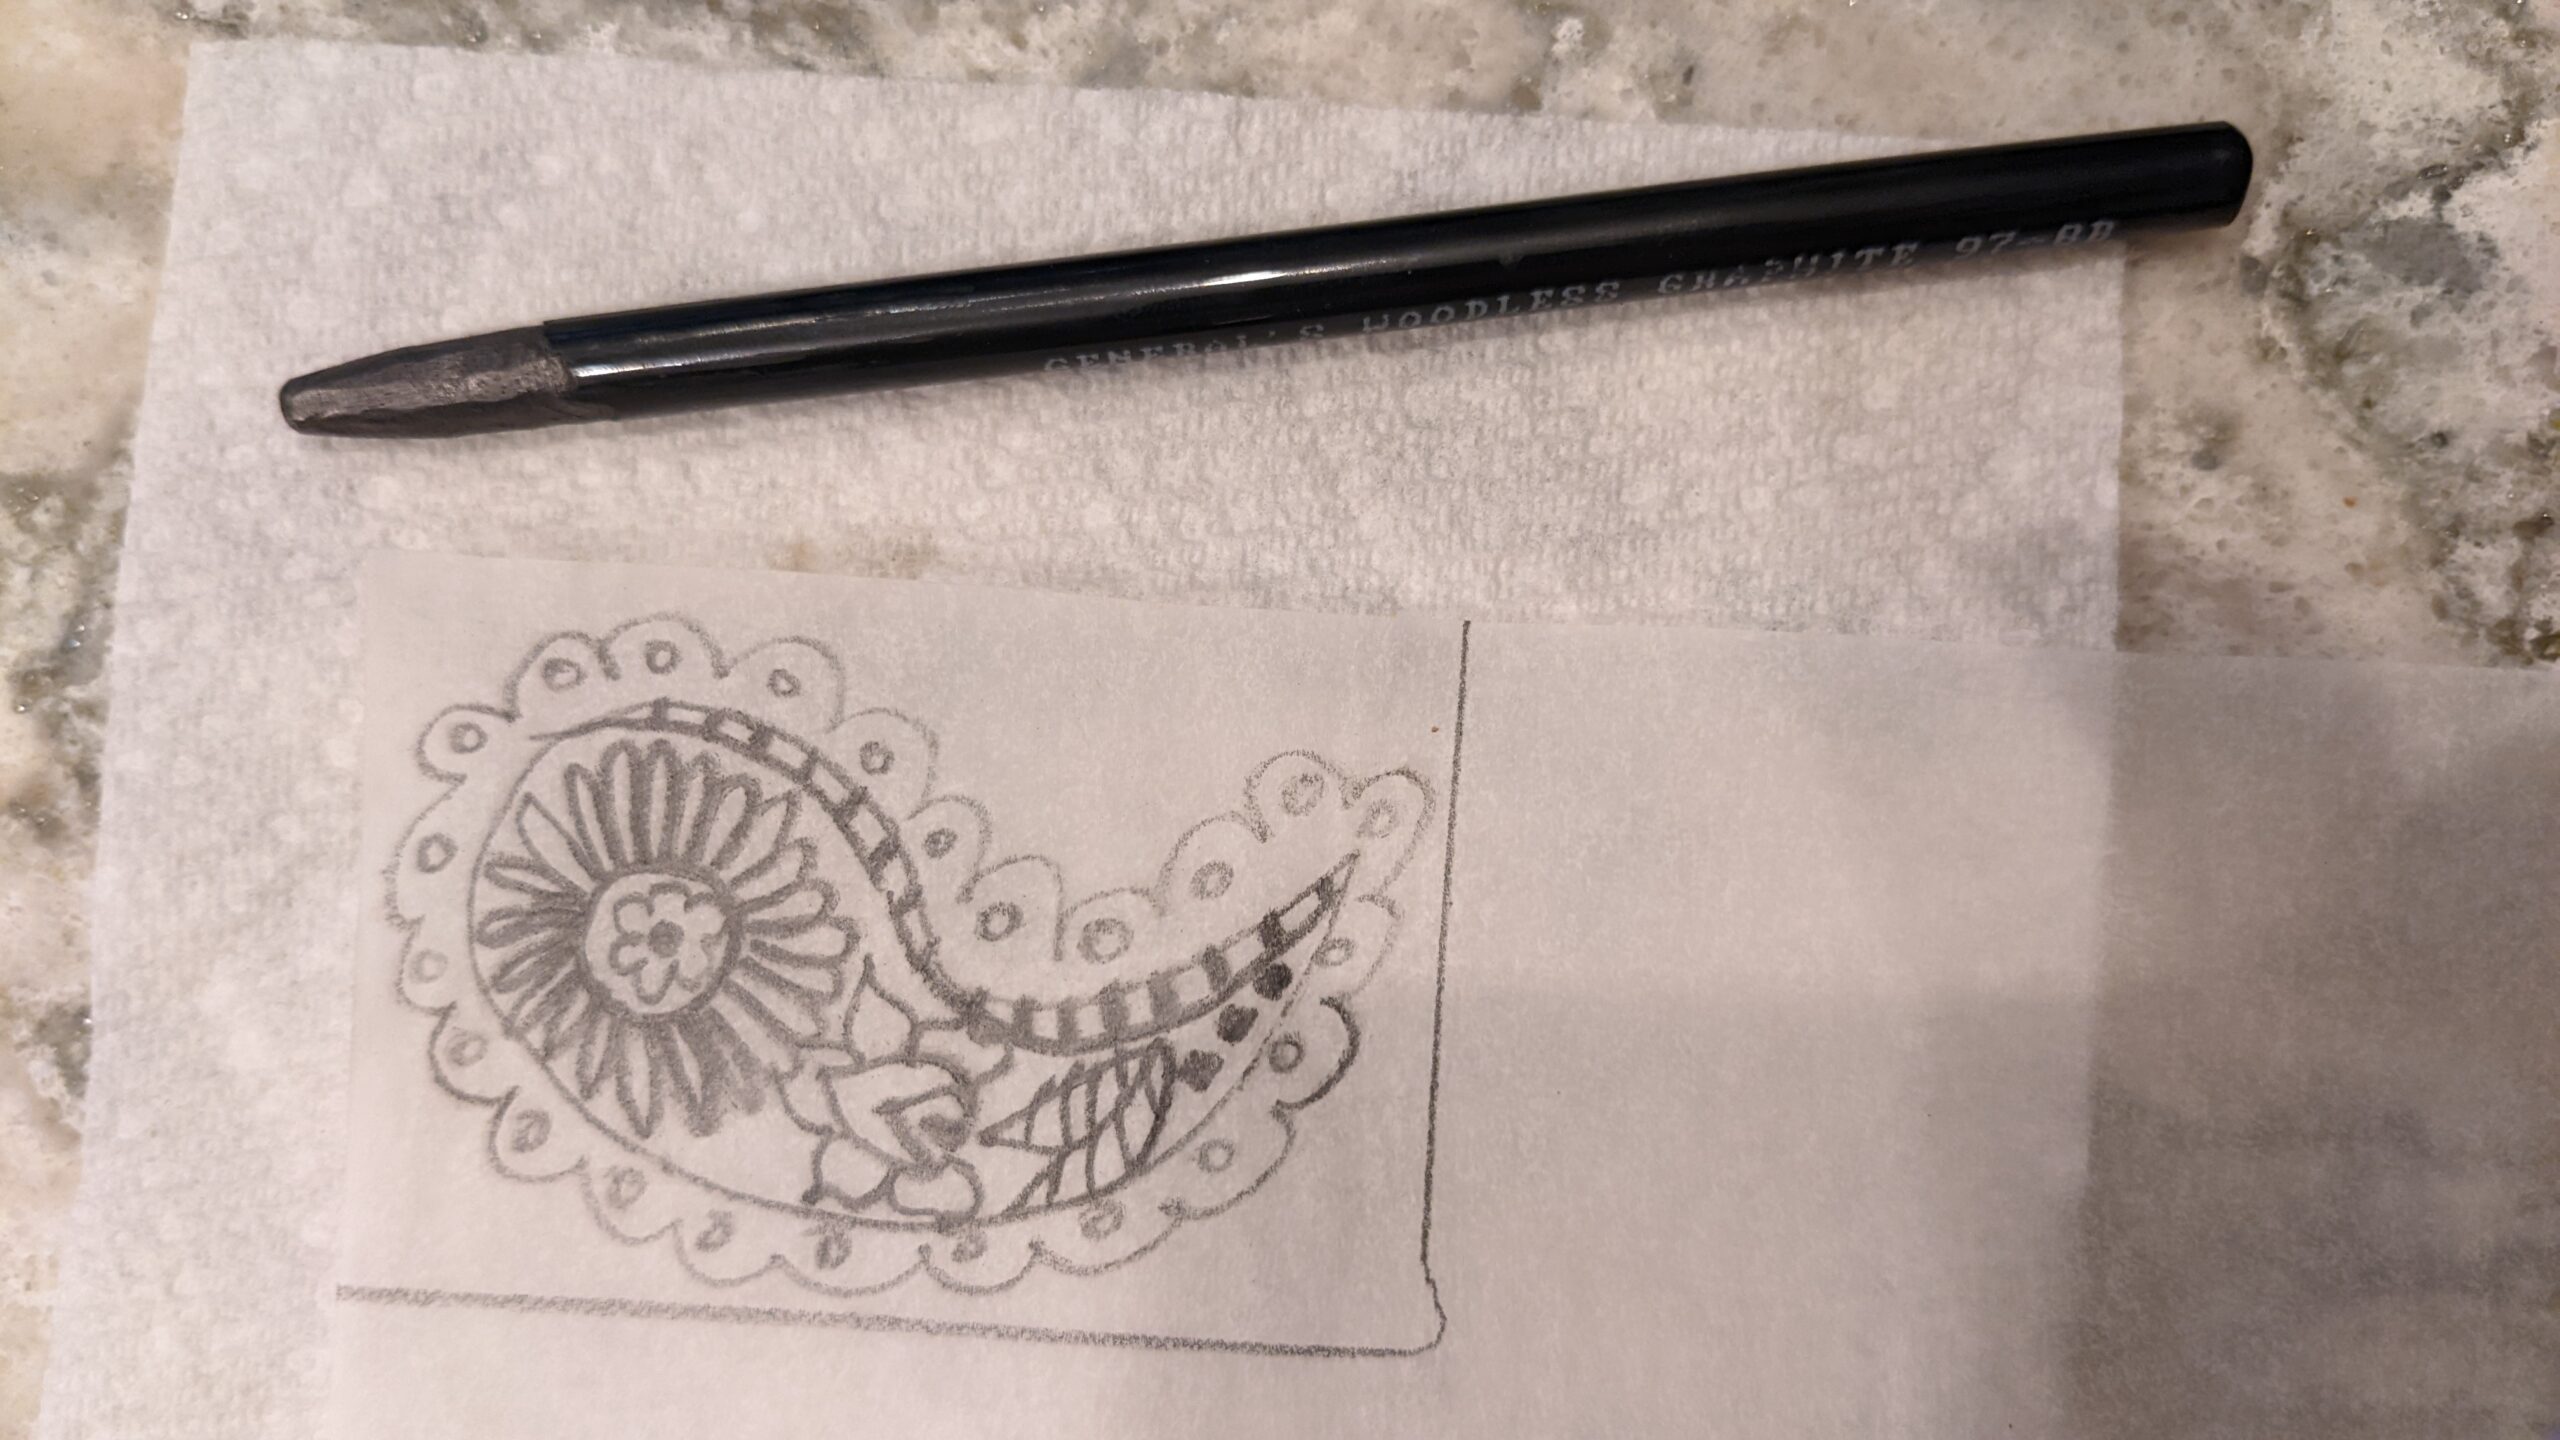
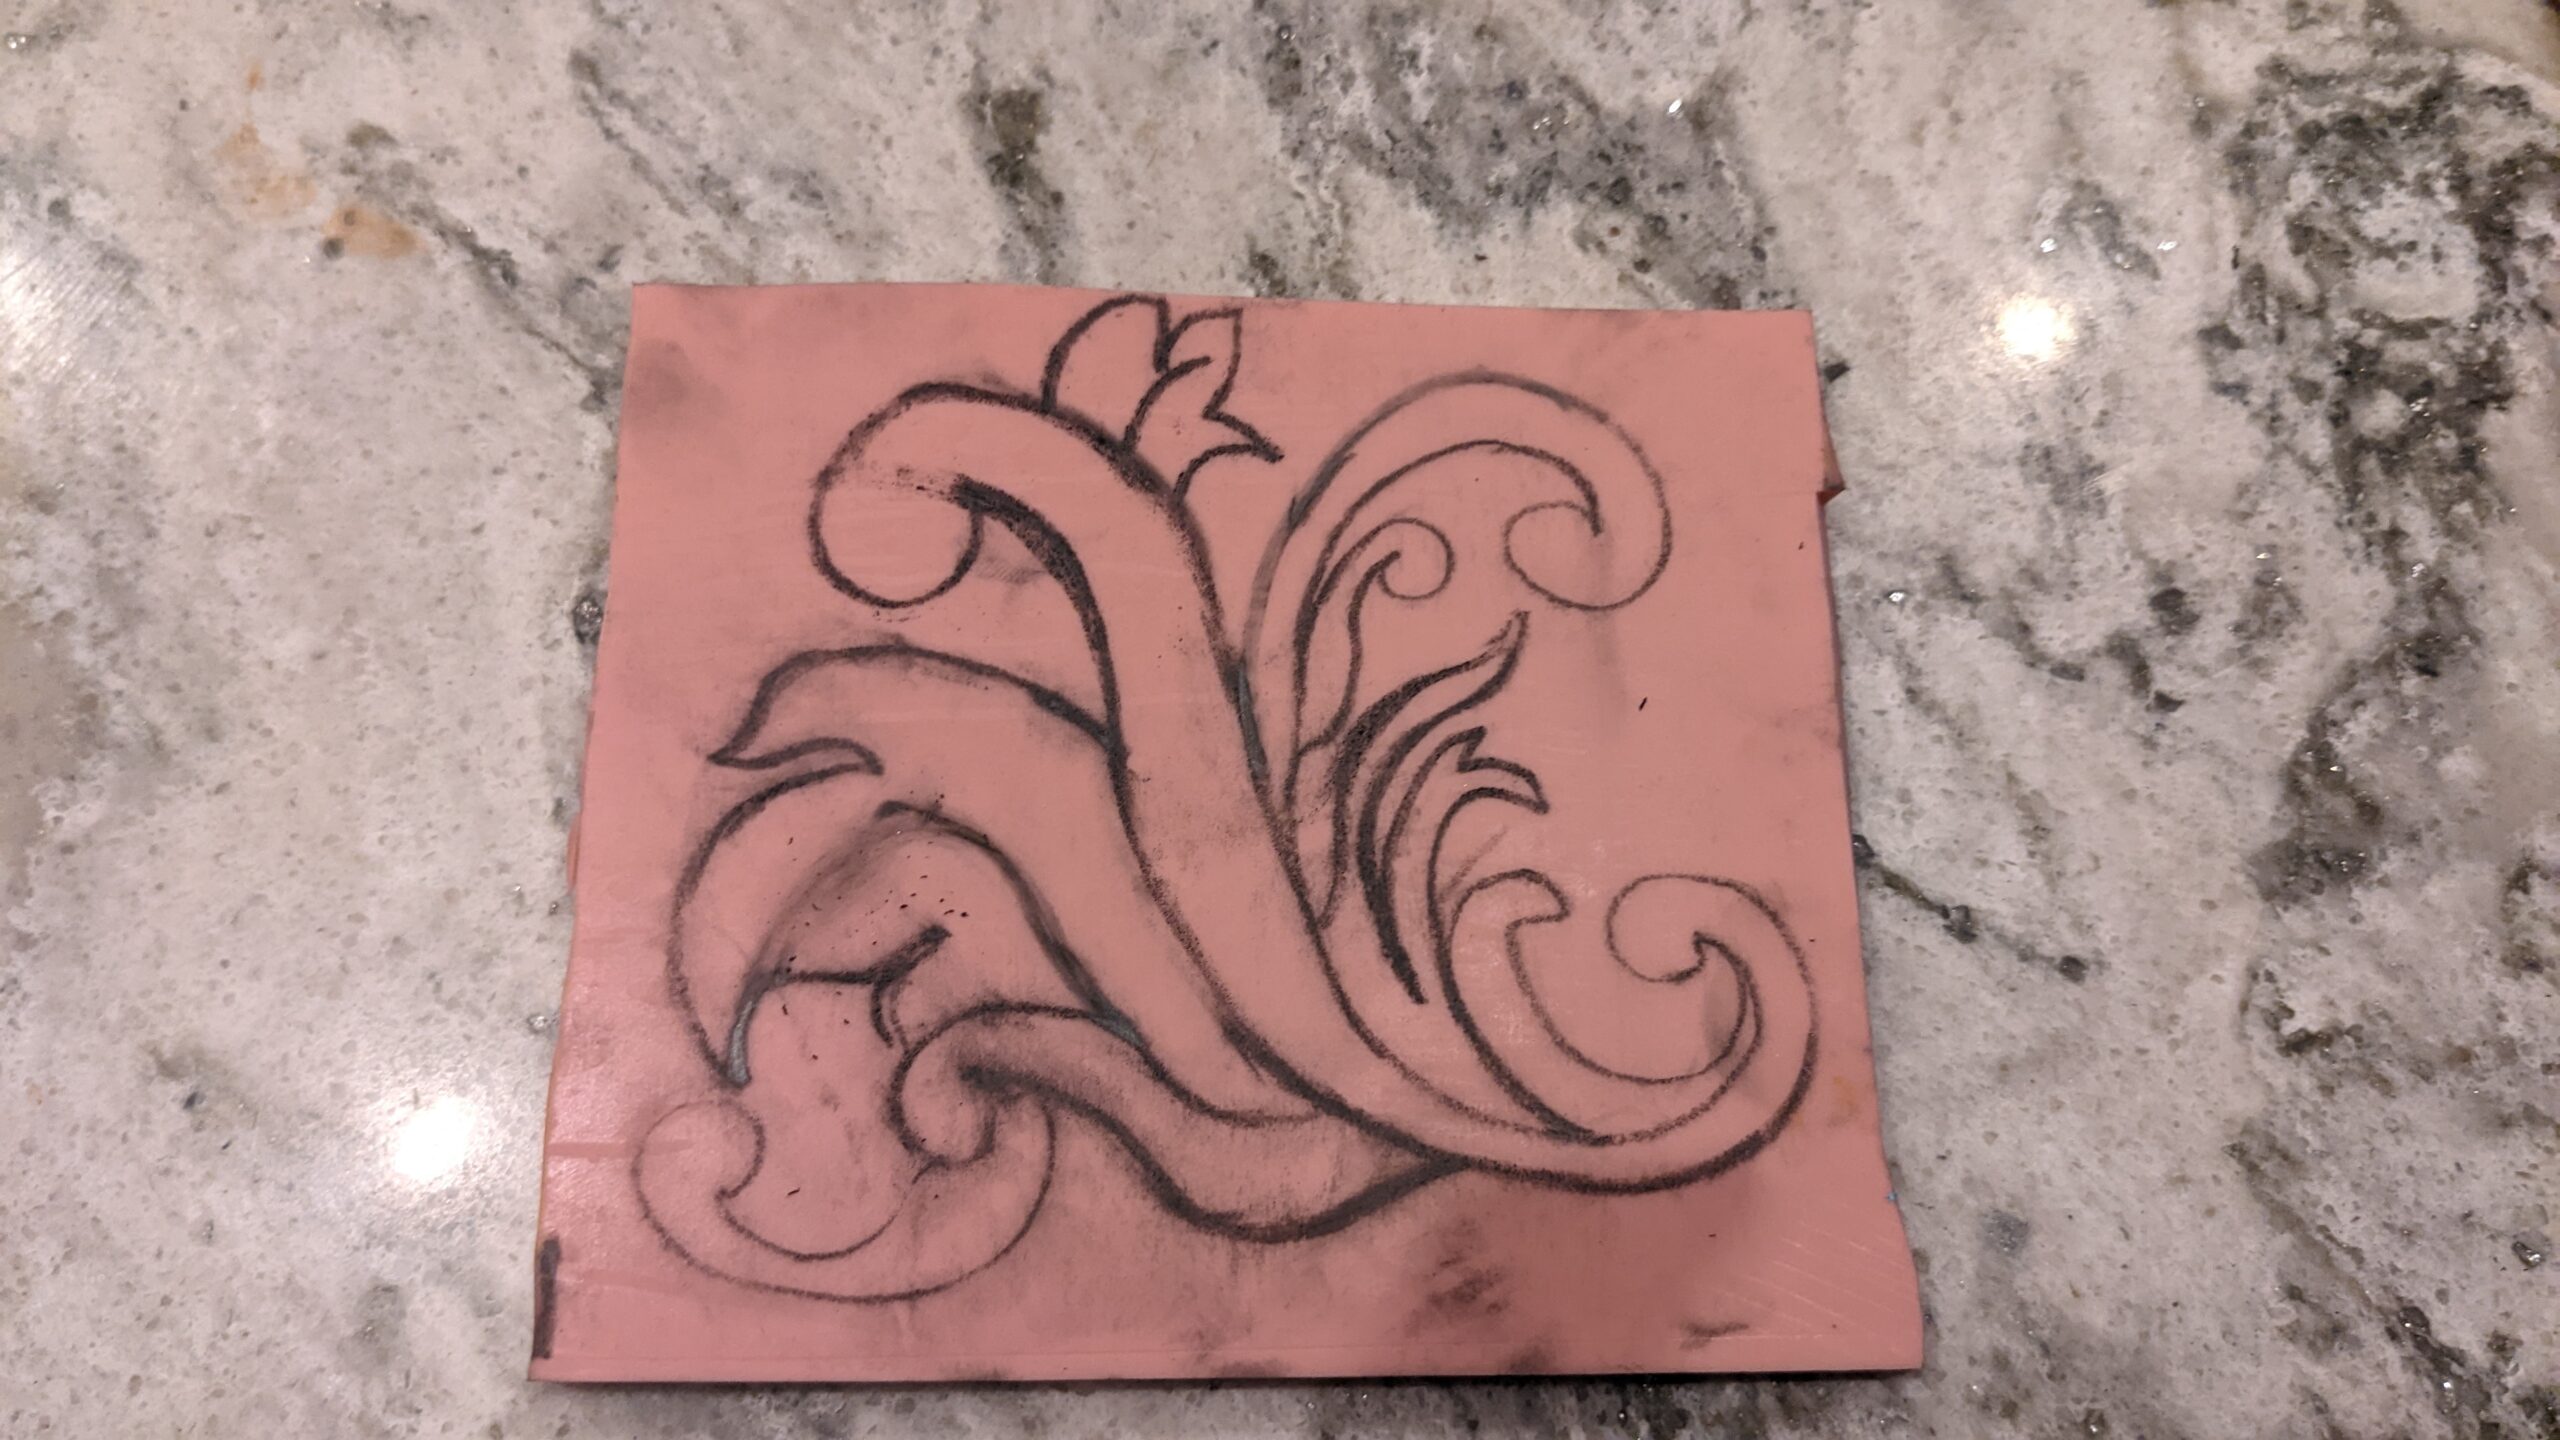
Next, I flipped the design, positioned it on the block, and began tracing through the paper. This transferred the graphite pretty well on the block, although I did touch some of the parts up by drawing directly onto the linoleum with the pencil.
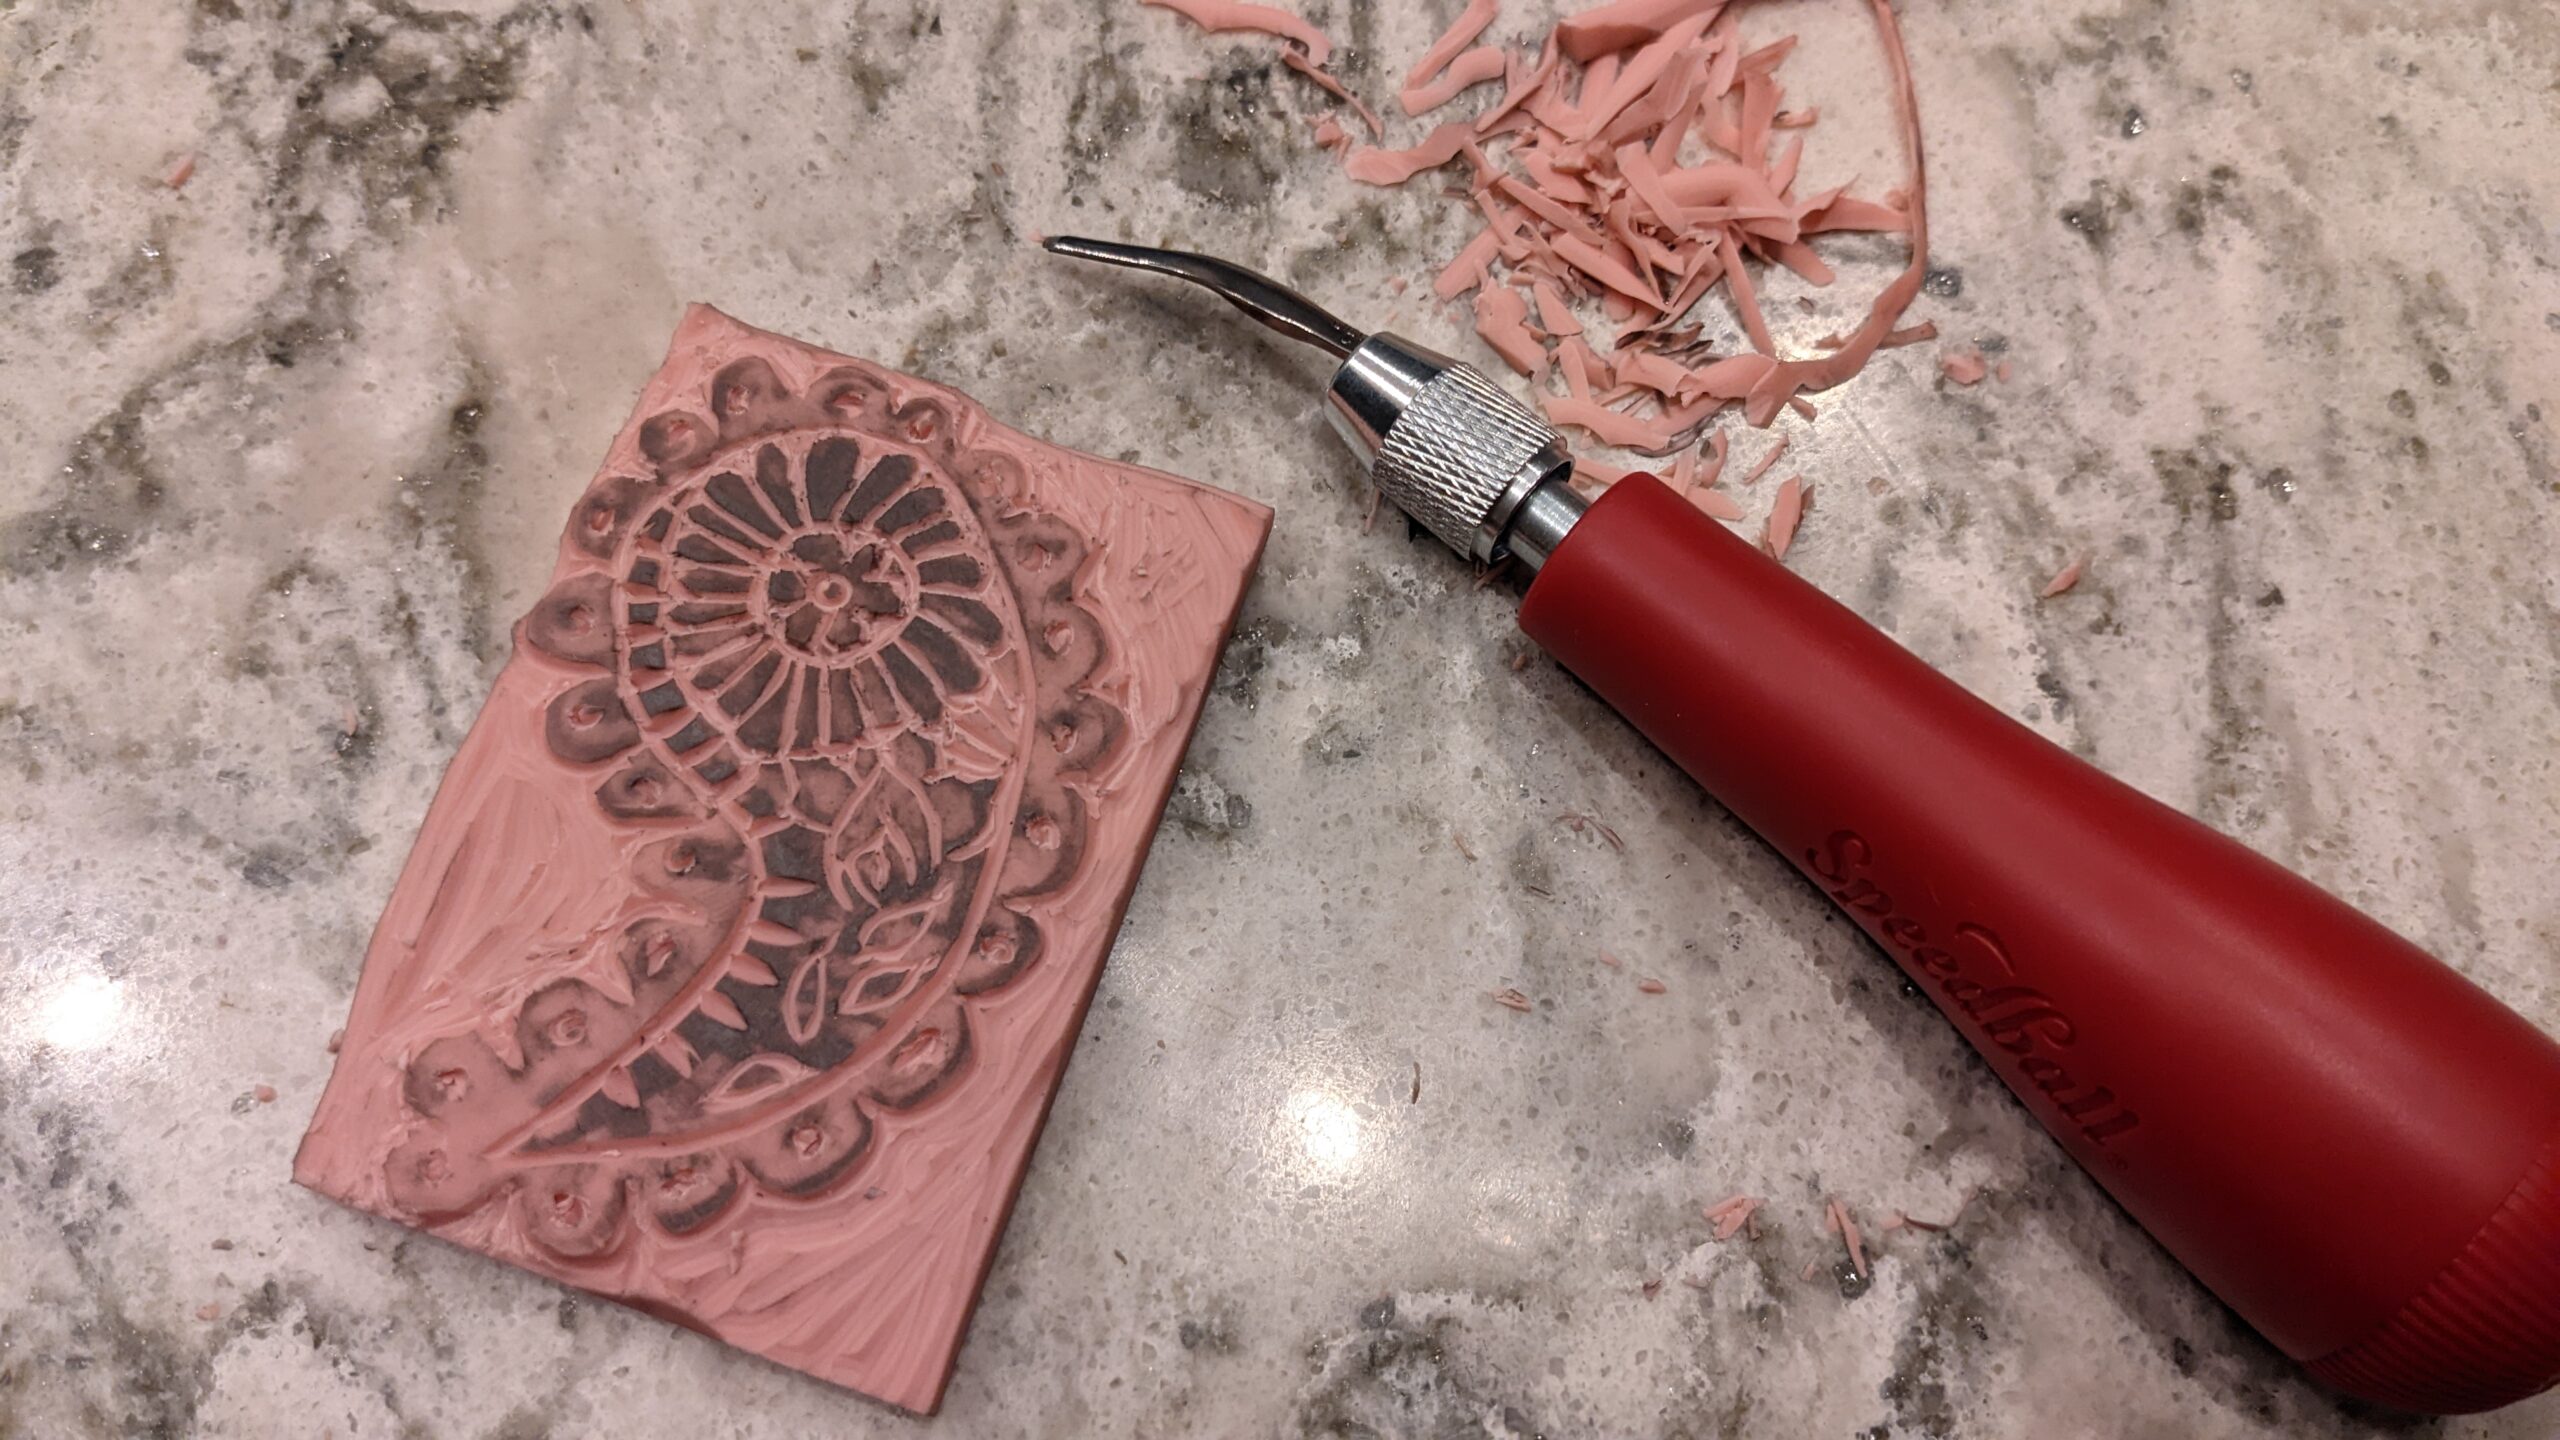
Using the speed-ball carving tool, I carefully but intuitively carved out the shapes as best I could. This was the most creative, enjoyable and meditative step in the process. Since this is a pretty small piece to work on, it was fairly tight spaced and intricate. I took my time and turned the “canvas” as needed to help ease the process.
I had no clue how this would turn out, but I figured I could adjust it if it didn’t transfer well.
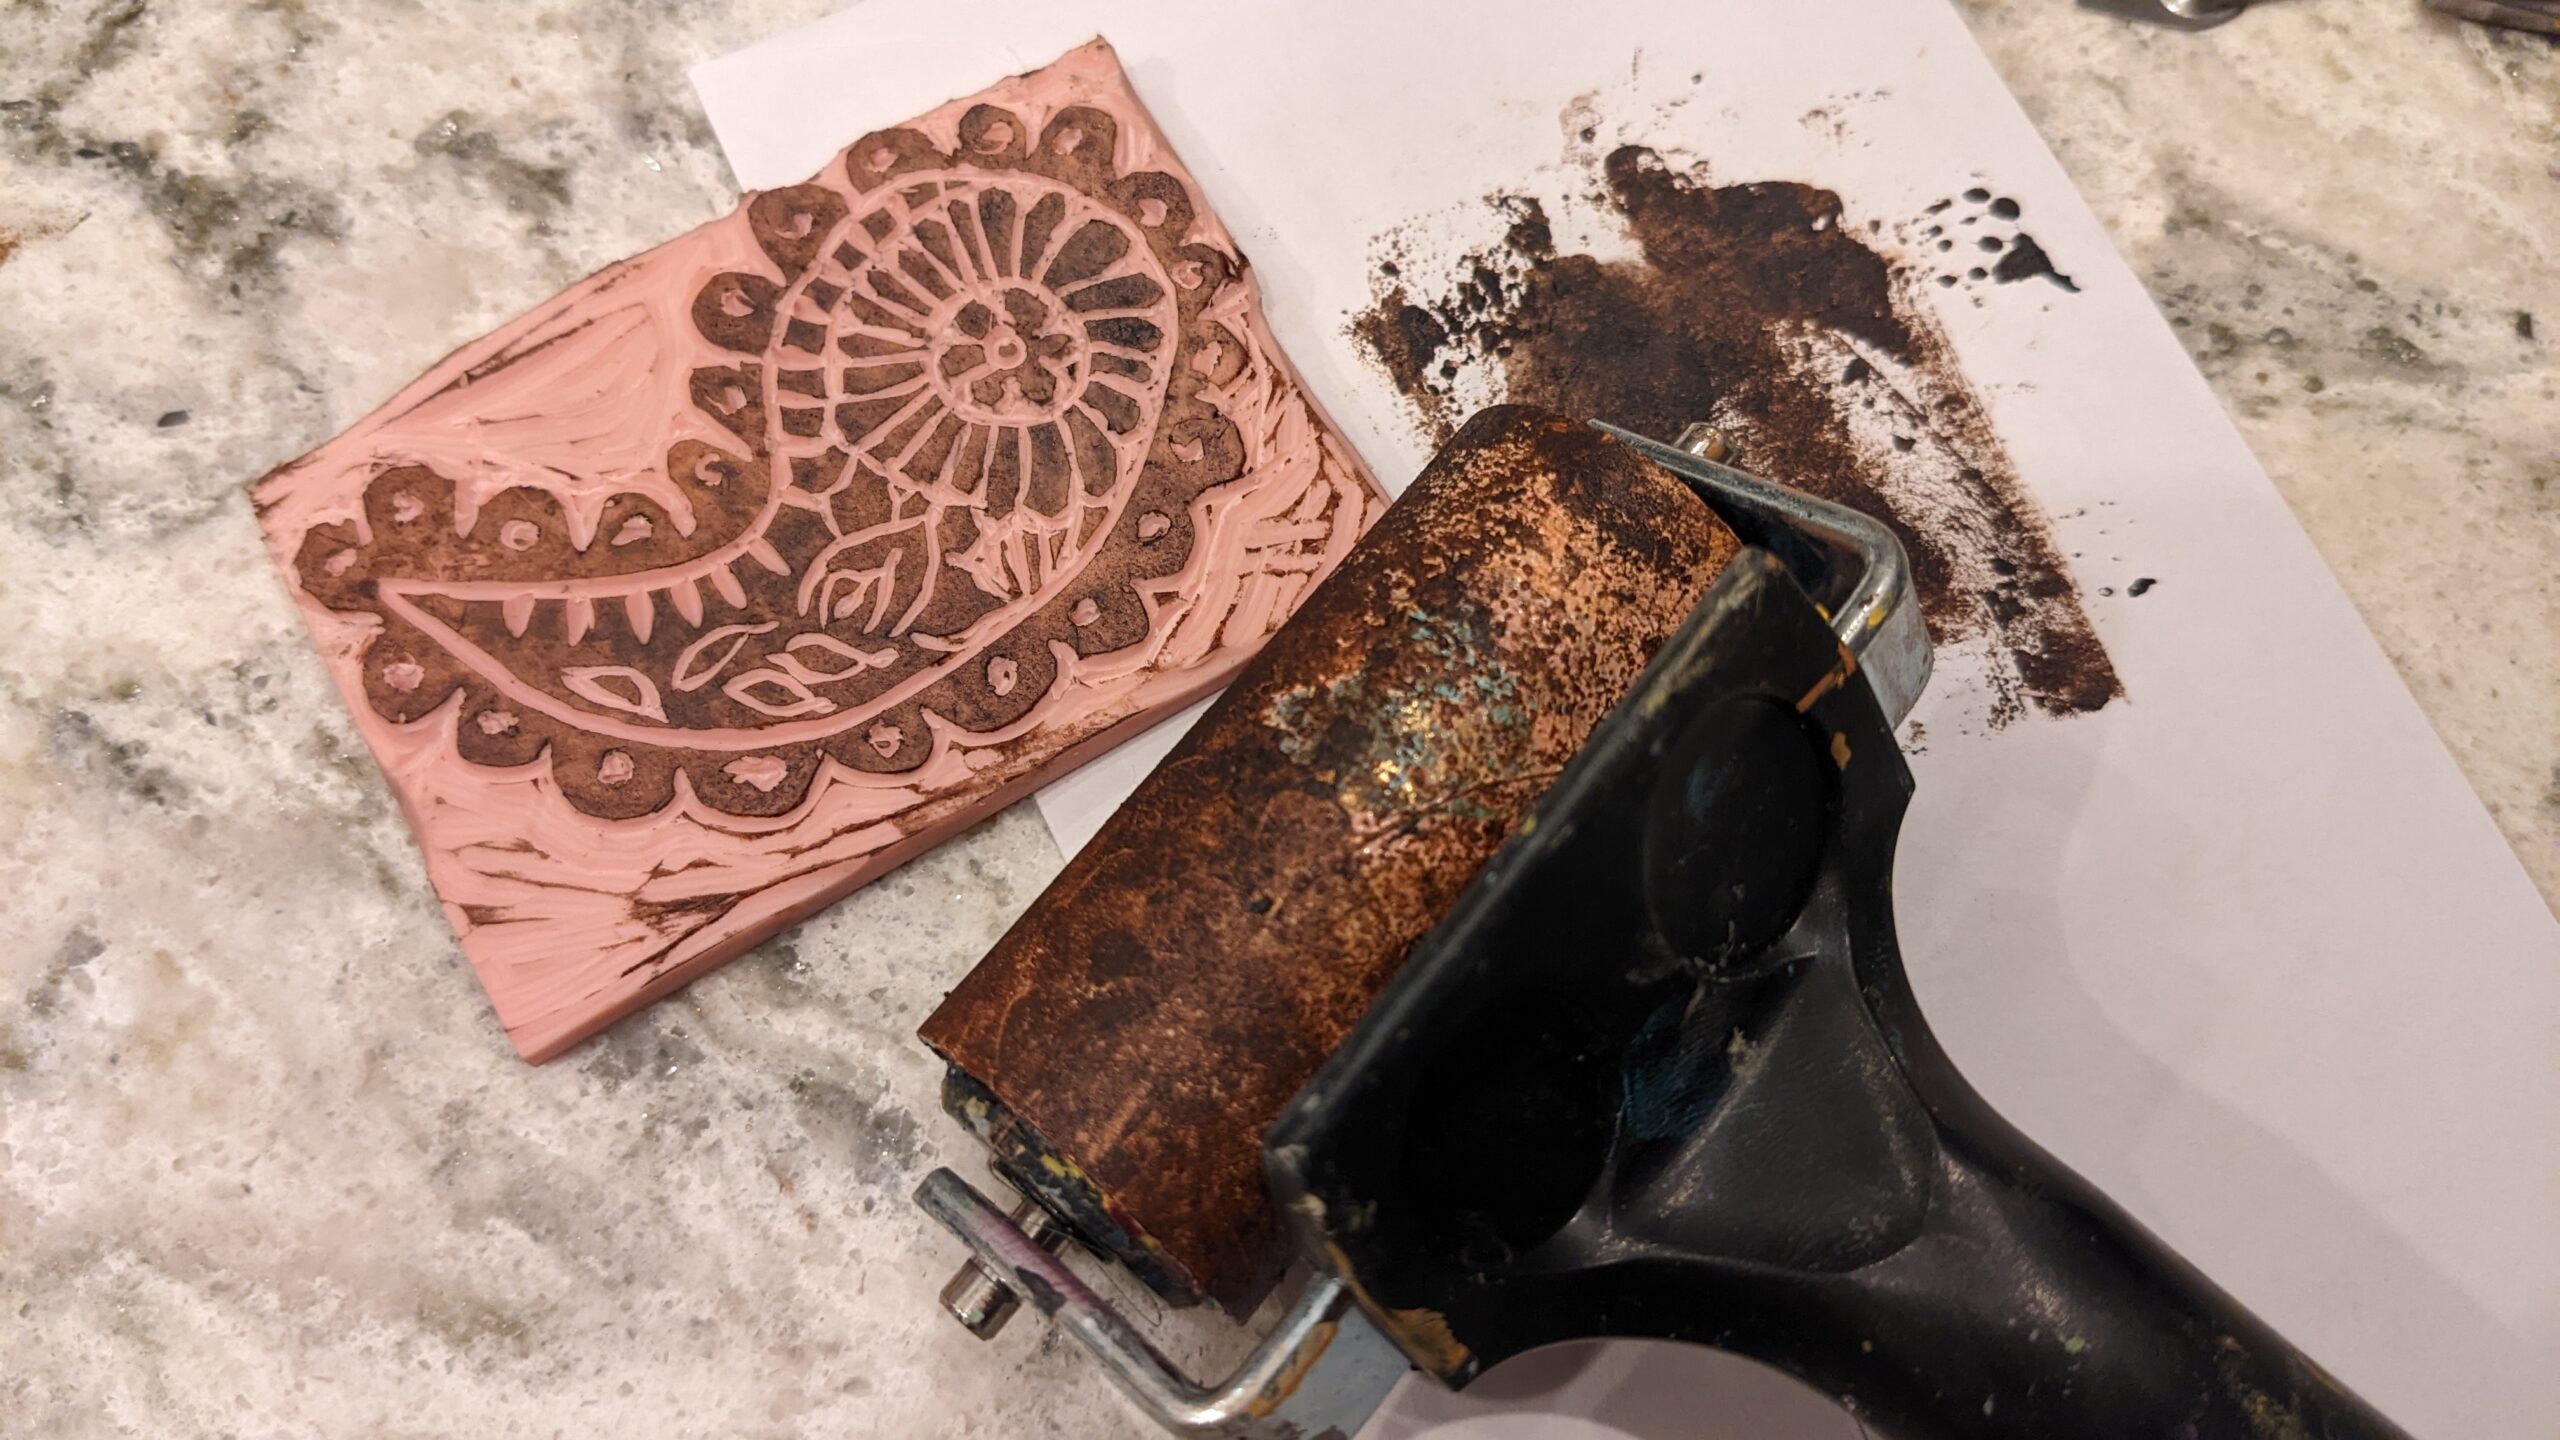
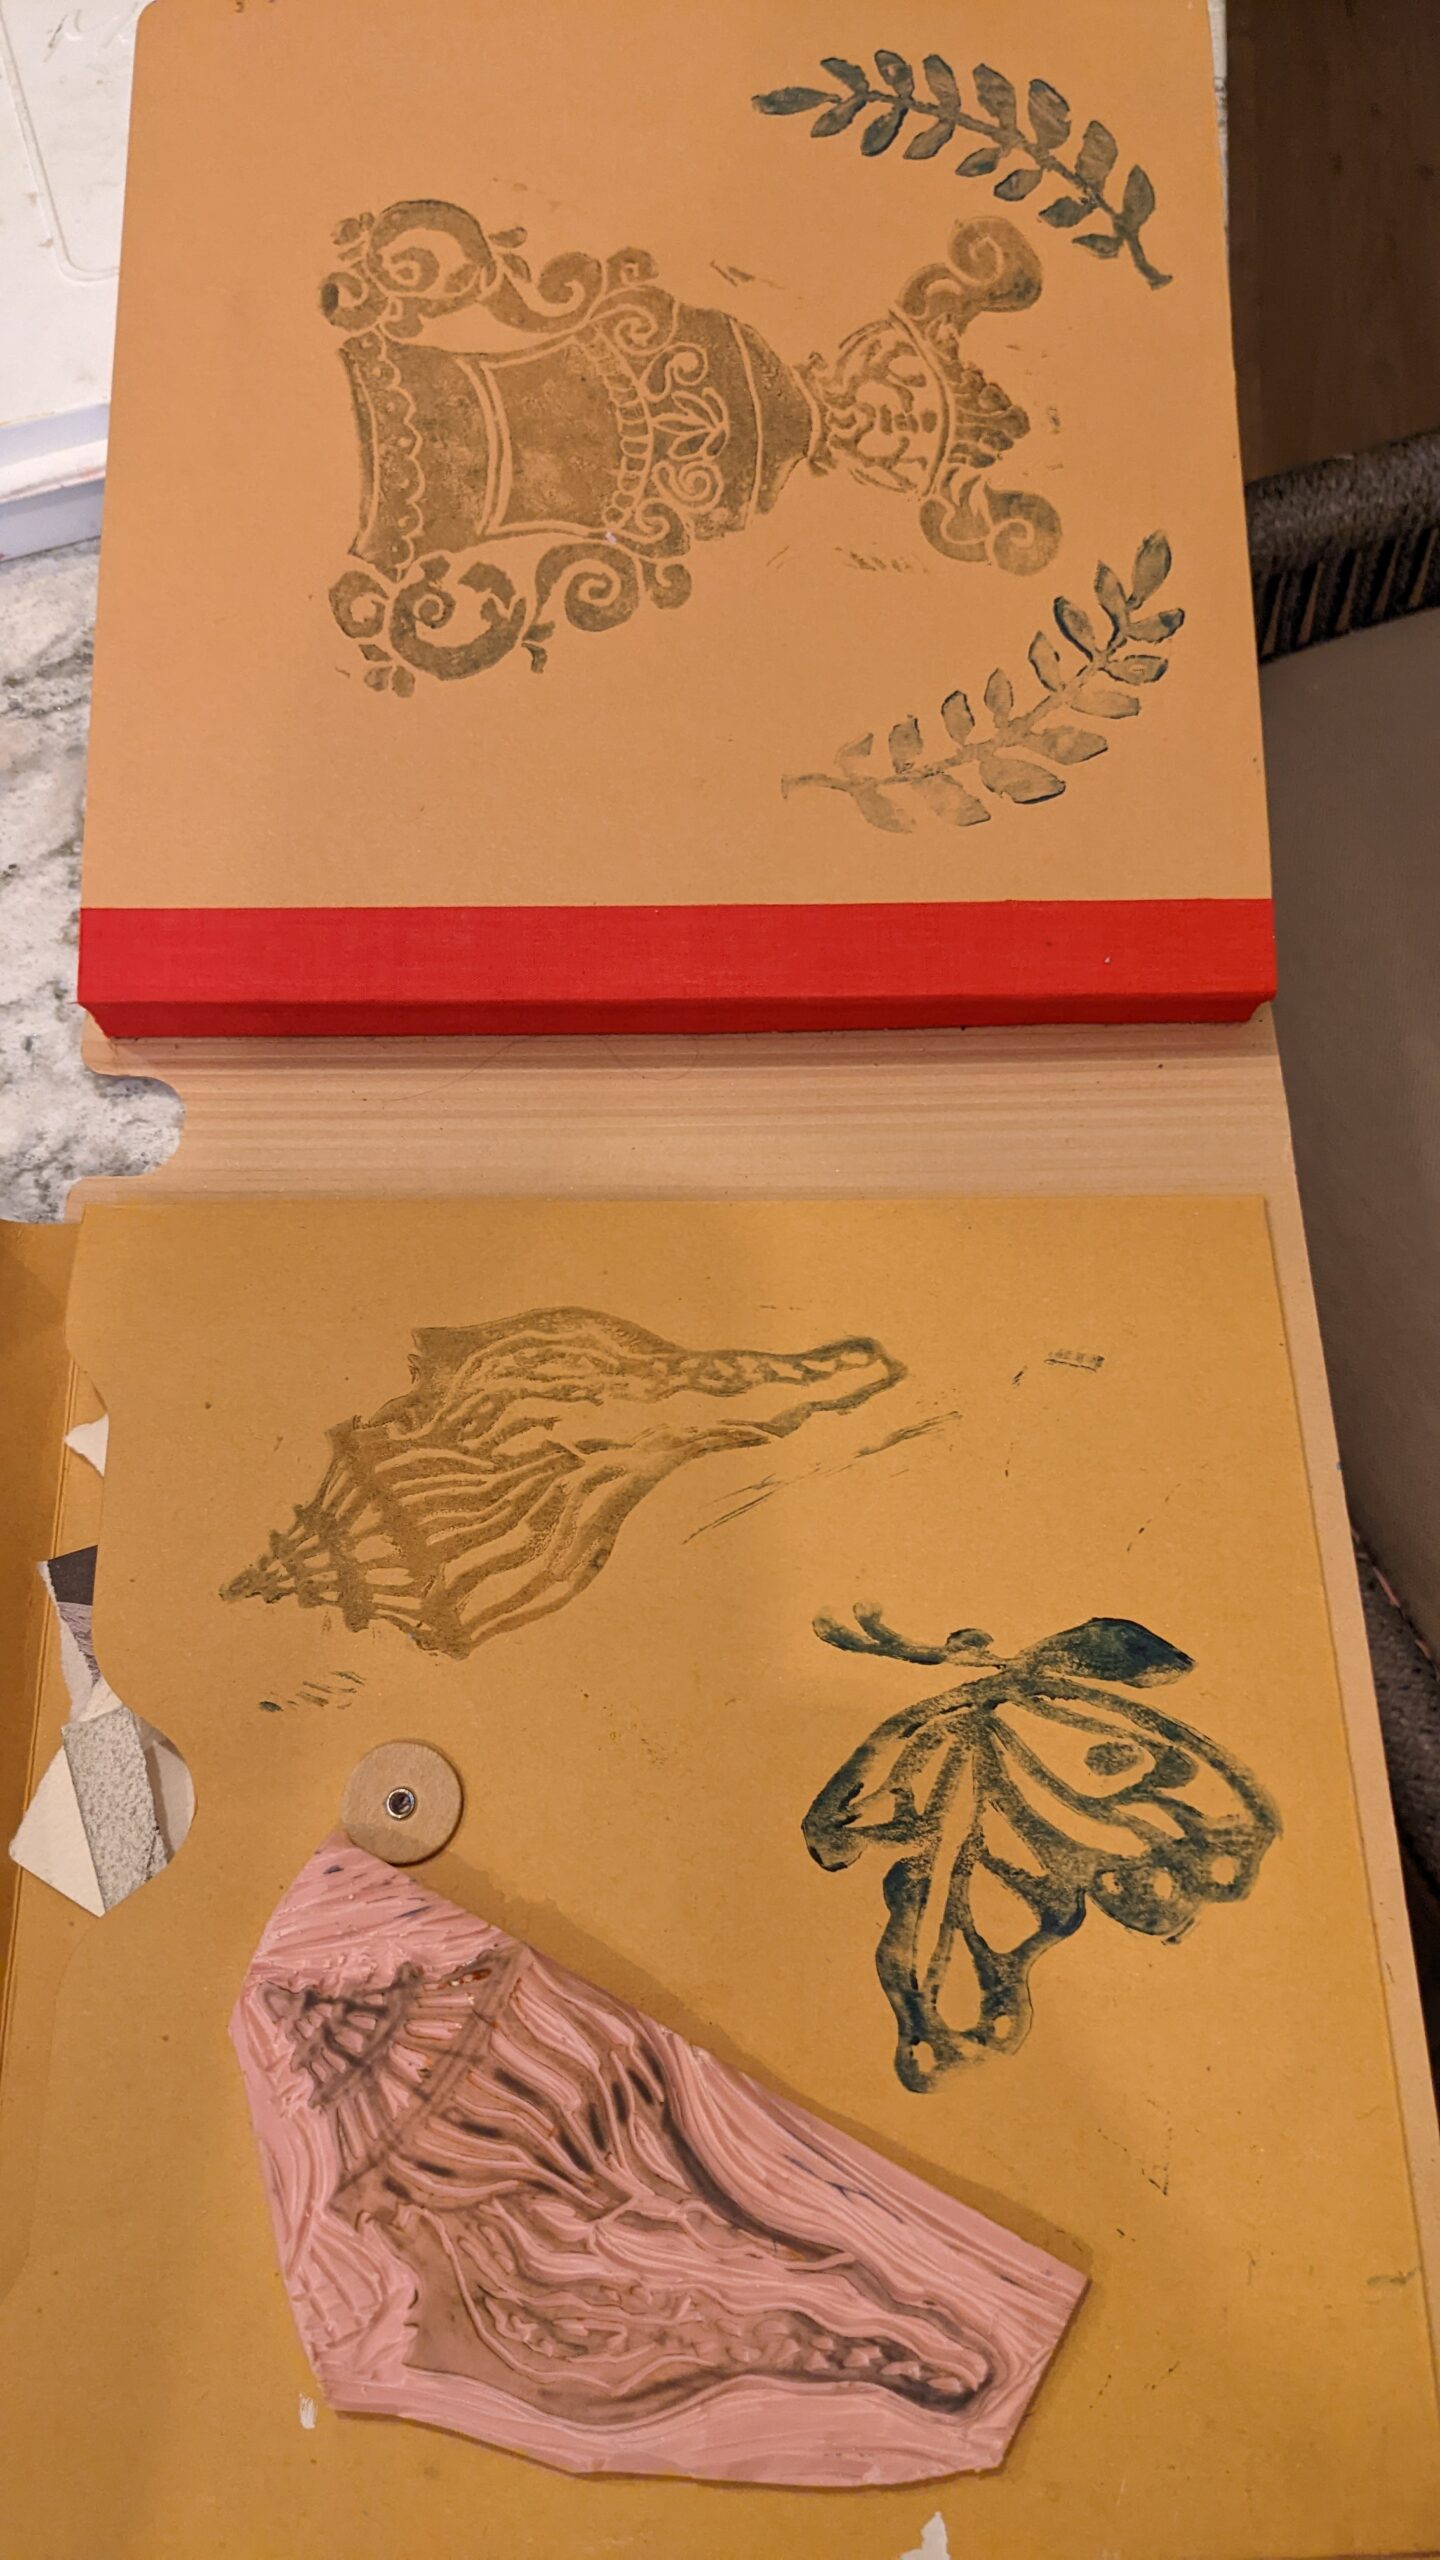
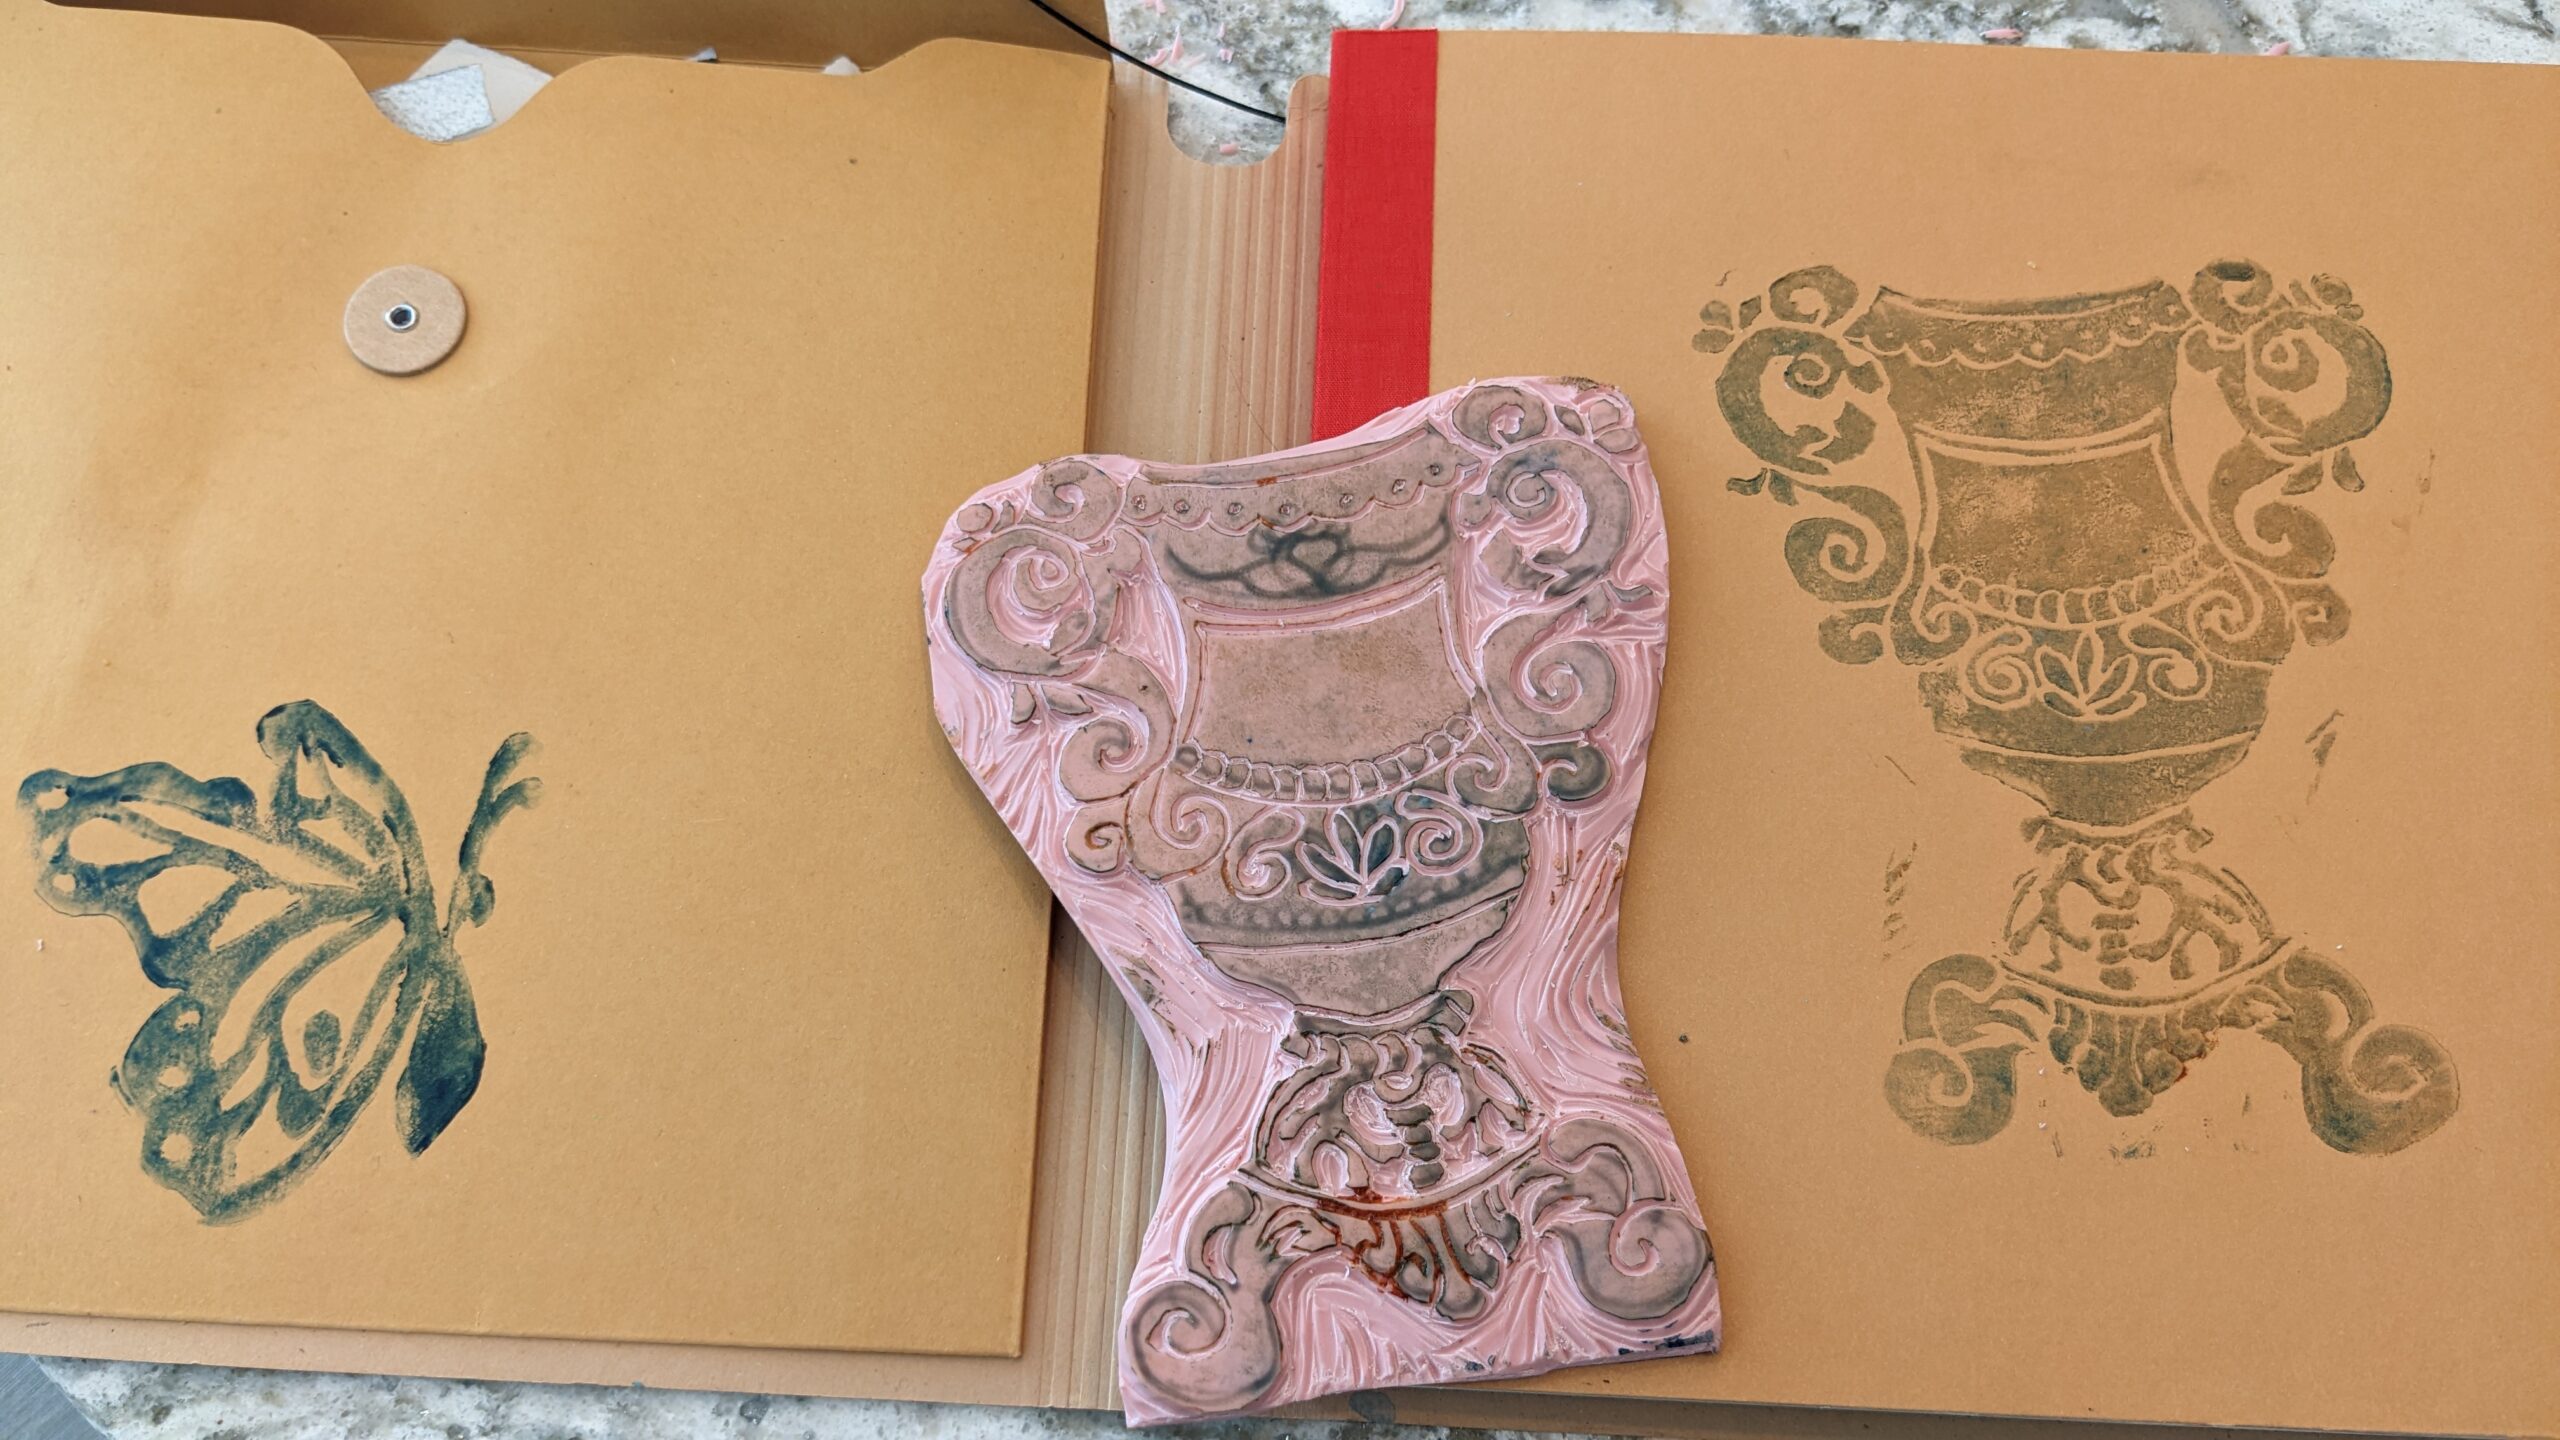
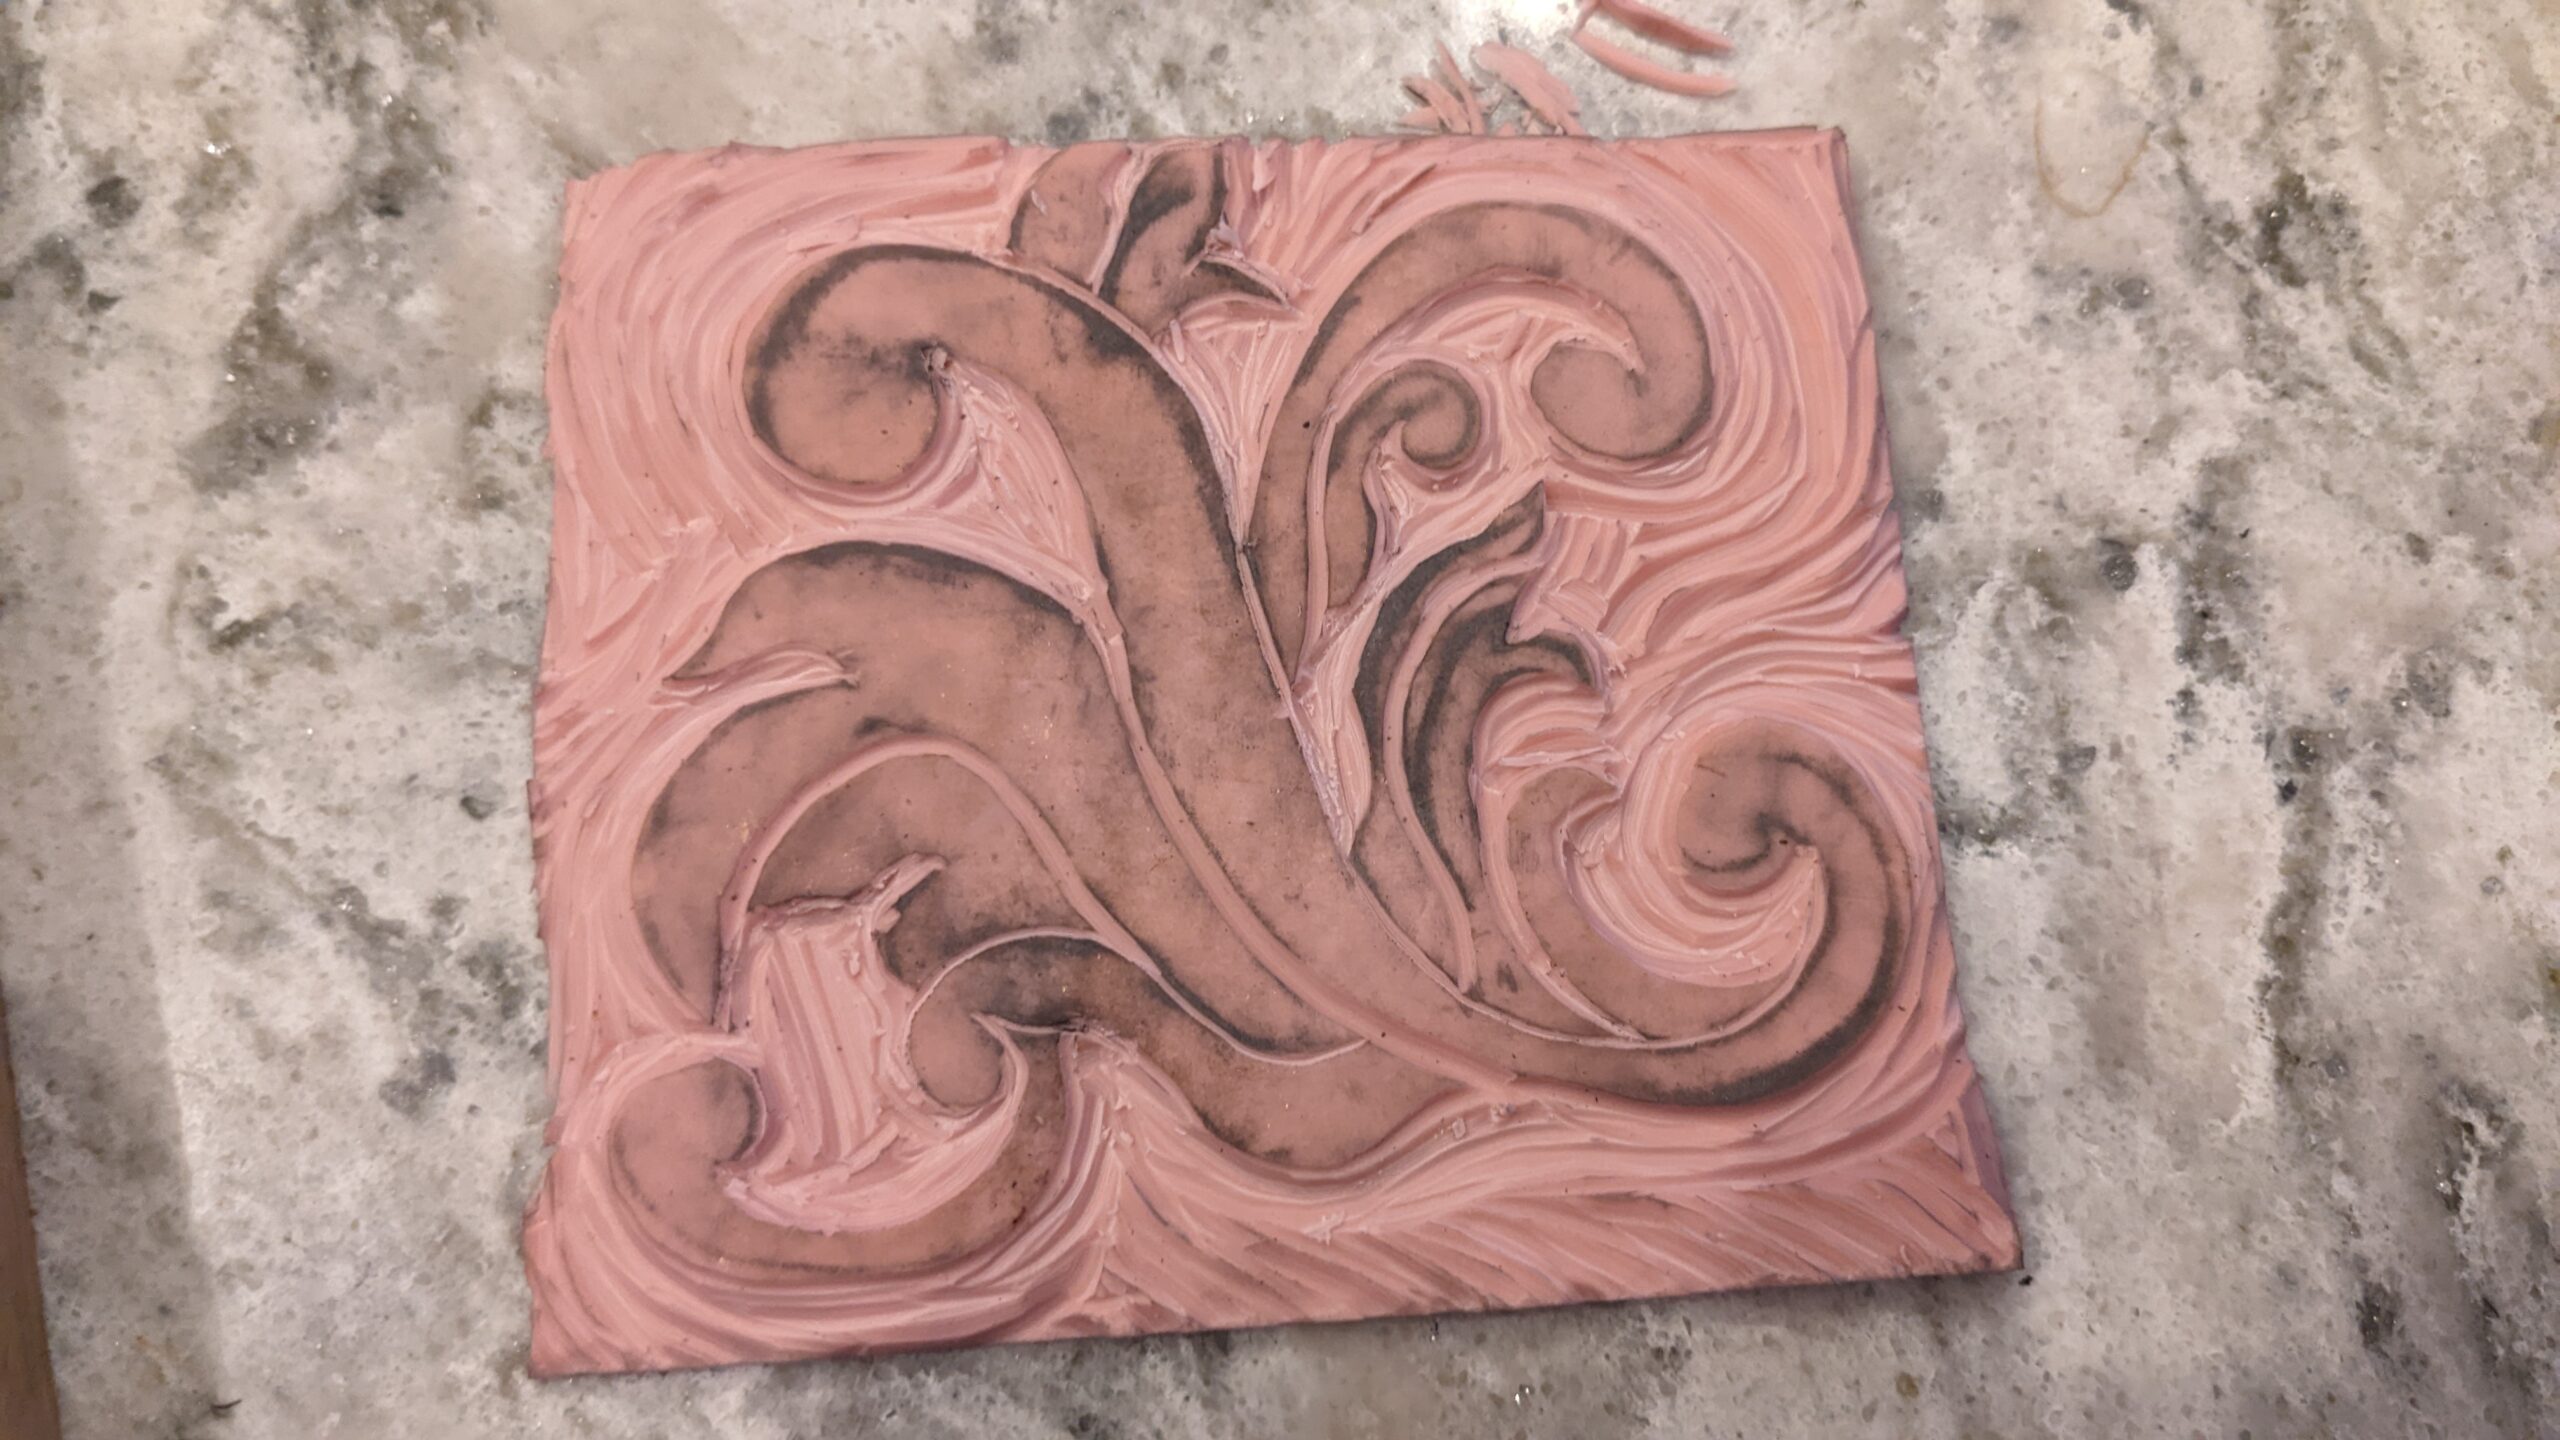
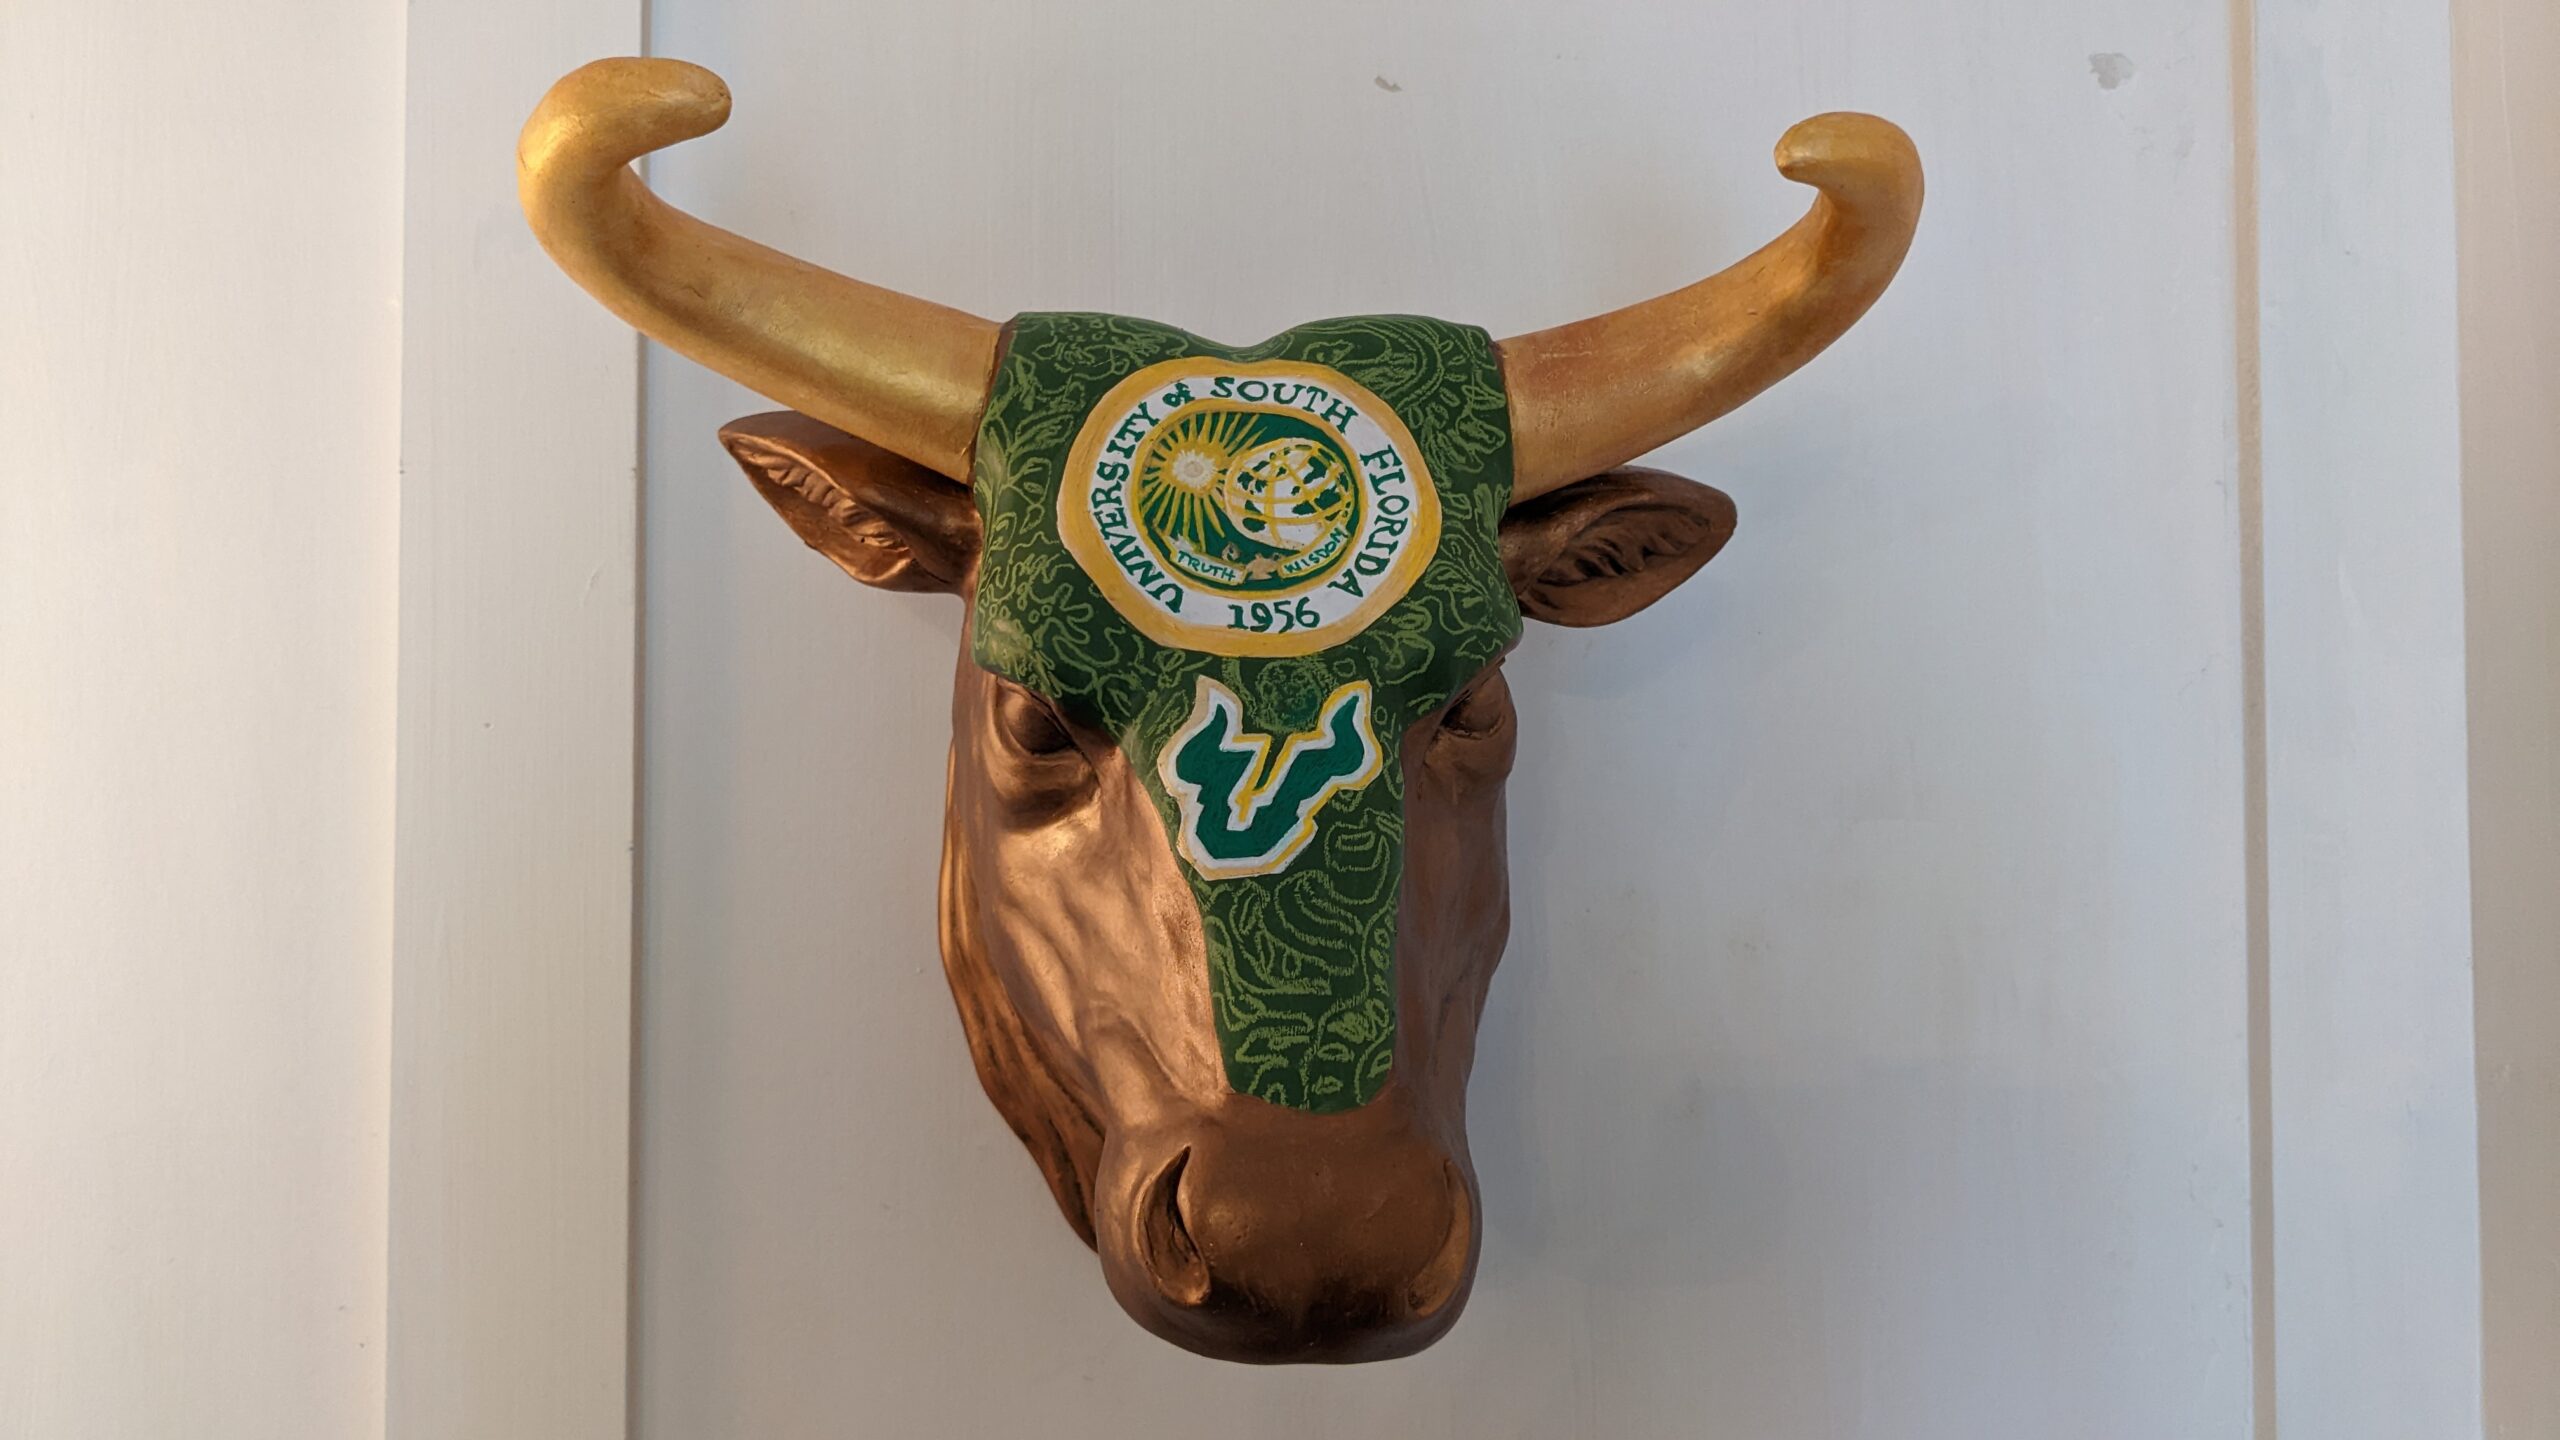
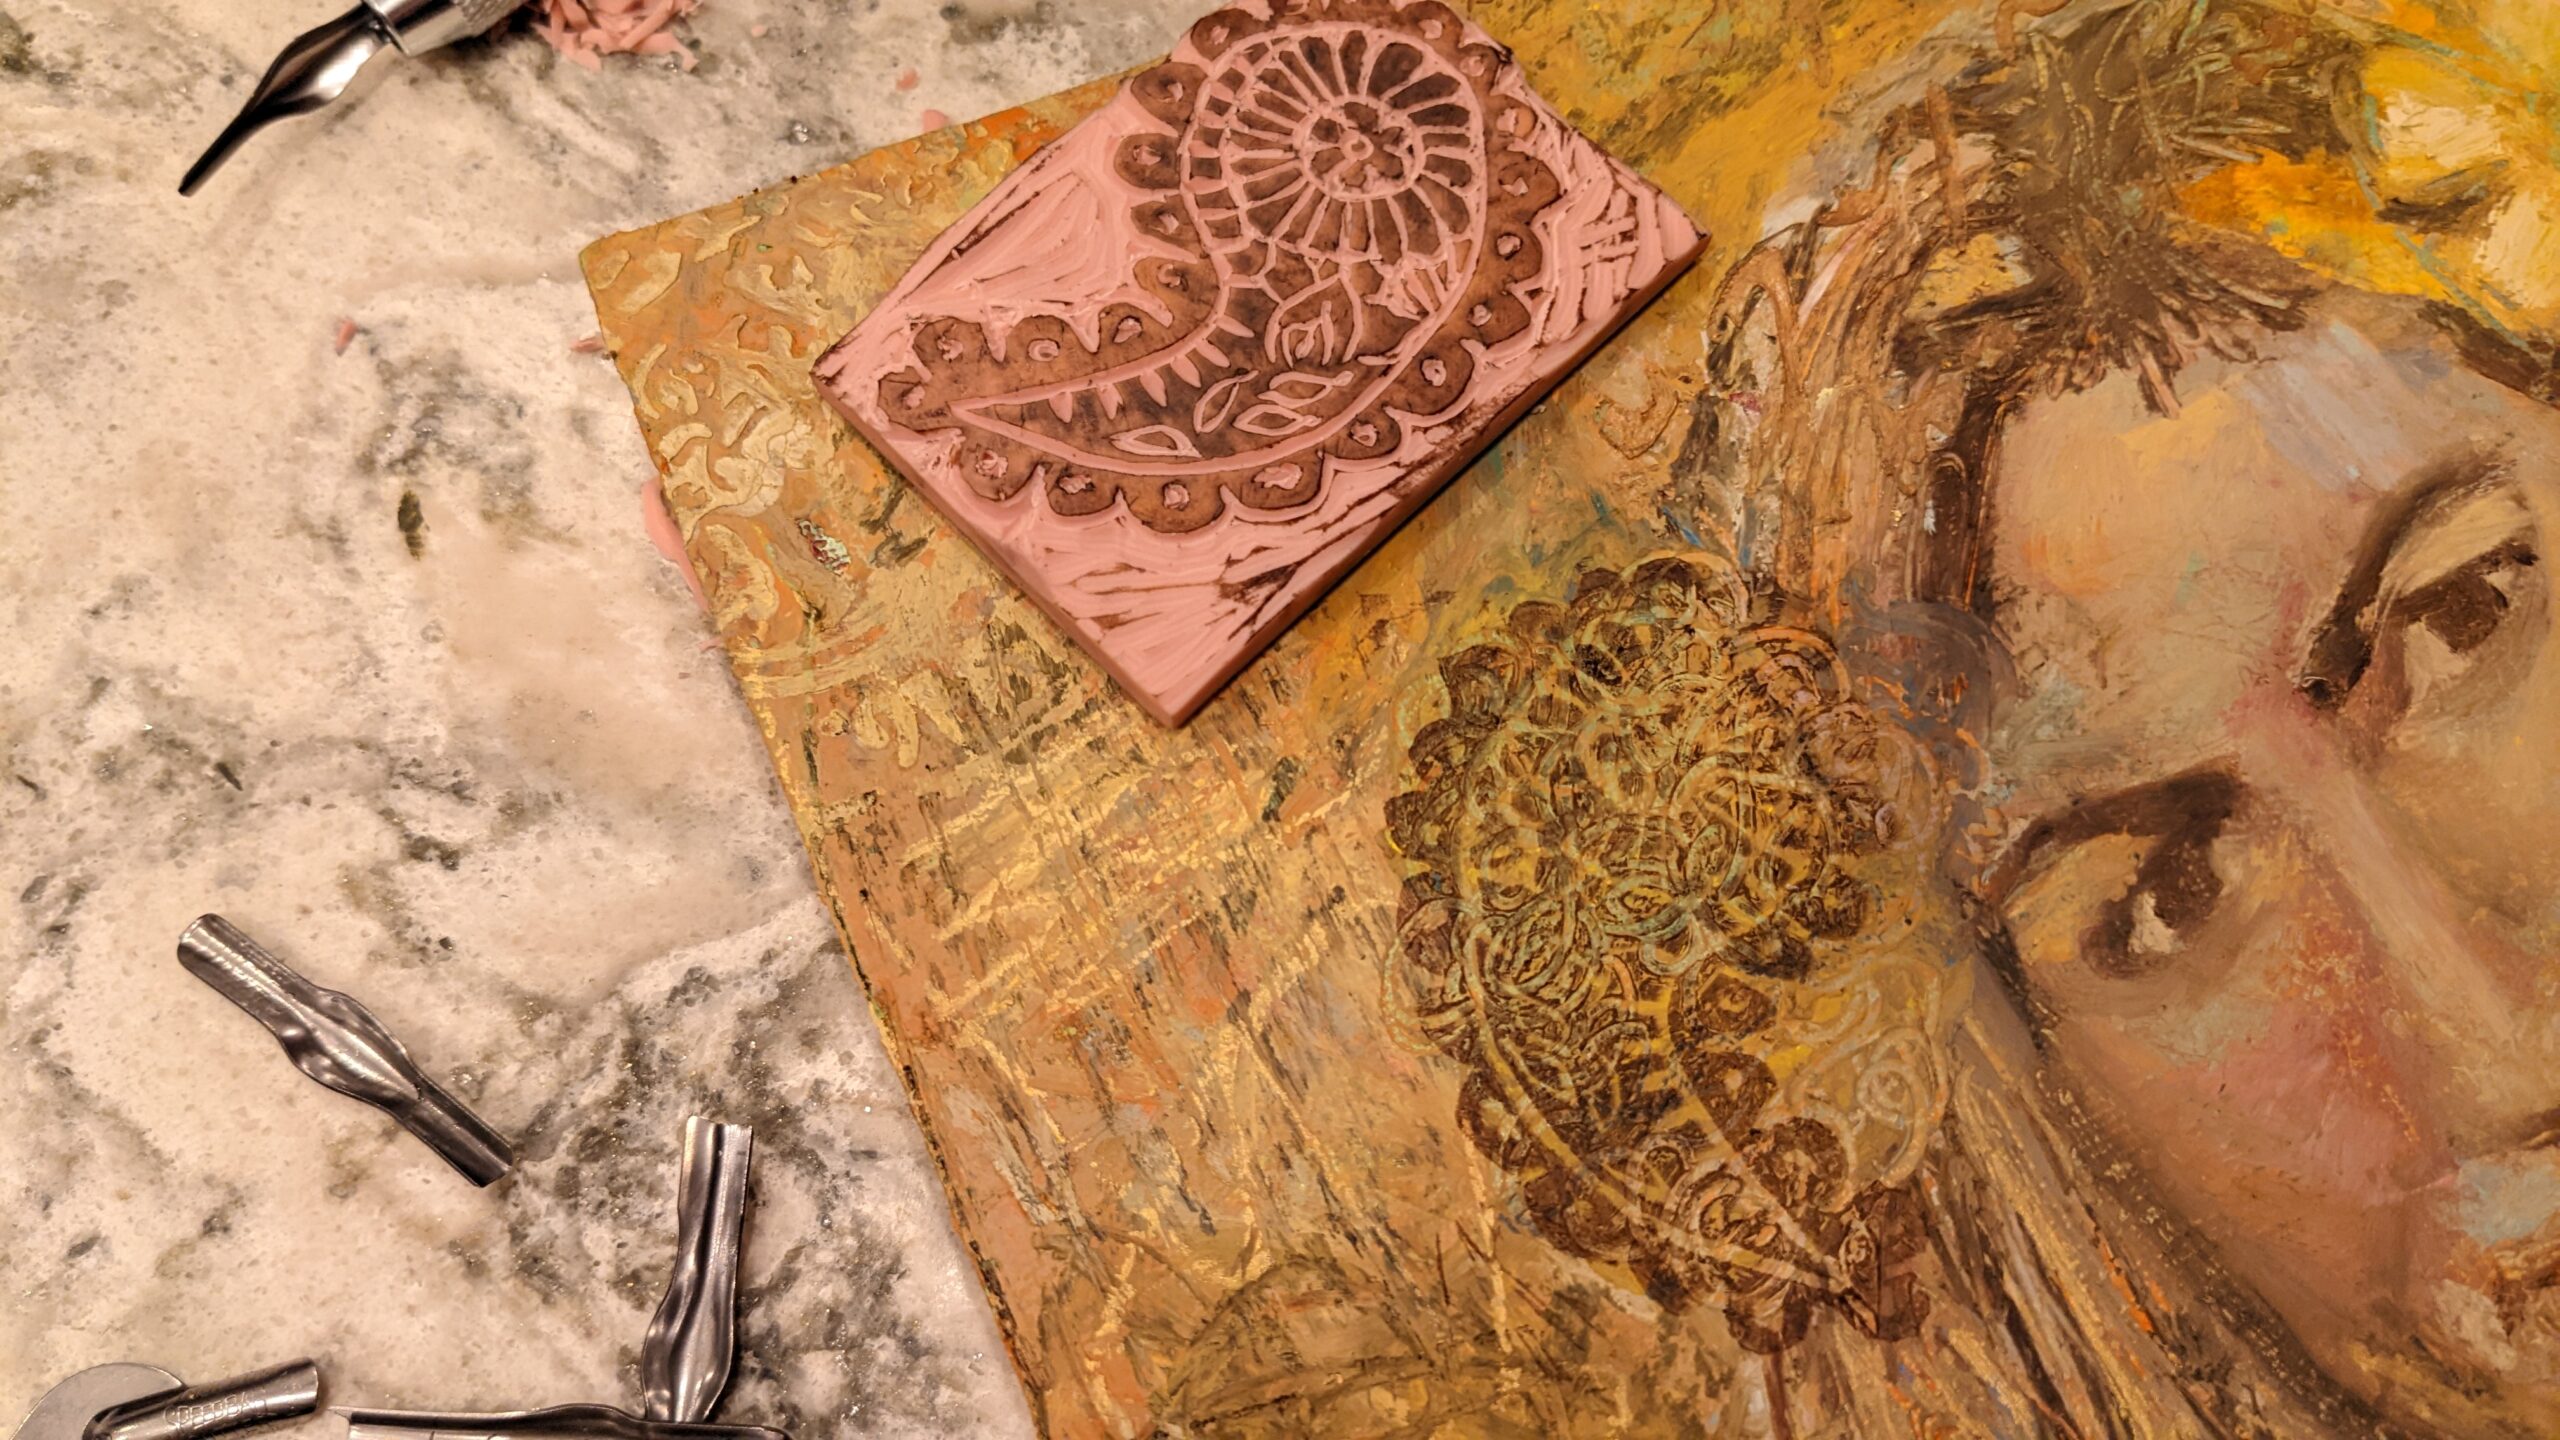
I put some asphaltum colored paint onto a piece of paper, then rolled it with a brayer. Next, I transferred the paint from the brayer to the block.

Using a larger brayer, I flipped the block over so the paint touched the surface of my painting then used the brayer to press the block down. I held the stamp down firmly to make sure it didn’t move during this process, so as not to smear the design.
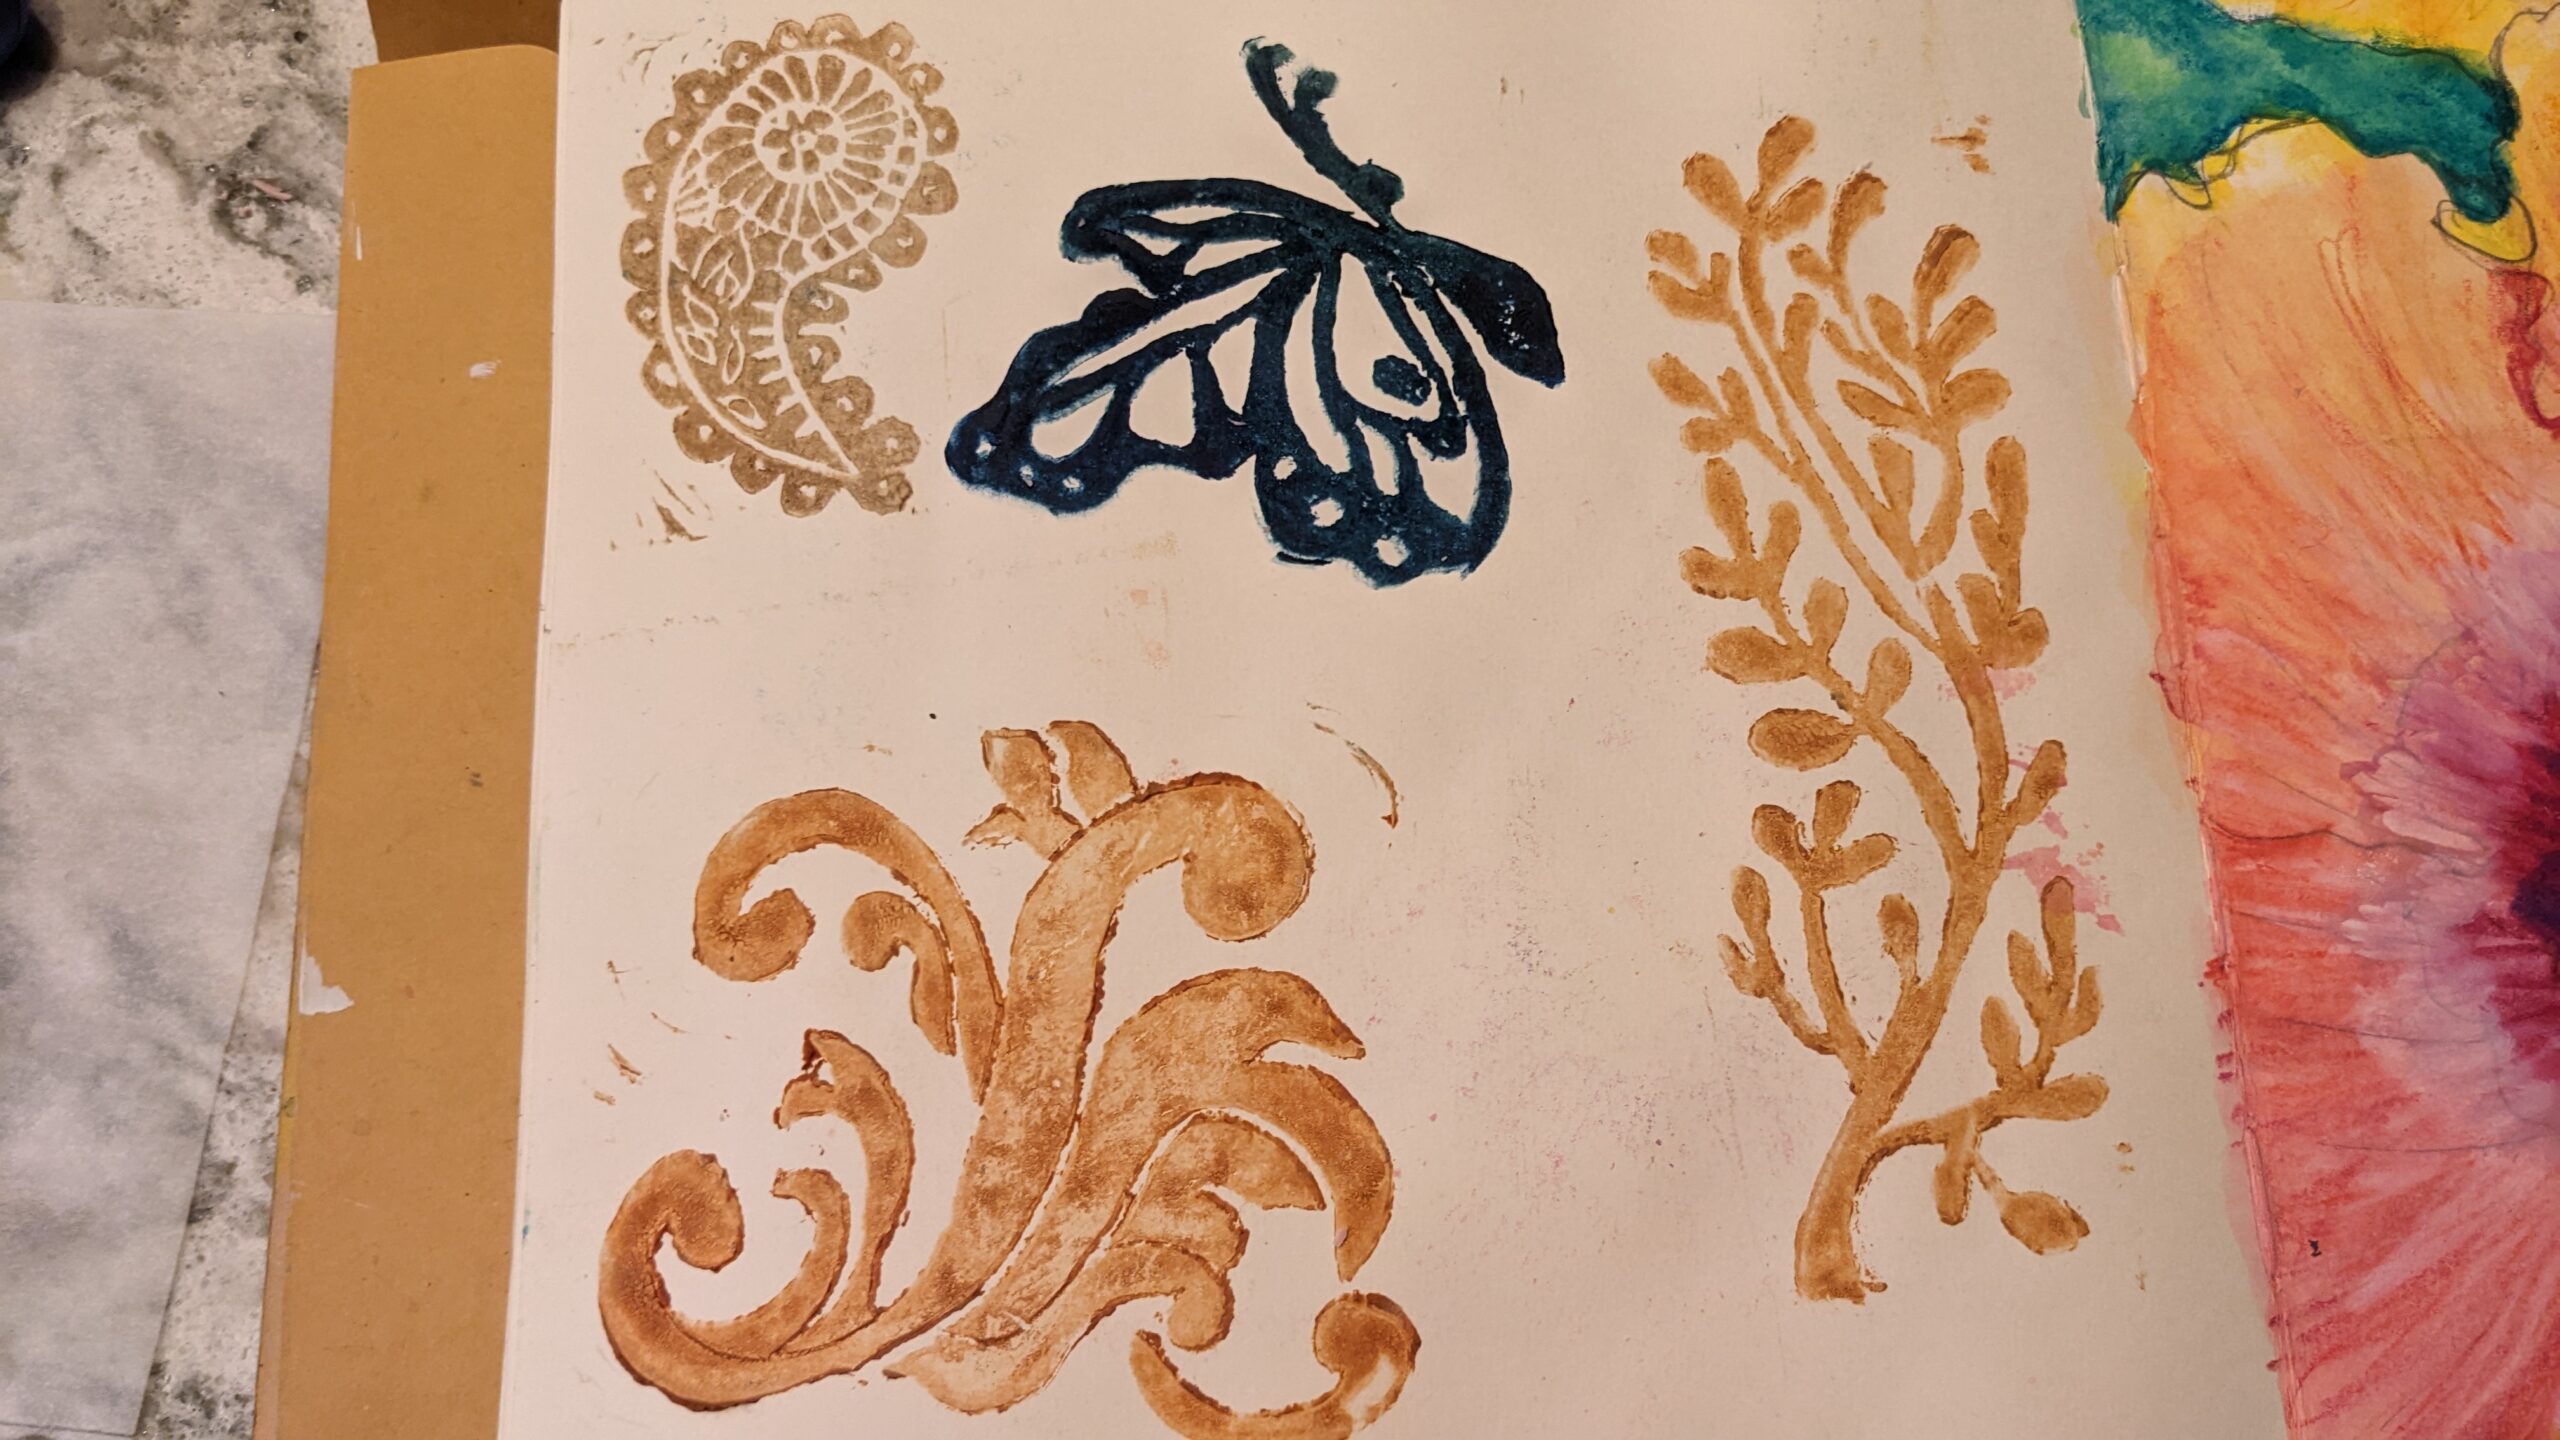
Once I was satisfied that I rolled the entire stamp completely, I lifted the block so I could see the final result and VOILA! I think it came out great. You may want to practice on a scrap piece of paper before transferring the paint to your art… but I guess I was feeling brave!

I truly enjoyed this process and plan to make more creative designs. I love the way it came out. It adds detail and interest that I just can’t get with a brush. Maybe, I could come close if I “thinned” the paint down, used small brushes, and took my time to work on the details directly on the canvas. I suppose I still need practice to accomplish this method successfully. However, with the stamp, I carve it once, and can use it over and over an unlimited amount of times. I like that I experienced “a change of pace” from typical fine art design and achieved a unique custom effect.
Very excited to see what you come up with and to start creating more of my custom designs. Ecstatic that I tried this process out. It was easier than I suspected and produced very satisfying results.
Happy arting!
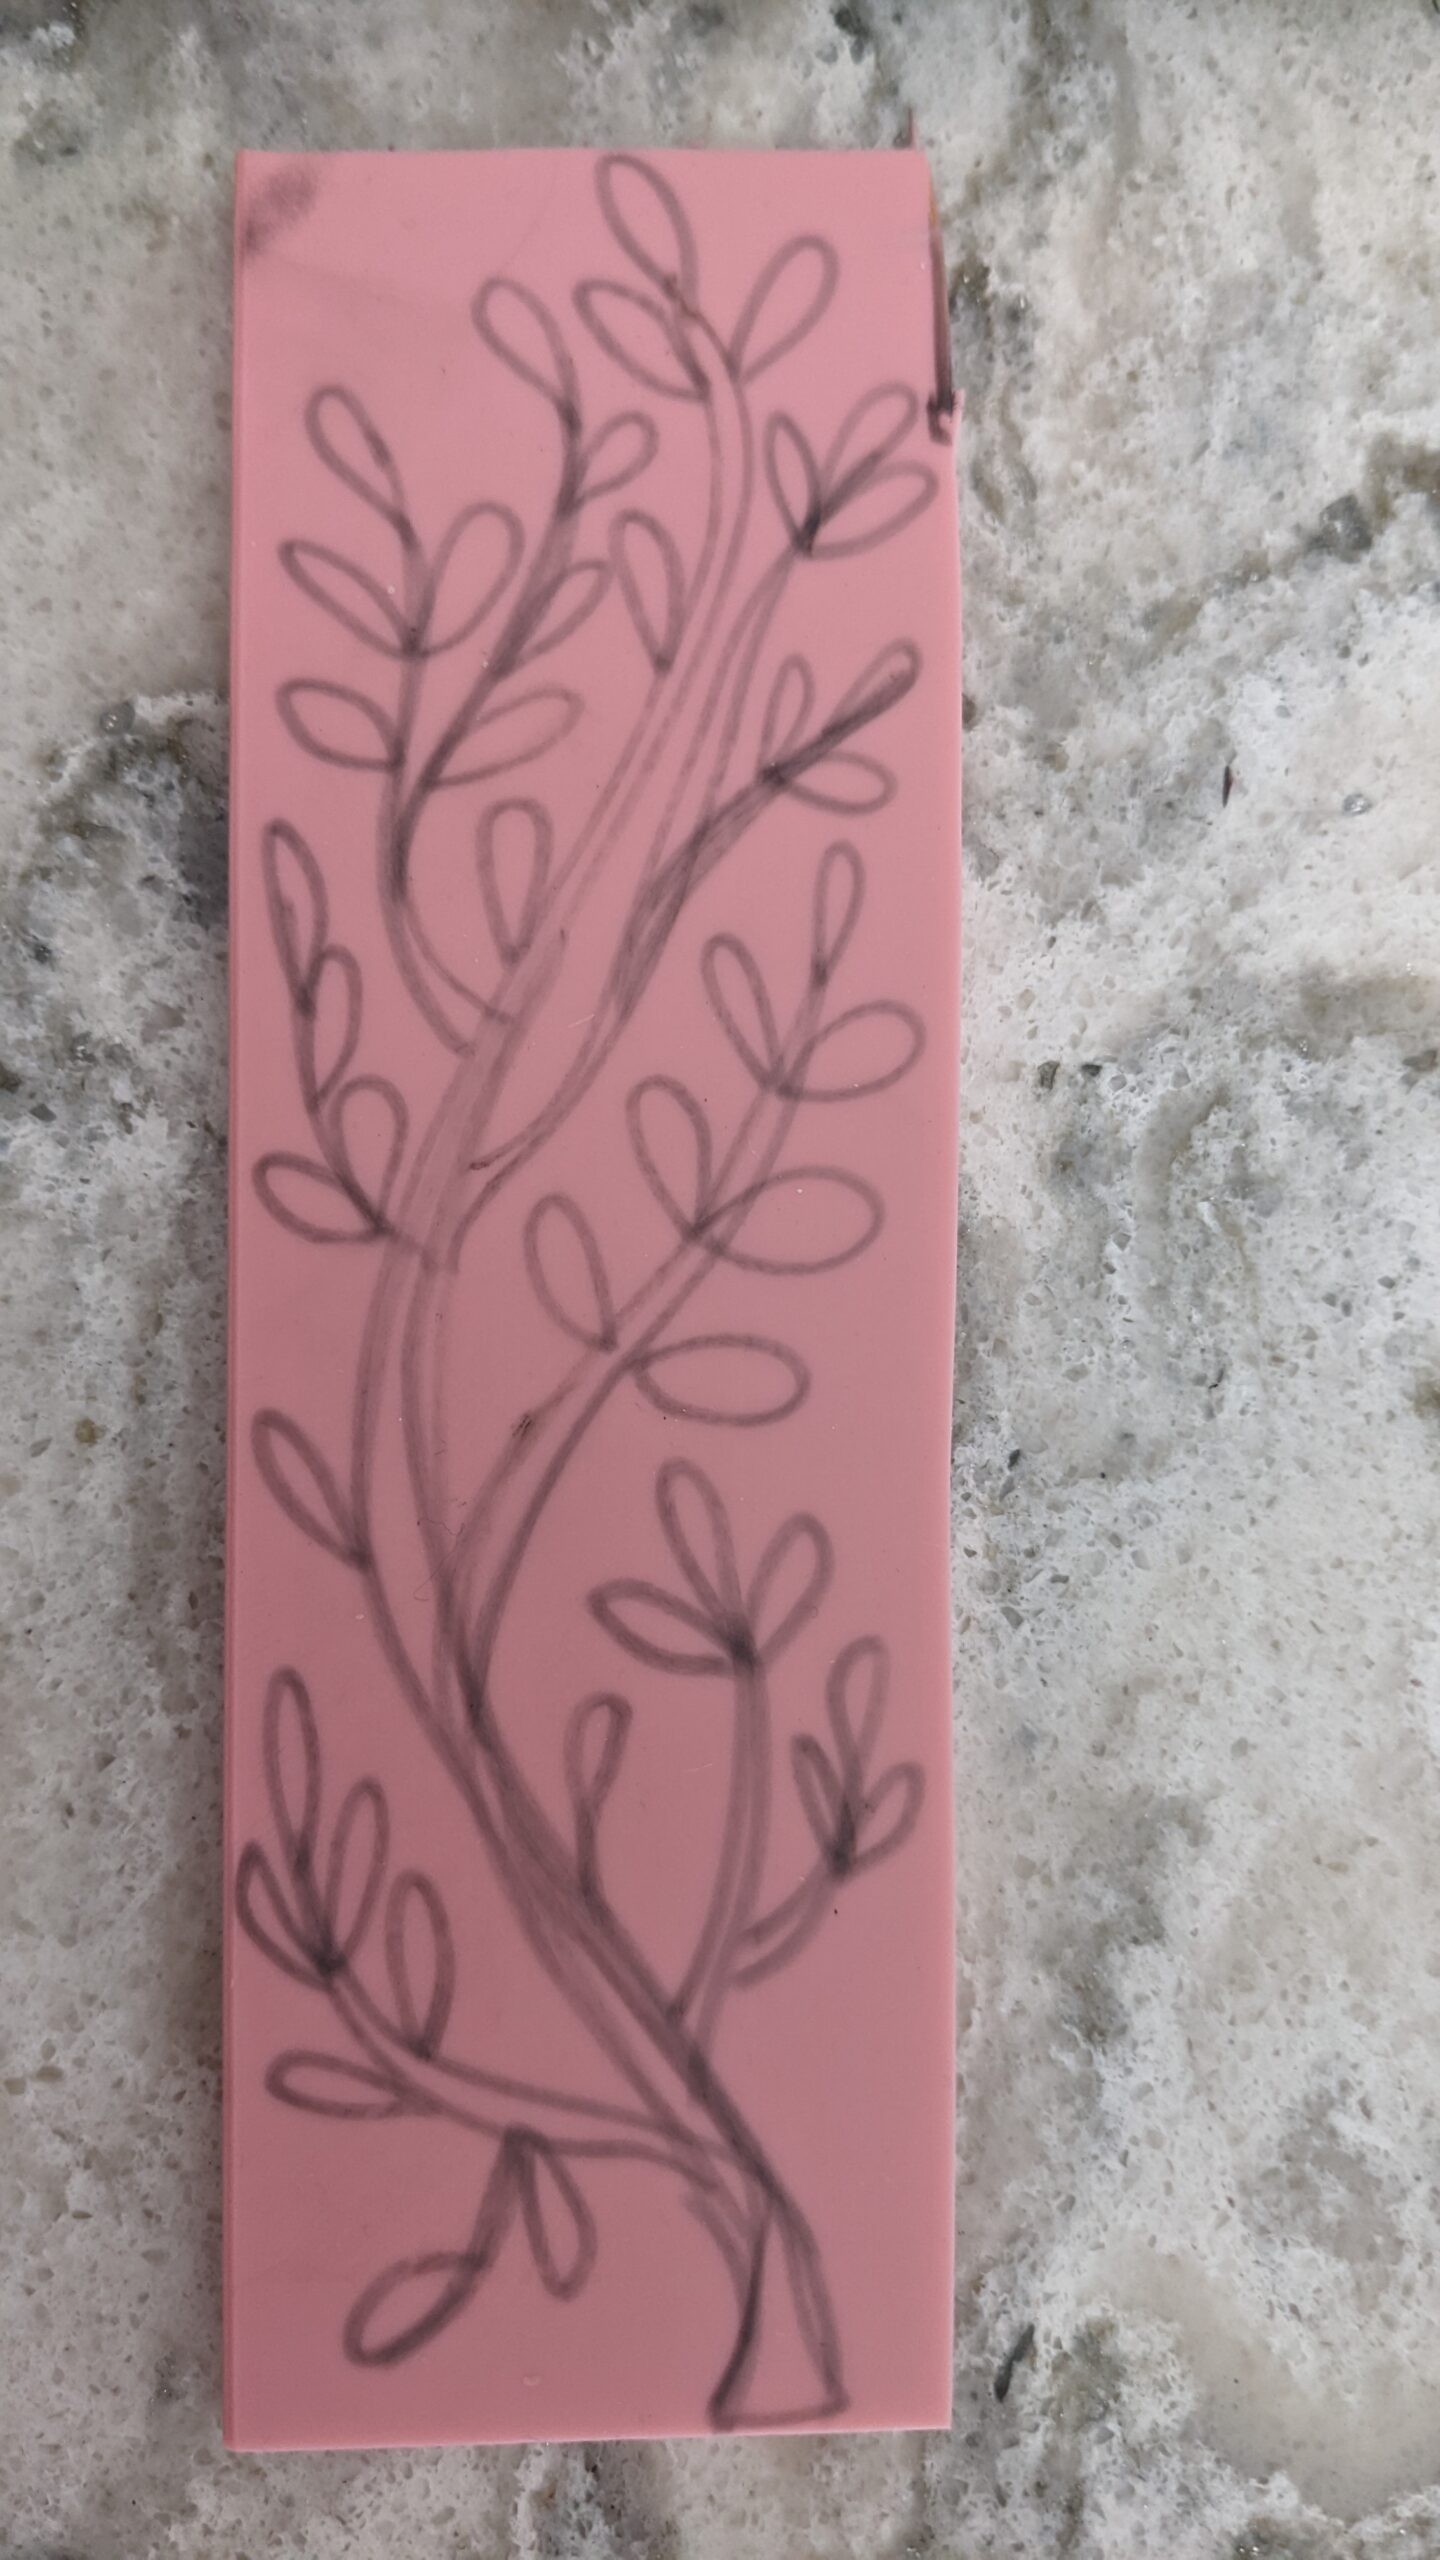
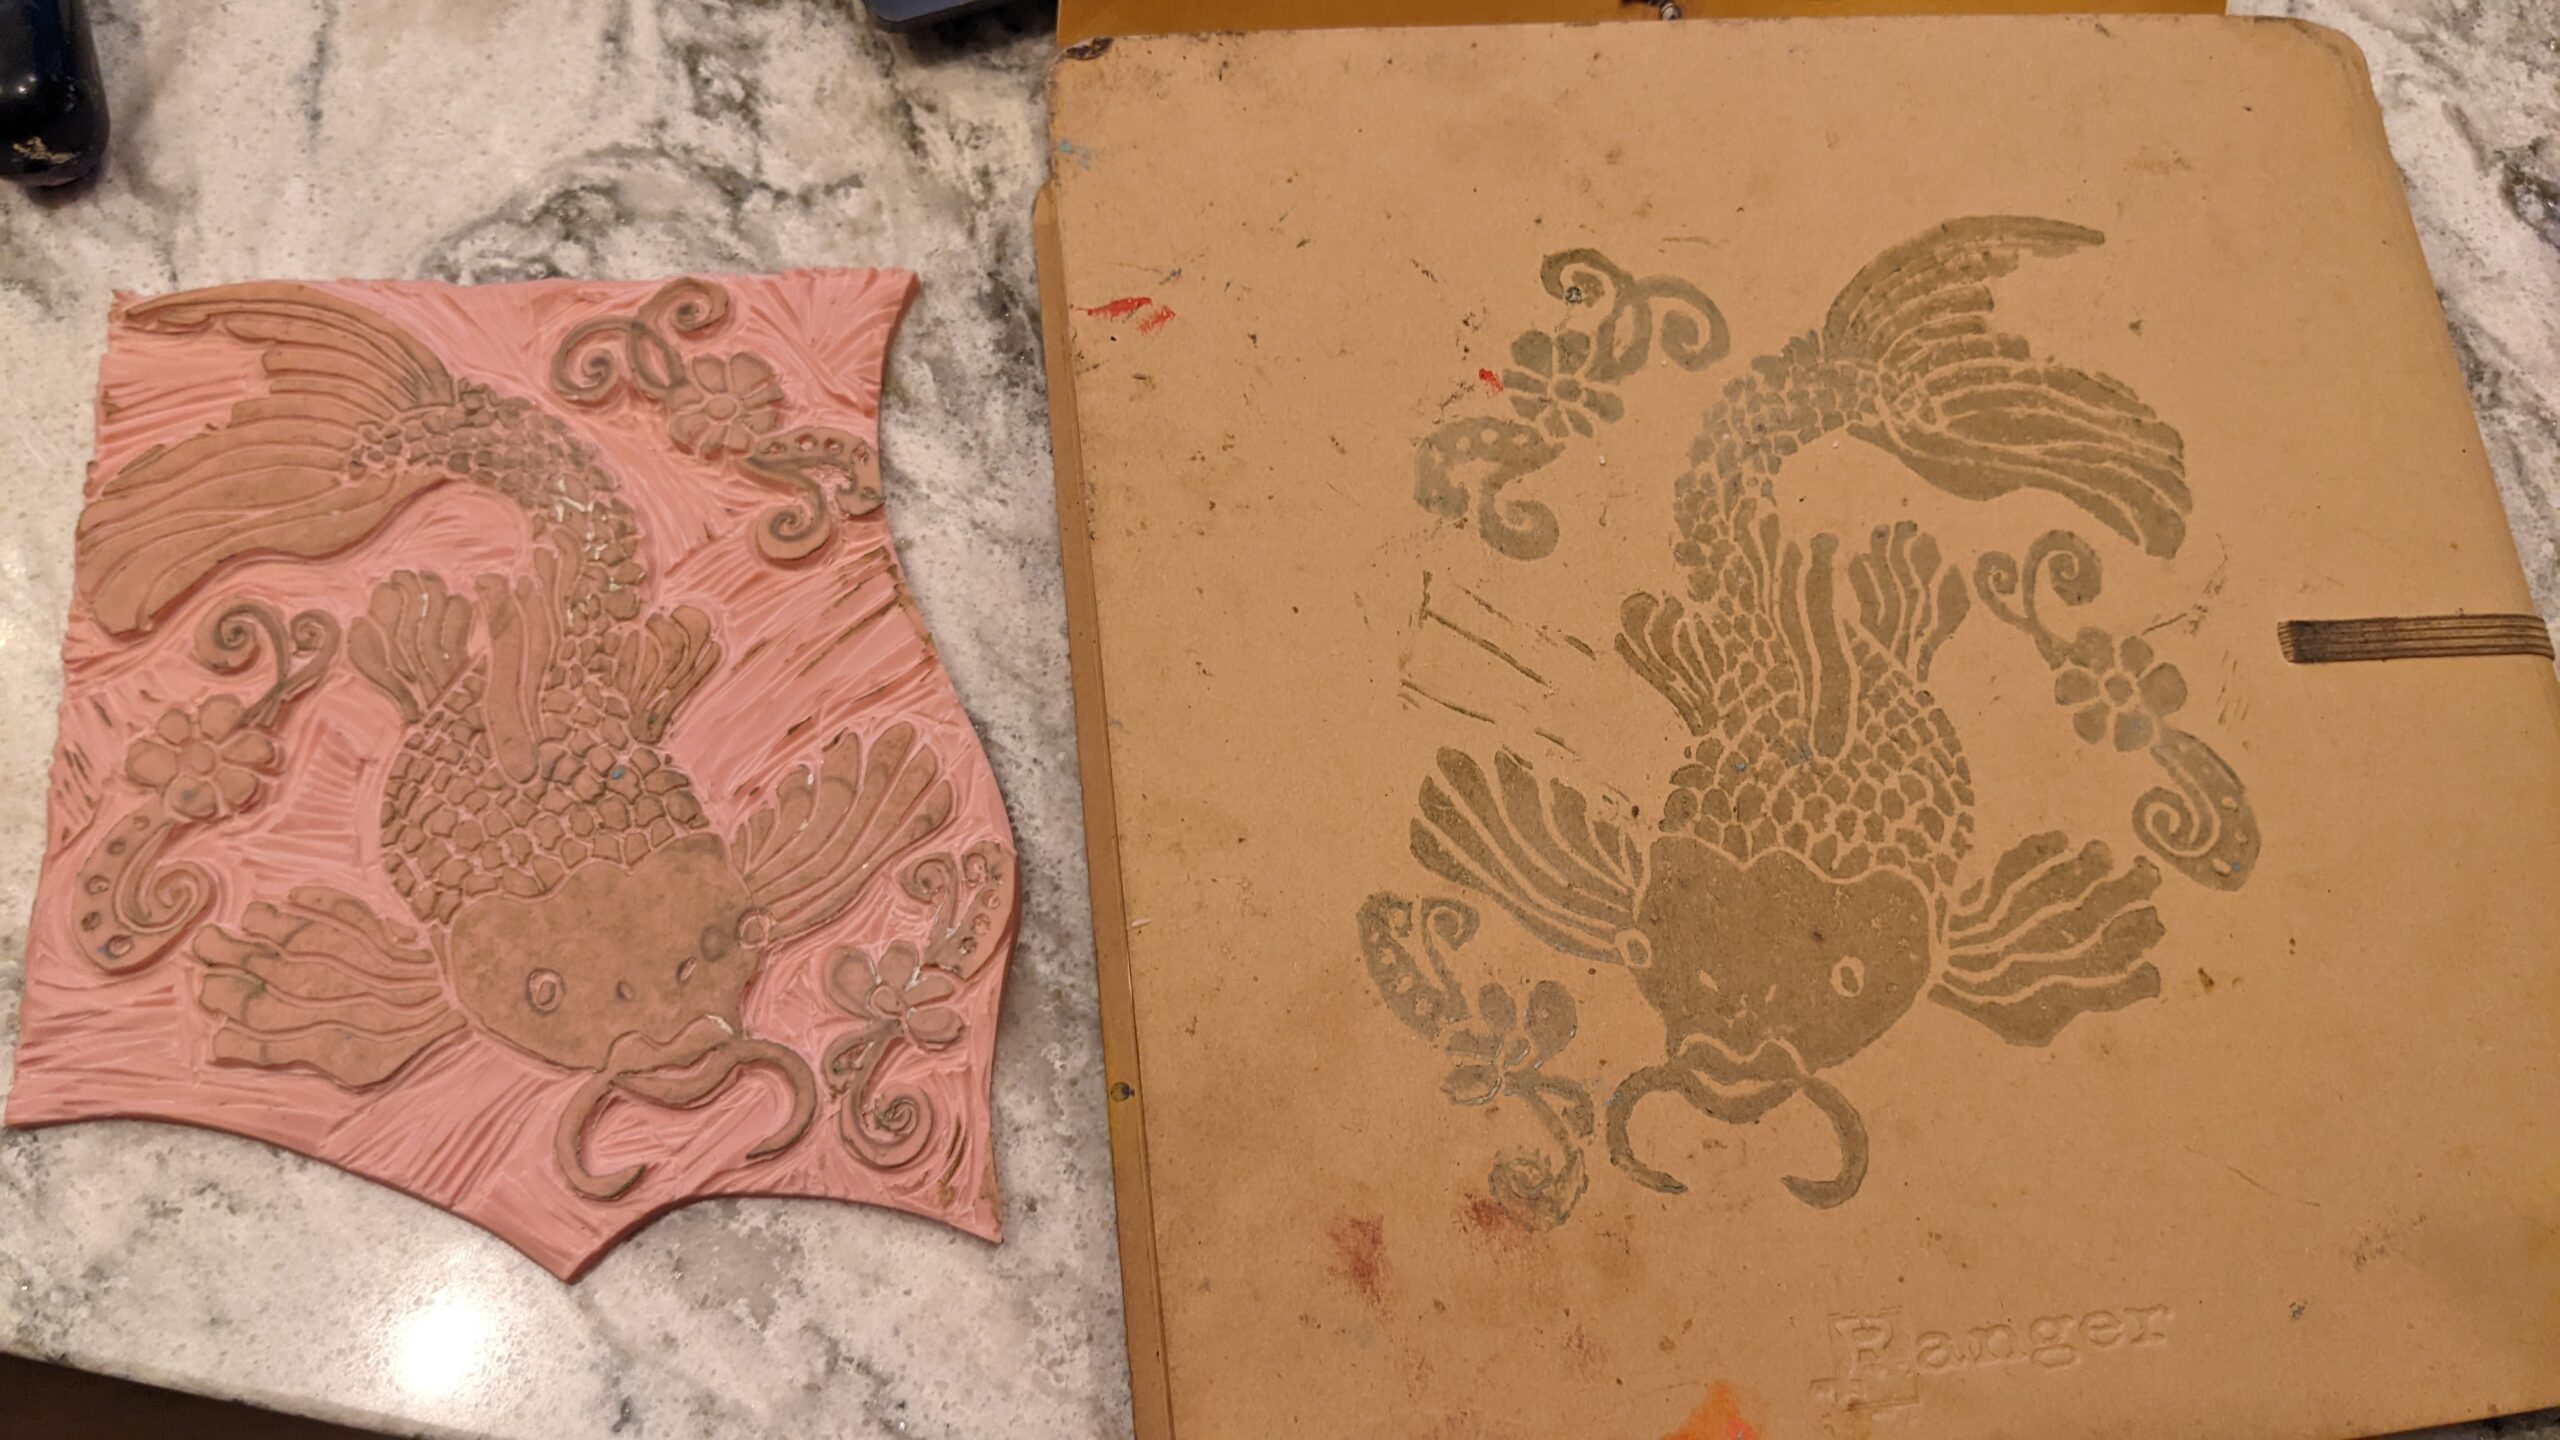
Here, you can see, I have been quite obsessed with carving my own lino-art: